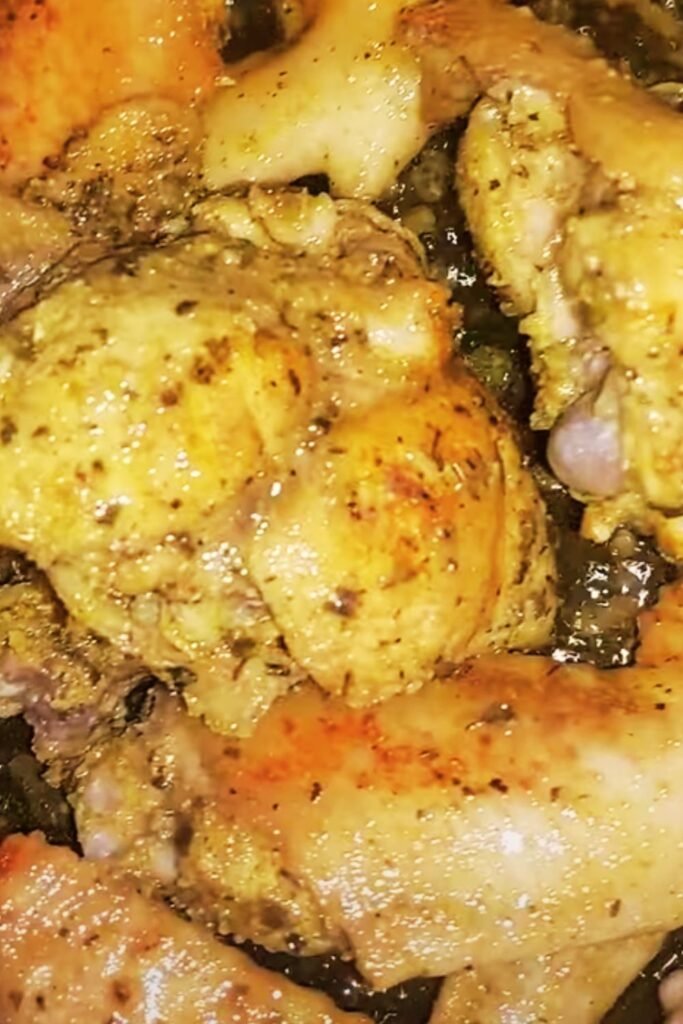
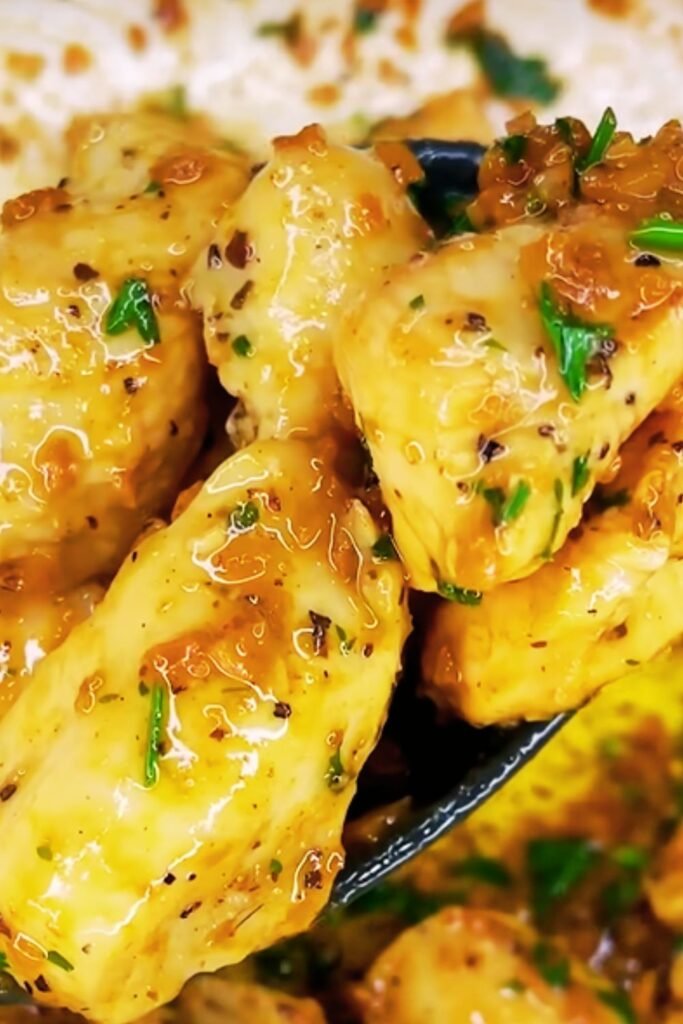
There’s something magical about the perfect plate of fried chicken. That first bite through the crunchy, seasoned crust giving way to juicy, tender meat underneath is one of life’s simple but extraordinary pleasures. After years of testing and tweaking, I’ve finally perfected my recipe for buttermilk fried chicken infused with fresh herbs and garlic – a dish that consistently earns rave reviews at family gatherings and has become my signature comfort food.
This isn’t just any fried chicken recipe. The overnight buttermilk soak not only tenderizes the meat but also infuses it with tangy flavor that perfectly balances the savory herbs and punchy garlic. The coating achieves that ideal texture: shatteringly crisp on the outside while keeping all the moisture locked in. Whether you’re a fried chicken aficionado or trying your hand at it for the first time, this detailed guide will help you create chicken that’s worthy of your most treasured food memories.
Why This Recipe Works
Before diving into the ingredients and steps, let me share why this particular approach creates such outstanding results:
- Buttermilk bath: The acidity in buttermilk gently breaks down proteins, creating incredibly tender chicken while adding subtle tang
- Fresh herbs: Moving beyond the typical dried seasonings, fresh herbs infuse the chicken with bright, aromatic flavor
- Double dredging: The two-stage flour coating creates more surface area for a superior crunch factor
- Rest time: Allowing the dredged chicken to sit before frying helps the coating adhere perfectly
- Temperature control: Maintaining the right oil temperature prevents greasiness and ensures even cooking
I’ve learned these techniques through countless batches, some admittedly more successful than others! What you’re getting is the culmination of all those lessons – fried chicken that finds the perfect balance between complexity of flavor and comforting familiarity.
Ingredients You’ll Need
For the Buttermilk Marinade:
- 3½-4 pounds chicken pieces (I prefer a mix of thighs, drumsticks and wings)
- 3 cups full-fat buttermilk
- 6 large garlic cloves, minced
- 2 tablespoons kosher salt
- 1 tablespoon freshly ground black pepper
- 2 teaspoons smoked paprika
- 1 teaspoon cayenne pepper (adjust to your heat preference)
- ¼ cup fresh herbs, chopped (combination of thyme, rosemary, sage, and parsley)
- 2 tablespoons honey
- Zest of 1 lemon
For the Dredging Mixture:
- 3 cups all-purpose flour
- 1 cup cornstarch
- 2 tablespoons garlic powder
- 2 tablespoons onion powder
- 2 tablespoons paprika
- 1 tablespoon dried thyme
- 1 tablespoon dried oregano
- 1 tablespoon baking powder (the secret to extra crispiness!)
- 2 teaspoons kosher salt
- 2 teaspoons freshly ground black pepper
- 1 teaspoon cayenne pepper (optional)
For Frying:
- 2-3 quarts vegetable oil, peanut oil, or lard (for authentic Southern flavor)
- Fresh herbs for garnish (thyme, rosemary, sage)
Equipment List
Having the right tools on hand makes the frying process much smoother:
| Equipment | Purpose | Recommended Type |
|---|---|---|
| Large bowl | For marinating chicken | Glass or stainless steel |
| Shallow dishes | For dredging mixture | Wide, flat-bottomed dishes |
| Heavy-bottomed pot | For frying | Cast iron or Dutch oven (10-12 inch) |
| Deep-fry thermometer | Temperature monitoring | Digital with clip |
| Tongs | Safe handling of chicken | 12-inch length with silicone tips |
| Wire rack | Draining and cooling | Set over baking sheet |
| Paper towels | Oil absorption | Unscented |
| Meat thermometer | Check doneness | Instant-read digital |
Step-by-Step Instructions
Day Before: Preparing the Marinade
- Prepare the chicken: Pat chicken pieces dry with paper towels. Trim excess fat if desired, but leave the skin intact.
- Mix marinade: In a large bowl, combine buttermilk, minced garlic, kosher salt, black pepper, smoked paprika, cayenne pepper, chopped fresh herbs, honey, and lemon zest. Whisk thoroughly until well incorporated.
- Marinate chicken: Add chicken pieces to the buttermilk mixture, ensuring each piece is fully submerged. Cover the bowl with plastic wrap or transfer everything to a large zip-top bag.
- Refrigerate overnight: Place in refrigerator for at least 8 hours, preferably 24 hours. The longer marination allows the buttermilk enzymes to tenderize the meat and the flavors to penetrate deeply.
Day of Cooking: Frying the Chicken
- Prepare for frying: Remove marinated chicken from refrigerator 30-45 minutes before cooking to take the chill off. This helps the chicken cook more evenly.
- Set up dredging station: In a large, shallow dish, whisk together flour, cornstarch, all dried herbs and spices, baking powder, salt, and black pepper.
- Prepare frying setup: Set a wire rack over a baking sheet lined with paper towels. This will be for draining the fried chicken.
- Heat oil: Pour oil into a heavy-bottomed pot to a depth of about 3 inches. Heat over medium-high until oil temperature reaches 350°F (175°C).
- Dredge chicken: Working with one piece at a time, remove chicken from buttermilk marinade, allowing excess to drip off. Place in flour mixture and coat thoroughly. Gently shake off excess flour, then dip back into buttermilk briefly, then into flour mixture for a second coat. Press flour gently into chicken to create a good adhesion.
- Rest coated chicken: Place dredged chicken on a clean baking sheet and let rest for 10-15 minutes. This resting period helps the coating adhere better during frying.
- Fry chicken: Carefully lower 3-4 pieces of chicken into the hot oil, depending on the size of your pot. Don’t overcrowd the pot, as this will drop the oil temperature too much.
- Monitor temperature: Maintain oil temperature between 325-350°F (163-175°C). Adjust heat as needed throughout the cooking process.
- Cook thoroughly: Fry chicken until deeply golden brown and crispy, about 12-14 minutes for wings, 14-16 minutes for thighs, and 16-18 minutes for drumsticks. Turn pieces occasionally for even browning.
- Check for doneness: Use an instant-read thermometer to ensure chicken has reached an internal temperature of 165°F (74°C) at the thickest part.
- Drain and rest: Transfer fried chicken to prepared wire rack. Sprinkle with a little flaky sea salt while still hot. Let rest for 10 minutes before serving.
Pro Tips for Perfect Fried Chicken
- Don’t skip the marination: The buttermilk soak is crucial for tenderness and flavor.
- Double-dredge technique: Creates more surface area for super crispy chicken.
- Watch your oil temperature: Too hot, and the outside burns before the inside cooks; too cool, and the chicken absorbs too much oil, becoming greasy.
- Work in batches: Overcrowding the pot lowers the oil temperature too quickly.
- Use a splatter screen: This reduces mess and makes cleanup easier.
- Season immediately after frying: Salt adheres better to hot, just-fried surfaces.

The Science Behind Great Fried Chicken
What makes this recipe work is understanding the science behind each step:
| Component | Scientific Principle | Effect on Final Dish |
|---|---|---|
| Buttermilk | Lactic acid tenderization | Breaks down proteins for more tender meat |
| Baking powder | Chemical leavening | Creates microbubbles in coating for extra crispiness |
| Cornstarch | Lower protein content | Results in more delicate, crispier crust than flour alone |
| Oil temperature | Heat management | Proper temperature seals coating quickly, preventing oil absorption |
| Resting period | Protein relaxation | Allows meat fibers to relax, resulting in juicier chicken |
| Double coating | Surface area increase | More texture and crunch in final product |
When I first started making fried chicken, I didn’t understand these principles and wondered why my results were inconsistent. Learning the “why” behind each step has transformed my fried chicken game completely.
Common Troubleshooting
Even experienced cooks sometimes run into issues with fried chicken. Here are solutions to the most common problems:
Coating falls off during frying
- Solution: Make sure chicken is patted dry before first dredge, rest chicken after coating, and don’t move chicken too much during first 3-4 minutes of frying.
Chicken burns on outside but isn’t cooked inside
- Solution: Lower oil temperature to 325°F and increase cooking time. Consider par-cooking large pieces in oven before frying.
Greasy, soggy chicken
- Solution: Ensure oil is hot enough (350°F) when chicken goes in, and don’t overcrowd the pot. Drain on wire rack rather than paper towels alone.
Bland flavor despite seasonings
- Solution: Season each component (marinade, dredge, and finished chicken). Remember that cold foods need more seasoning, so be generous with the marinade.
Serving Suggestions
This fried chicken deserves worthy accompaniments. Here are my favorite sides to serve alongside:
- Creamy mashed potatoes with roasted garlic
- Classic coleslaw with apple cider vinegar dressing
- Flaky buttermilk biscuits with honey butter
- Southern-style green beans with bacon
- Creamed corn with fresh thyme
- Macaroni and cheese with sharp cheddar and gruyère
- Pickled vegetables for acidity to cut through the richness
- Spicy honey for drizzling
- Fresh watermelon slices in summer
- Homemade lemonade with mint
I find that balancing the richness of the fried chicken with something tangy, something starchy, and something fresh creates the perfect meal. For a casual gathering, I’ll serve everything family-style on a big platter with small ramekins of different dipping sauces.
Storage and Reheating Tips
While fried chicken is unquestionably best eaten fresh, leftovers can still be delicious when handled properly:
Short-term storage:
- Allow chicken to cool completely before refrigerating
- Store in airtight container lined with paper towels
- Keep refrigerated for up to 3 days
Reheating methods (in order of preference):
- Oven method: Preheat oven to 400°F. Place chicken on wire rack over baking sheet. Heat for 15-20 minutes until crispy and internal temperature reaches 165°F.
- Air fryer method: 375°F for 5-7 minutes, checking frequently.
- Microwave + oven combo: Microwave on 50% power just until slightly warm (about 1 minute), then finish in 400°F oven for 5-8 minutes to crisp up.
Avoid: Microwaving alone will yield soggy, rubbery chicken that’s a sad shadow of its former glory.
Make-Ahead Options
For entertaining, you can prepare components in advance:
- Marinate chicken up to 36 hours ahead (though 24 is ideal)
- Mix dry dredging ingredients up to 1 week ahead, stored in airtight container
- Fry chicken up to 3 hours ahead, then hold in 200°F oven on wire rack
- Fully cool, refrigerate, then reheat using the oven method above for next-day serving
Variations to Try
While I stand by this classic recipe, here are some delicious variations I’ve experimented with:
- Nashville Hot: After frying, brush with cayenne-infused hot oil and serve with pickle chips
- Lemon-Herb Focused: Double the lemon zest and fresh herbs in the marinade
- Gluten-Free Version: Substitute rice flour and gluten-free 1:1 baking flour with excellent results
- Extra Crunchy: Add 1 cup crushed cornflakes or panko to the second dredge
- Honey-Drizzled: Finish with a drizzle of hot honey infused with rosemary
- Garlic Parmesan: Add ½ cup grated parmesan to the dredging mix and extra garlic powder
Questions & Answers
Is it necessary to use skin-on chicken? The skin helps the coating adhere and adds flavor and moisture. You can use skinless, but the texture and juiciness will be different. If using skinless, reduce the cooking time slightly to prevent drying.
Can I use dried herbs instead of fresh in the marinade? Yes, but reduce the quantity to about one-third of what the recipe calls for with fresh herbs. Fresh herbs provide brighter flavor, but dried will still work well.
Why is my chicken not as golden as I’d like? This could be due to a few factors: oil not hot enough, too much moisture in the coating, or not enough paprika/turmeric. Try adjusting your oil temperature and consider adding a teaspoon of turmeric to the dredge for color.
Is there a non-dairy substitute for buttermilk? Absolutely! Mix 3 cups of plant-based milk with 3 tablespoons of lemon juice or vinegar. Let stand for 10 minutes before using. Coconut milk works particularly well for its fat content.
How can I add more heat without overpowering the flavor? Add 1 teaspoon of cayenne to both the marinade and dredge, or include 2 tablespoons of hot sauce in the buttermilk marinade. You can also serve the finished chicken with hot honey on the side.
Can I reuse the frying oil? Yes, with proper handling. After cooling completely, strain through a fine-mesh sieve lined with cheesecloth to remove all particles. Store in an airtight container. It can be reused 2-3 times before developing off-flavors.
Why do you use both flour and cornstarch? Cornstarch creates a crispier, more delicate texture than flour alone. The combination gives you the sturdiness of flour with the extra crispness of cornstarch – the best of both worlds!
How do I keep the oil temperature consistent? Use a heavy-bottomed pot that retains heat well, don’t overcrowd the pot, and let the oil come back up to temperature between batches. A reliable thermometer is essential – I clip mine to the side of the pot.
What’s the purpose of the baking powder in the dredge? Baking powder creates tiny bubbles in the coating as it fries, resulting in extra crispiness and a lighter texture. It’s one of my secret ingredients for superior crunch!
How can I make this recipe with less mess? Set up a designated “wet station” and “dry station” with rimmed baking sheets. Line your counters with parchment or newspaper, and use a splatter screen during frying. Having a dedicated frying apron also helps!
Final Thoughts
There’s a reason fried chicken has remained such an enduring comfort food classic across generations. The contrast of textures, the savory flavors, and the way it brings people together around the table make it one of my absolute favorite things to cook for those I care about.
This buttermilk fried chicken with fresh herbs and garlic represents years of my personal experimentation and family tradition. Each element – from the overnight marinade to the perfectly calibrated dredge to the careful frying technique – contributes to what I honestly believe is exceptional fried chicken.
I hope you’ll try this recipe and make it your own. There’s something deeply satisfying about mastering this cooking technique, and even more satisfying when you see the joy it brings to those you serve it to. Remember that great fried chicken takes practice, so don’t be discouraged if your first batch isn’t perfect. Focus on maintaining your oil temperature, seasoning adequately, and enjoying the process. Before long, you’ll be known for your signature fried chicken too!