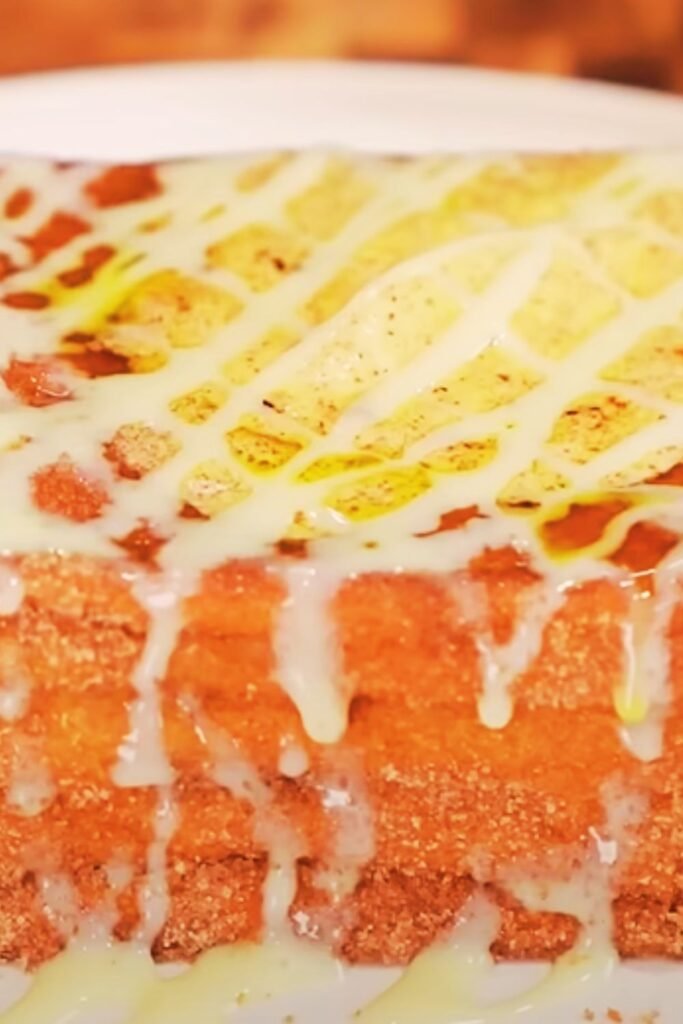
When I first discovered Hong Kong style French toast during my travels through Asia, I knew I had stumbled upon something extraordinary. This wasn’t your typical weekend brunch fare – it was a golden, crispy masterpiece that combined the comfort of French toast with the indulgent creativity that Hong Kong cuisine is famous for.
What makes this dish so special isn’t just its incredible taste, but how surprisingly simple it is to make at home. In just 10 minutes, you can create a restaurant-quality breakfast that will have your family asking for seconds (and thirds!). The secret lies in the unique preparation method that creates an impossibly crispy exterior while maintaining a soft, custard-like interior.
What Makes Hong Kong Style French Toast Different?
Unlike traditional French toast, Hong Kong style French toast (known as “西多士” or “sai do si” in Cantonese) is a sandwich-style creation that’s typically stuffed with peanut butter, deep-fried to golden perfection, and served with a generous pat of butter and maple syrup. The result is a contrast of textures that’s absolutely divine – think of it as the ultimate comfort food fusion.
The key differences include:
Sandwich Construction: Two slices of bread are sandwiched together with filling before being dipped in egg mixture Deep Frying Method: Instead of pan-frying, the traditional method uses deep frying for maximum crispiness
Serving Style: Always served with a thick pat of butter on top that slowly melts over the warm toast Texture Focus: The goal is achieving maximum contrast between crispy exterior and soft interior
Essential Ingredients Breakdown
Let me walk you through each ingredient and why it matters for achieving that perfect Hong Kong style result:
Bread Selection
- White sandwich bread: The classic choice, provides the right texture and absorption
- Thickness: 1-inch thick slices work best for proper filling distribution
- Day-old bread: Slightly stale bread actually works better as it absorbs the egg mixture without falling apart
Filling Options
- Peanut butter: The traditional and most popular choice
- Condensed milk: Creates an incredibly rich, sweet center
- Jam varieties: Strawberry or mixed berry work wonderfully
- Chocolate spread: A modern twist that’s become increasingly popular
Egg Mixture Components
- Whole eggs: Provide richness and help create that golden color
- Milk: Adds creaminess and helps the mixture coat evenly
- Sugar: Just a touch enhances browning and adds subtle sweetness
- Vanilla extract: Elevates the overall flavor profile
Step-by-Step Preparation Guide
Preparation Phase (3 minutes)
I always start by getting my workspace organized. This dish comes together quickly, so having everything ready makes the process smooth and enjoyable.
Setting Up Your Station: First, I arrange all ingredients within easy reach. The bread should be at room temperature, and I like to let my eggs come to room temperature too – this helps create a more uniform mixture.
Creating the Egg Mixture: In a shallow bowl, I whisk together 2 large eggs, 3 tablespoons of whole milk, 1 teaspoon of sugar, and 1/2 teaspoon of vanilla extract. The mixture should be smooth and well-combined, with no streaks of egg white visible. This base will give our toast that beautiful golden color and rich flavor.
Assembly Process (2 minutes)
Preparing the Sandwich: I spread about 1 tablespoon of peanut butter (or your chosen filling) on one slice of bread, making sure to leave a small border around the edges. Then I place the second slice on top and gently press the edges together. This creates a seal that prevents the filling from leaking out during cooking.
The Dipping Technique: Here’s where technique really matters. I dip the sandwich into the egg mixture, allowing each side to soak for about 15-20 seconds. The bread should absorb the mixture but not become soggy. I gently shake off any excess before moving to the pan.
Cooking Process (5 minutes)
Pan Preparation: I heat about 1/4 inch of oil in a heavy-bottomed pan over medium heat. The oil should be hot enough that a drop of egg mixture sizzles immediately but not so hot that it smokes. This temperature control is crucial for achieving that perfect golden crust.
The Frying Technique: I carefully place the sandwich in the hot oil and cook for 2-3 minutes on the first side. The key is patience – resist the urge to flip too early. When the bottom is golden brown and crispy, I flip it carefully using a wide spatula and cook the other side for another 2-3 minutes.
Detailed Cooking Instructions
Temperature Control Mastery
Getting the temperature right is absolutely critical for Hong Kong style French toast success. I’ve learned through experience that medium heat (around 350°F if you’re using a thermometer) gives you the perfect balance of crispy exterior and properly cooked interior.
Visual Cues for Perfect Temperature: When you add a small drop of the egg mixture to the oil, it should sizzle immediately and create small bubbles around the edges. If it doesn’t sizzle, the oil isn’t hot enough. If it splatters violently, reduce the heat slightly.
Timing Guidelines:
- First side: 2-3 minutes (until golden brown and crispy)
- Second side: 2-3 minutes (matching the first side’s color)
- Total cooking time: 4-6 minutes depending on thickness
Achieving the Perfect Crust
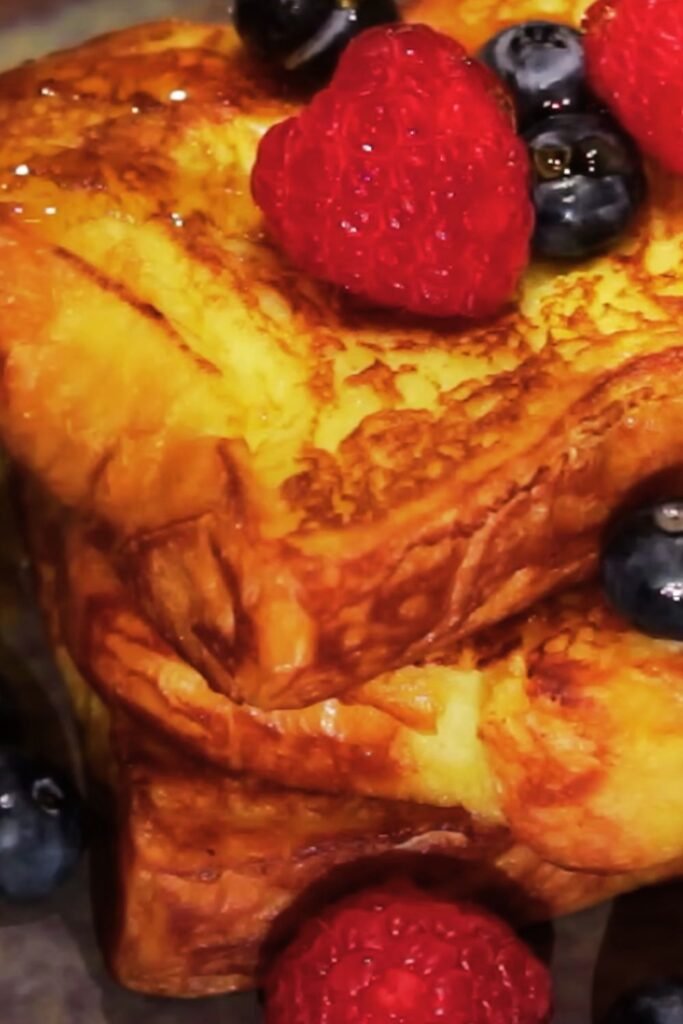
The signature characteristic of Hong Kong style French toast is that incredibly crispy, golden crust that gives way to a soft, custardy interior. Here’s how I achieve this every time:
Oil Depth Matters: I use enough oil to come halfway up the sides of the sandwich. This allows for even browning and creates that distinctive crispy texture that’s impossible to achieve with minimal oil.
The Flip Test: I know it’s ready to flip when the edges start to turn golden and the bottom releases easily from the pan. If it sticks, it needs more time.
Drainage Technique: After cooking, I place the toast on a paper towel-lined plate for just 30 seconds to remove excess oil, then transfer to the serving plate immediately while it’s still hot.
Nutritional Information and Serving Details
Understanding the nutritional profile of this indulgent treat helps you enjoy it as part of a balanced diet. Here’s a comprehensive breakdown:
| Nutritional Component | Per Serving | Daily Value % |
|---|---|---|
| Calories | 485 | 24% |
| Total Fat | 28g | 36% |
| Saturated Fat | 8g | 40% |
| Cholesterol | 195mg | 65% |
| Sodium | 420mg | 18% |
| Total Carbohydrates | 42g | 15% |
| Dietary Fiber | 3g | 11% |
| Sugars | 12g | – |
| Protein | 18g | 36% |
| Vitamin A | 245mcg | 27% |
| Calcium | 185mg | 14% |
| Iron | 2.8mg | 16% |
Serving Specifications
| Aspect | Details |
|---|---|
| Serving Size | 1 complete sandwich |
| Prep Time | 5 minutes |
| Cook Time | 5 minutes |
| Total Time | 10 minutes |
| Difficulty Level | Beginner |
| Serves | 2 people |
| Best Served | Immediately while hot |
| Storage | Not recommended |
Flavor Variations and Creative Twists
Over the years, I’ve experimented with countless variations of this classic recipe. Here are my favorite adaptations that maintain the authentic Hong Kong style while adding exciting new flavors:
Sweet Variations
Chocolate Lover’s Version: I replace peanut butter with Nutella and add a thin layer of sliced strawberries. The combination of chocolate and fruit creates an incredibly decadent breakfast experience.
Tropical Paradise: Coconut flakes mixed with pineapple jam creates a filling that transports you straight to a tropical beach. I sometimes add a sprinkle of toasted coconut on top for extra texture.
Classic Americana: Grape jelly or strawberry jam with a thin layer of cream cheese creates a flavor profile that’s familiar yet elevated by the Hong Kong cooking method.
Savory Adaptations
Ham and Cheese Deluxe: Thin slices of ham with mild cheddar cheese create a savory version that’s perfect for brunch. I reduce the sugar in the egg mixture for this variation.
Breakfast Sausage Special: Cooked breakfast sausage with a touch of maple syrup creates a hearty, protein-rich option that’s incredibly satisfying.
Professional Tips for Perfect Results
Through years of making this dish, I’ve discovered several professional techniques that consistently deliver restaurant-quality results:
Bread Selection Secrets
The Day-Old Advantage: Fresh bread can become too soggy when dipped in the egg mixture. Day-old bread has the perfect texture – it’s firm enough to hold its shape but still absorbs the flavors beautifully.
Thickness Matters: I always use bread that’s at least 3/4 inch thick. Thinner slices don’t provide enough structure for the filling and can fall apart during cooking.
Crust Considerations: I leave the crusts on because they help hold the sandwich together and add to the overall texture contrast.
Advanced Cooking Techniques
The Double-Dip Method: For extra rich flavor, I sometimes dip the sandwich twice – once lightly, let it rest for 30 seconds, then dip again. This creates an incredibly custardy interior.
Temperature Monitoring: I use a kitchen thermometer to keep the oil at exactly 350°F. This ensures consistent results every time.
The Butter Finish: Immediately after cooking, I add a small pat of butter to the pan and let it brown slightly, then drizzle this over the finished toast for an extra layer of flavor.
Troubleshooting Common Issues
Even experienced cooks sometimes encounter challenges with this recipe. Here are solutions to the most common problems I’ve encountered:
Soggy Exterior Problems
Cause: Usually results from oil that’s not hot enough or dipping the bread too long in the egg mixture.
Solution: Ensure your oil is properly heated before adding the sandwich, and limit dipping time to 15-20 seconds per side.
Burnt Outside, Raw Inside
Cause: Oil temperature is too high, causing the exterior to cook too quickly.
Solution: Reduce heat to medium-low and cook for slightly longer on each side.
Filling Leakage
Cause: Overfilling the sandwich or not sealing the edges properly.
Solution: Use less filling (about 1 tablespoon) and press the edges together firmly before dipping.
Uneven Browning
Cause: Uneven oil temperature or moving the sandwich too frequently.
Solution: Ensure even heat distribution and resist the urge to flip multiple times.
Serving Suggestions and Accompaniments
The beauty of Hong Kong style French toast lies not just in its preparation but in how it’s presented and what accompanies it. Here are my favorite serving suggestions:
Traditional Accompaniments
The Classic Butter Pat: A thick pat of cold butter placed on top of the hot toast creates a beautiful melting effect and adds richness to every bite.
Maple Syrup Drizzle: Pure maple syrup is the traditional choice, but I’ve found that warming it slightly enhances the flavor integration.
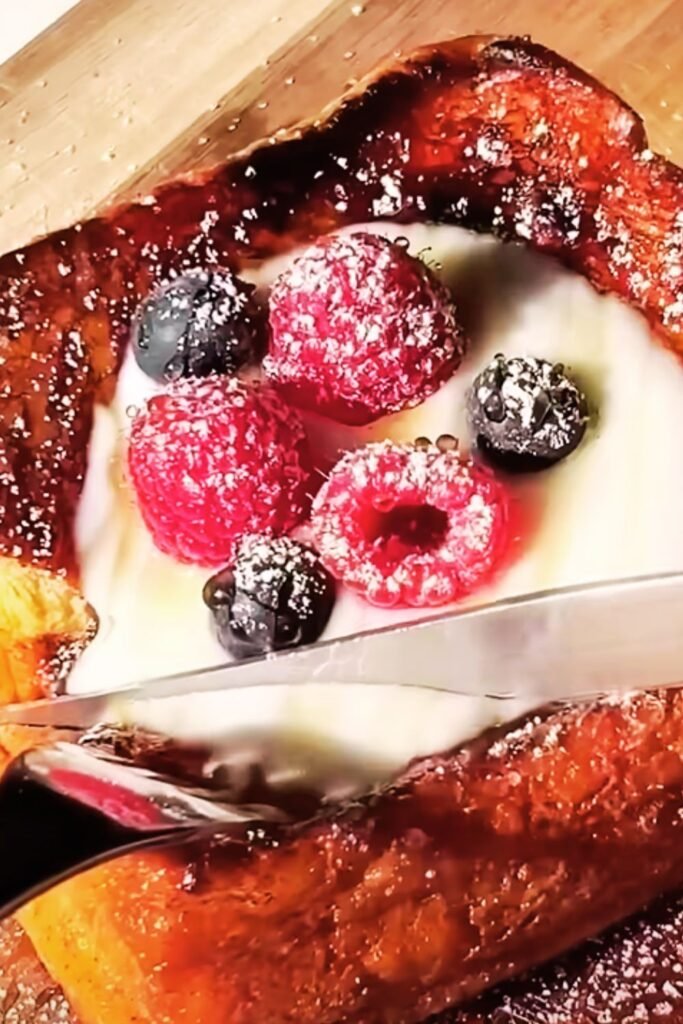
Fresh Fruit Garnish: Sliced strawberries, banana wheels, or mixed berries add color, freshness, and nutritional value to the plate.
Beverage Pairings
Hong Kong Milk Tea: The traditional beverage pairing that complements the rich, sweet flavors perfectly.
Fresh Orange Juice: The acidity cuts through the richness and provides a refreshing contrast.
Coffee Variations: A strong espresso or rich coffee balances the sweetness beautifully.
Iced Tea: Particularly jasmine or oolong tea provides a subtle, refreshing complement.
Storage and Reheating Guidelines
While Hong Kong style French toast is best enjoyed immediately, I understand that sometimes you need to prepare ahead or handle leftovers:
Storage Methods
| Storage Type | Duration | Method | Quality Rating |
|---|---|---|---|
| Room Temperature | 2 hours max | Covered plate | Good |
| Refrigerator | 1-2 days | Wrapped in foil | Fair |
| Freezer | 1 month | Airtight container | Poor |
| Best Practice | Immediate consumption | Serve hot | Excellent |
Reheating Techniques
Oven Method: Preheat to 350°F and heat for 5-7 minutes. This maintains crispiness better than microwaving.
Toaster Oven: 3-4 minutes on medium heat works well for single servings.
Pan Method: A quick sear in a dry pan for 1-2 minutes per side can restore some crispiness.
Microwave: While not ideal, 30-45 seconds on medium power works for quick reheating.
Frequently Asked Questions
Q: Can I make this recipe without deep frying? A: While traditional Hong Kong style French toast is deep-fried, you can achieve similar results using a generous amount of oil in a heavy pan (about 1/4 inch deep). The texture won’t be exactly the same, but it’s still delicious.
Q: What’s the best type of peanut butter to use? A: I prefer smooth, creamy peanut butter because it spreads easily and creates a uniform filling. Natural peanut butter can work, but make sure to stir it well first.
Q: Can I prepare the sandwiches ahead of time? A: You can assemble the sandwiches up to 2 hours ahead and keep them covered in the refrigerator. However, don’t dip them in the egg mixture until you’re ready to cook.
Q: Why does my French toast turn out greasy? A: This usually happens when the oil temperature is too low. Make sure your oil is properly heated (around 350°F) before adding the sandwich. Also, ensure you drain excess oil after cooking.
Q: Can I use different types of bread? A: While white sandwich bread is traditional, you can experiment with brioche, challah, or even thick-cut Texas toast. Avoid very dense breads like sourdough as they don’t absorb the egg mixture well.
Q: Is there a healthier version of this recipe? A: You can reduce the oil by using a non-stick pan with just enough oil to coat the bottom. You can also use egg whites instead of whole eggs and reduce the sugar in the mixture.
Q: What if I don’t have vanilla extract? A: You can omit the vanilla extract entirely, or substitute with a small amount of almond extract or even a pinch of cinnamon for different flavor notes.
Q: Can I make this recipe dairy-free? A: Yes! Replace the milk with your favorite plant-based milk (almond, oat, or soy work well) and use a dairy-free butter substitute for serving.
Q: How do I know when the oil is the right temperature? A: Drop a small amount of the egg mixture into the oil. If it sizzles immediately and bubbles around the edges without splattering violently, the temperature is perfect.
Q: Can I double this recipe for a crowd? A: Absolutely! The recipe scales well. Just make sure you have enough pan space and oil to maintain consistent cooking temperatures. You might need to work in batches.
This Hong Kong style French toast has become a weekend staple in my kitchen, and I’m confident it will become one of your favorite breakfast treats too. The combination of crispy exterior, creamy interior, and that perfect balance of sweet and rich flavors creates an experience that’s truly special. Whether you’re treating yourself to a luxurious weekend breakfast or impressing guests at brunch, this 10-minute recipe delivers restaurant-quality results every time.
The key to mastering this dish lies in understanding the technique rather than just following the recipe. Pay attention to your oil temperature, don’t rush the cooking process, and most importantly, serve it immediately while it’s hot and crispy. Once you’ve mastered the basic recipe, feel free to experiment with different fillings and toppings to make it your own signature dish.