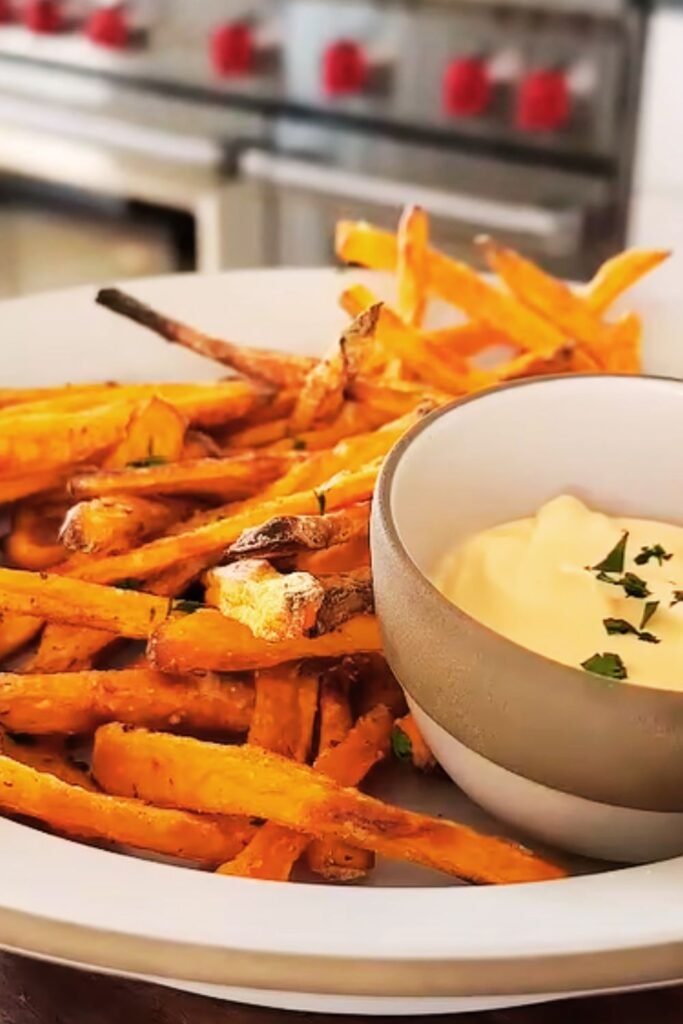
There’s something magical about the perfect sweet potato fry – that golden exterior giving way to a fluffy, sweet interior that makes your taste buds dance with joy. I’ve spent countless hours in my kitchen perfecting this recipe, and I’m thrilled to share my secrets for achieving restaurant-quality crispy oven baked sweet potato fries right in your home kitchen.
Sweet potato fries have become my go-to side dish for everything from casual weeknight dinners to elegant weekend gatherings. Unlike their white potato cousins, sweet potatoes bring natural sweetness and vibrant color to your plate, plus they’re packed with nutrients that make me feel good about serving them to my family.
The challenge with sweet potato fries has always been achieving that perfect crispy exterior without overcooking the tender inside. Through trial and error, I’ve discovered the key techniques that transform ordinary sweet potatoes into extraordinarily crispy, golden fries that rival any restaurant version.
Understanding Sweet Potatoes: The Foundation of Great Fries
Sweet Potato Varieties: Not all sweet potatoes are created equal when it comes to making fries. I’ve experimented with different varieties and found that certain types work better than others.
Orange-fleshed Sweet Potatoes: These are my top choice for fries. Varieties like Beauregard, Centennial, and Jewel offer the perfect balance of sweetness and texture. They hold their shape well during cooking while developing that coveted crispy exterior.
Purple Sweet Potatoes: While stunning visually, I find these work better for other preparations as they can become too dense for optimal fry texture.
White Sweet Potatoes: These offer a milder flavor and can work well, though they lack the vibrant color that makes sweet potato fries so appealing.
Moisture Content: The key challenge with sweet potatoes is their higher moisture and sugar content compared to regular potatoes. This is why my technique focuses heavily on removing excess moisture before cooking.
The Science Behind Crispy Sweet Potato Fries
Understanding the science helps me achieve consistent results every time. Sweet potatoes contain more natural sugars than regular potatoes, which means they can brown quickly on the outside while remaining undercooked inside. The high moisture content also works against achieving crispiness.
My method addresses these challenges through several key steps: proper cutting technique, strategic soaking, thorough drying, optimal seasoning, and precise oven temperature control. Each step builds upon the previous one to create the ideal conditions for crispy perfection.
Essential Equipment and Ingredients
Equipment Needed
- Large rimmed baking sheet (preferably two)
- Sharp chef’s knife for uniform cutting
- Large mixing bowl for soaking and tossing
- Clean kitchen towels or paper towels for drying
- Wire cooling rack (optional but recommended)
Ingredients Breakdown
| Ingredient | Amount | Purpose | Quality Tips |
|---|---|---|---|
| Sweet Potatoes | 2-3 large (2 lbs) | Main ingredient | Choose firm, unblemished potatoes |
| Cornstarch | 2-3 tablespoons | Creates crispy coating | Potato starch works as substitute |
| Olive Oil | 3-4 tablespoons | Promotes browning | Extra virgin for best flavor |
| Salt | 1-2 teaspoons | Enhances flavor | Sea salt or kosher salt preferred |
| Paprika | 1 teaspoon | Color and mild flavor | Smoked paprika adds depth |
| Garlic Powder | 1/2 teaspoon | Savory element | Fresh garlic burns too easily |
| Black Pepper | 1/4 teaspoon | Heat and complexity | Freshly ground preferred |
Optional Seasonings
| Seasoning | Amount | Flavor Profile |
|---|---|---|
| Cajun Seasoning | 1-2 teaspoons | Spicy, complex |
| Rosemary | 1 tablespoon fresh | Earthy, aromatic |
| Thyme | 1 teaspoon dried | Subtle, herbal |
| Cumin | 1/2 teaspoon | Warm, earthy |
| Chili Powder | 1/2 teaspoon | Mild heat |
My Step-by-Step Method for Perfect Crispy Fries
Preparation Phase (15 minutes)
I always start by preheating my oven to 425°F (220°C). This high temperature is crucial for achieving the crispy exterior we’re after. While the oven heats, I line my baking sheets with parchment paper, which prevents sticking and makes cleanup easier.
Step 1: Selecting and Washing I choose sweet potatoes that are similar in size for even cooking. After scrubbing them thoroughly under cold water, I decide whether to peel them. Personally, I love leaving the skin on for added texture and nutrition, but peeling is perfectly fine if you prefer.
Step 2: The Perfect Cut This is where technique really matters. I cut my sweet potatoes into uniform sticks, approximately 1/2 inch thick and 3-4 inches long. Consistency is key here – uneven pieces will cook at different rates, leaving you with some burnt edges and some undercooked centers.
Step 3: The Soaking Secret Here’s where my method differs from many others. I soak the cut sweet potatoes in cold water for 30 minutes. This step removes excess starch and some of the surface moisture, both crucial for achieving crispiness. I change the water once during soaking if it becomes very cloudy.
Step 4: Thorough Drying After soaking, I drain the sweet potatoes and pat them completely dry with clean kitchen towels. I cannot overemphasize how important this step is. Any remaining moisture will create steam during cooking, preventing that crispy exterior we’re working toward.
The Coating Process
Step 5: Cornstarch Magic I toss the dried sweet potato sticks with cornstarch first, before adding any oil. The cornstarch creates an additional barrier that helps achieve maximum crispiness. I use about 2-3 tablespoons for 2 pounds of sweet potatoes, making sure each piece is lightly coated.
Step 6: Oil and Seasoning Next comes the olive oil – I use just enough to lightly coat each piece without making them greasy. Then I add my seasonings, tossing everything together until the sweet potatoes are evenly coated.
Baking Technique
Step 7: Strategic Arrangement I arrange the seasoned sweet potato fries in a single layer on my prepared baking sheets, making sure none are touching. Overcrowding leads to steaming instead of roasting, which prevents crispiness. If necessary, I use two baking sheets rather than cramming everything onto one.
Step 8: The Baking Process Into the 425°F oven they go for 15 minutes. Then I flip each fry individually – yes, it takes a few minutes, but it’s worth it for even browning. I continue baking for another 15-20 minutes until they’re golden brown and crispy on the outside.
Timing and Temperature Guide
| Stage | Temperature | Time | Visual Cues |
|---|---|---|---|
| Initial Bake | 425°F (220°C) | 15 minutes | Edges starting to brown |
| Post-Flip | 425°F (220°C) | 15-20 minutes | Golden brown, crispy edges |
| Rest Period | Room temp | 2-3 minutes | Maintains crispiness |
Troubleshooting Common Issues
Problem: Fries are soggy Solution: Usually caused by insufficient drying or overcrowding. Make sure sweet potatoes are completely dry before coating and don’t overcrowd the baking sheet.
Problem: Burnt exterior, undercooked interior Solution: Lower the oven temperature to 400°F and increase cooking time. Also check that your fry cuts aren’t too thick.
Problem: Uneven browning Solution: Ensure uniform cutting and flip each fry individually during cooking rather than just stirring them around.
Problem: Fries won’t get crispy Solution: Try increasing the cornstarch amount or make sure your oven is fully preheated before adding the fries.
Serving Suggestions and Pairings
These crispy sweet potato fries complement a wide variety of main dishes. I love serving them alongside grilled chicken, turkey burgers, or fish tacos. They’re also fantastic with vegetarian options like black bean burgers or grilled portobello mushrooms.
For dipping sauces, I’ve experimented with many combinations. My favorites include chipotle mayo, honey mustard, garlic aioli, and a simple mixture of Greek yogurt with herbs. The natural sweetness of the sweet potatoes pairs beautifully with both tangy and spicy flavors.
Storage and Reheating Tips
| Storage Method | Duration | Quality | Reheating Instructions |
|---|---|---|---|
| Room Temperature | 2 hours max | Best texture | Not recommended |
| Refrigerator | 3-4 days | Good | 400°F oven, 5-7 minutes |
| Freezer | 2-3 months | Fair | 425°F oven, 10-12 minutes |
Fresh is always best with these fries, but I understand that sometimes you need to prepare ahead. If I must store them, I let them cool completely before refrigerating in an airtight container. For reheating, I always use the oven rather than the microwave to restore some of that crispiness.
Nutritional Benefits
Sweet potatoes are nutritional powerhouses that make these fries a healthier alternative to regular french fries. They’re rich in beta-carotene, which converts to vitamin A in the body and supports eye health and immune function.
Advanced Variations and Flavor Profiles
Asian-Inspired: I sometimes toss the finished fries with sesame oil, rice vinegar, and toasted sesame seeds for an Asian twist.
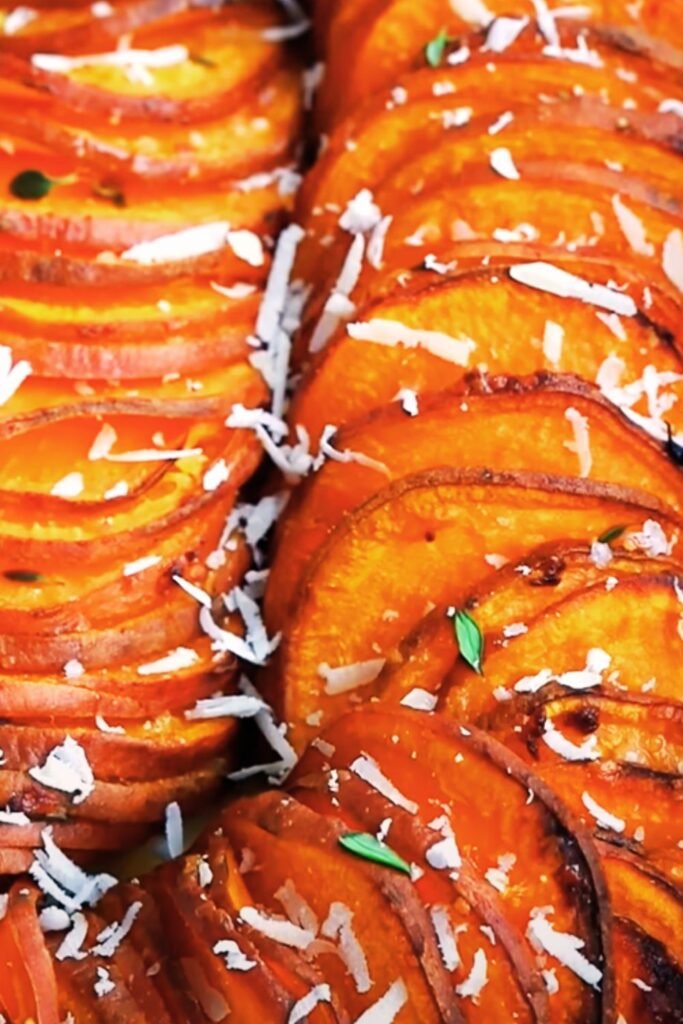
Mediterranean Style: Fresh herbs like rosemary and thyme, combined with a sprinkle of parmesan cheese after baking, create a sophisticated flavor profile.
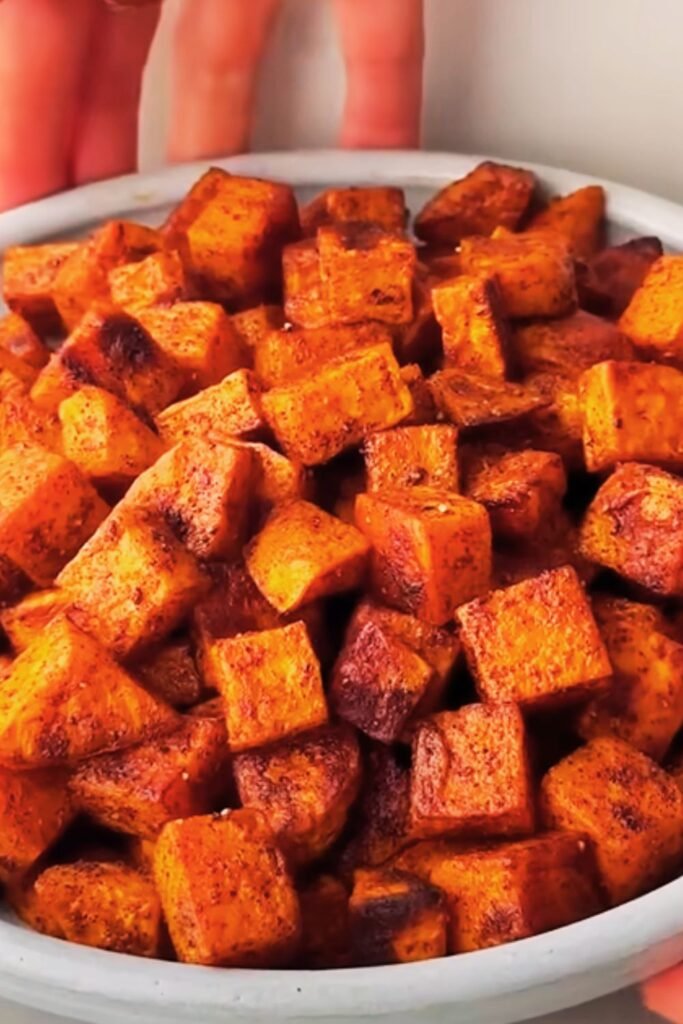
Spicy Southwestern: Chili powder, cumin, and a squeeze of lime juice transform these into the perfect accompaniment for Mexican-inspired meals.
Sweet and Savory: A light drizzle of maple syrup and a sprinkle of sea salt after baking creates an irresistible sweet-savory combination.
Q&A Section
Q: Can I make these sweet potato fries in an air fryer instead? A: Absolutely! I use 380°F for about 12-15 minutes, shaking the basket every 5 minutes. The results are excellent and even crispier than the oven method.
Q: Do I have to soak the sweet potatoes, or can I skip this step? A: While you can skip soaking, I strongly recommend it. The soaking removes excess starch and moisture, which are the main obstacles to achieving crispy fries.
Q: What’s the best way to cut sweet potatoes for even cooking? A: I use a sharp chef’s knife and aim for uniform pieces about 1/2 inch thick. If you have a mandoline slicer, that can help achieve even more consistent results.
Q: Can I prepare these ahead of time? A: You can cut and soak the sweet potatoes up to 4 hours ahead, storing them in water in the refrigerator. However, I recommend coating and baking them just before serving for best results.
Q: Why do my sweet potato fries sometimes turn out mushy? A: This usually happens when the sweet potatoes aren’t dried thoroughly after soaking, or when they’re overcrowded on the baking sheet. Make sure each step is followed carefully.
Q: Is there a substitute for cornstarch in this recipe? A: Yes, you can use potato starch or even all-purpose flour, though cornstarch gives the best results for crispiness.
Q: How do I know when the fries are done? A: They should be golden brown on the outside and easily pierced with a fork. The edges should look crispy and slightly caramelized.
Q: Can I use this method for regular potatoes too? A: The technique works for regular potatoes, but you won’t need as much cornstarch since they have less moisture and sugar than sweet potatoes.
Q: What’s the ideal thickness for cutting sweet potato fries? A: I find 1/2 inch thickness works perfectly. Thinner fries can burn before the inside cooks, while thicker ones may not get crispy enough.
Q: Should I flip the fries during baking? A: Yes, flipping ensures even browning on all sides. I flip them once, about halfway through the cooking time.
These crispy oven baked sweet potato fries have become a staple in my kitchen, and I’m confident they’ll become one in yours too. The combination of proper technique, quality ingredients, and a little patience results in fries that are crispy on the outside, fluffy on the inside, and bursting with natural sweet potato flavor. Whether you’re serving them as a side dish or enjoying them as a healthy snack, this recipe delivers restaurant-quality results every single time.