There’s something undeniably magical about the combination of pasta, cheese, and spinach that makes my heart sing. Today, I’m excited to share one of my all-time favorite comfort food recipes that never fails to impress both family and dinner guests alike: Cheesy Spinach Shells. This dish brings together the perfect balance of creamy, cheesy goodness with nutritious spinach, all stuffed into tender pasta shells for a meal that’s both satisfying and surprisingly simple to make.
I first stumbled upon a version of this recipe years ago when I was looking for ways to incorporate more greens into my family’s diet without constant complaints. What started as a sneaky way to add vegetables has evolved into a requested favorite that disappears from the table in minutes. The beauty of this dish lies not just in its incredible flavor profile but also in its versatility – it works equally well as a weeknight dinner, potluck contribution, or impressive centerpiece for a dinner party.
What Makes This Cheesy Spinach Shells Recipe Special
Before we dive into the cooking process, let me share what makes this particular recipe stand out from other stuffed pasta dishes you might have tried:
- The perfect cheese blend that creates both creaminess and flavor depth
- A technique for preparing spinach that maintains its nutritional value while eliminating bitterness
- A lightened-up filling that doesn’t sacrifice richness
- Make-ahead options that fit busy schedules
- Versatile serving suggestions for any occasion
I’ve tested and refined this recipe countless times, adjusting ingredients and techniques until reaching what I consider the perfect balance. The result is a dish that’s indulgent enough to satisfy serious comfort food cravings while still providing nutritional benefits from the spinach, protein from the cheese, and the satisfying fullness that comes from perfectly cooked pasta.
Ingredients You’ll Need
For the Pasta:
- 24 jumbo pasta shells (plus a few extra to account for any that tear during cooking)
- 2 tablespoons olive oil
- 1 teaspoon salt (for pasta water)
For the Filling:
- 20 oz fresh spinach (or 2 10-oz packages frozen spinach, thawed and drained)
- 2 tablespoons olive oil
- 1 medium yellow onion, finely diced
- 4 cloves garlic, minced
- 15 oz ricotta cheese (whole milk provides the best flavor, but part-skim works too)
- 2 cups shredded mozzarella, divided (1½ cups for filling, ½ cup for topping)
- 1 cup freshly grated Parmesan cheese, divided (¾ cup for filling, ¼ cup for topping)
- 2 large eggs, lightly beaten
- ¼ cup fresh basil, chopped (or 1 tablespoon dried)
- 1 teaspoon dried oregano
- ½ teaspoon red pepper flakes (optional, for heat)
- 1 teaspoon salt
- ½ teaspoon freshly ground black pepper
- ¼ teaspoon freshly grated nutmeg
For the Sauce:
- 3 cups marinara sauce (homemade or high-quality store-bought)
- 2 tablespoons butter
- 2 cloves garlic, minced
- 1 teaspoon Italian seasoning
- ¼ cup fresh basil, chopped (for garnish)
Kitchen Equipment You’ll Need
- Large pot for boiling pasta
- Colander for draining
- Large skillet or sauté pan
- Mixing bowls (large and medium)
- 9×13-inch baking dish
- Measuring cups and spoons
- Wooden spoon or spatula
- Cheese grater (if using block cheese)
- Sharp knife and cutting board
- Kitchen towels
- Food processor (optional, for mixing filling)
Step-by-Step Instructions
Preparing the Pasta
- Preheat your oven to 375°F (190°C) and position a rack in the center.
- Cook the pasta shells: Bring a large pot of water to a rolling boil. Add 1 teaspoon of salt and 2 tablespoons of olive oil to the water. The oil helps prevent the shells from sticking together.
- Add the pasta and cook according to package directions, but aim for very al dente (usually 2 minutes less than the package suggests), as they’ll continue cooking in the oven.
- Drain carefully and rinse with cool water to stop the cooking process. This also helps remove excess starch that could make shells stick together.
- Drizzle the shells with a little olive oil and gently toss to coat. This prevents them from drying out or sticking together while you prepare the filling.
- Lay shells out on a clean kitchen towel to dry completely, with the openings facing down to allow any excess water to drain out.
Preparing the Spinach Filling
- If using fresh spinach: Heat 1 tablespoon of olive oil in a large skillet over medium heat. Add spinach in batches, stirring until wilted. Transfer to a colander and let cool. Once cool enough to handle, press firmly to remove excess moisture, then chop finely.
- If using frozen spinach: Thaw completely and squeeze out as much moisture as possible using a clean kitchen towel or cheesecloth. This step is crucial – excess water will make your filling runny.
- Prepare the aromatics: In the same skillet, heat the remaining tablespoon of olive oil over medium heat. Add the diced onion and cook until translucent, about 4-5 minutes. Add the minced garlic during the last minute of cooking, stirring constantly to prevent burning.
- Mix the filling: In a large bowl, combine the ricotta, 1½ cups mozzarella, ¾ cup Parmesan, eggs, chopped basil, oregano, red pepper flakes (if using), salt, pepper, and nutmeg. Stir until well combined.
- Add the spinach and aromatics to the cheese mixture and stir until everything is evenly distributed. Taste and adjust seasonings if needed.
Assembling the Dish
- Prepare the sauce: In a medium saucepan, melt the butter over medium heat. Add the minced garlic and cook for 30 seconds until fragrant. Add the marinara sauce and Italian seasoning, stirring to combine. Simmer for 5 minutes, then remove from heat.
- Prepare the baking dish: Spread 1 cup of the sauce evenly across the bottom of your 9×13-inch baking dish.
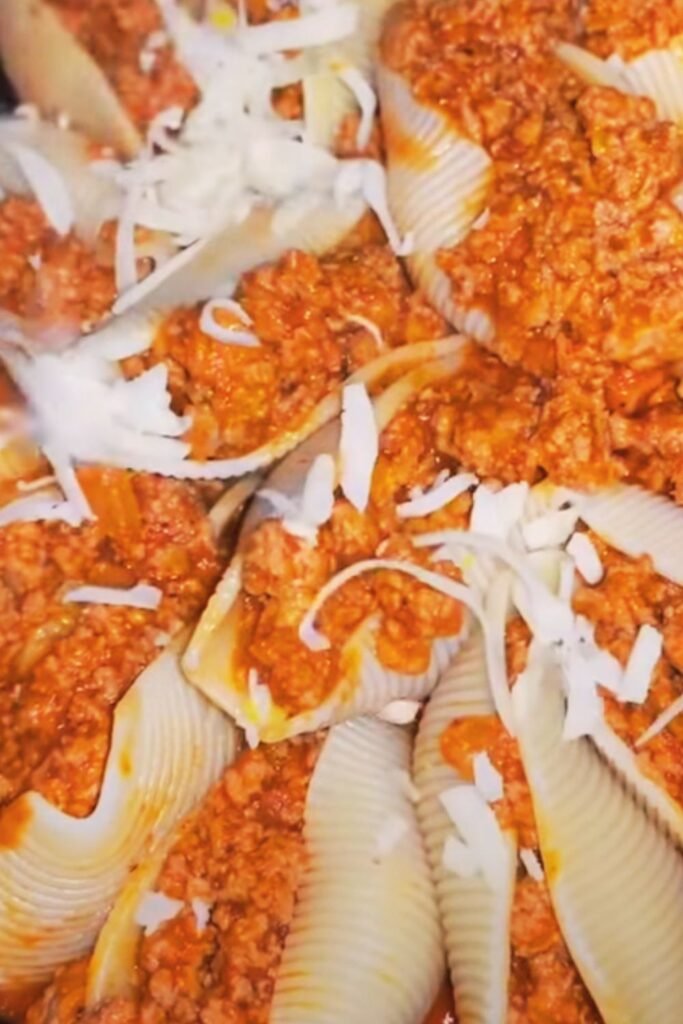
- Fill the shells: Using a spoon or a piping bag (for neater filling), stuff each pasta shell generously with the spinach and cheese mixture. Don’t be afraid to really pack it in!
- Arrange the shells: Place the filled shells in the baking dish, open side up, arranging them in rows. They should fit snugly but not be crushed against each other.
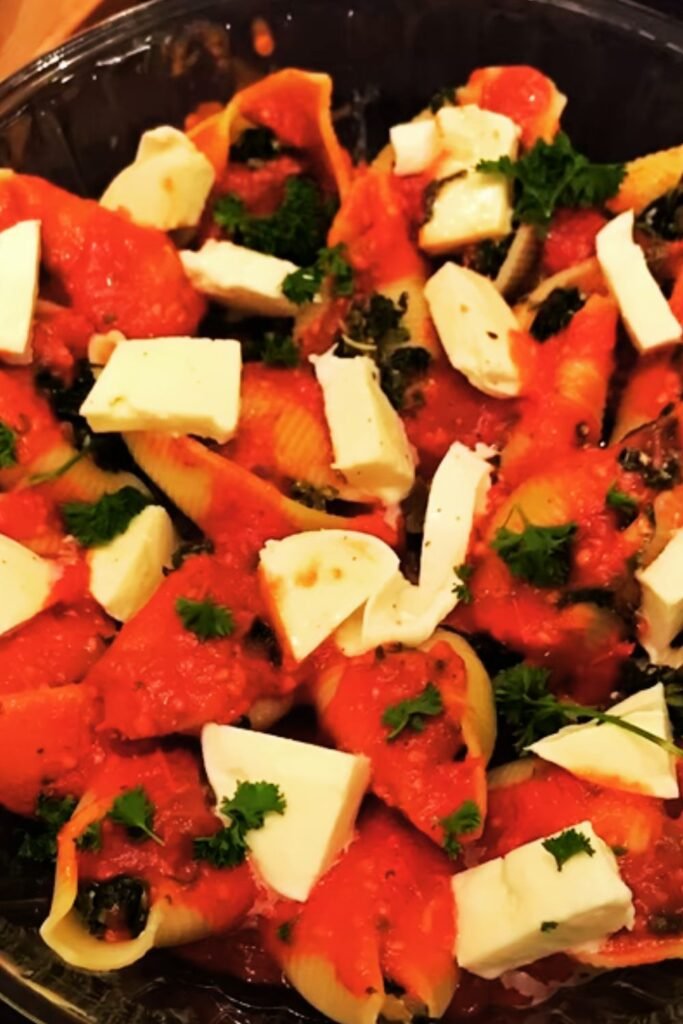
- Top with sauce: Pour the remaining sauce over and around the shells, ensuring each is topped with some sauce but not completely covered (you want to see the filling peeking through).
- Add the final cheese: Sprinkle the remaining ½ cup mozzarella and ¼ cup Parmesan evenly over the top.
Baking and Serving
- Cover with foil: Tent aluminum foil over the baking dish, being careful not to let it touch the cheese. Spray the underside of the foil with cooking spray to prevent sticking.
- Bake covered: Place in the preheated oven and bake for 25 minutes.
- Bake uncovered: Remove the foil and continue baking for an additional 10-15 minutes, until the cheese is bubbling and beginning to brown in spots.
- Rest before serving: Allow the dish to rest for 10 minutes before serving. This helps the filling set and makes it easier to serve intact shells.
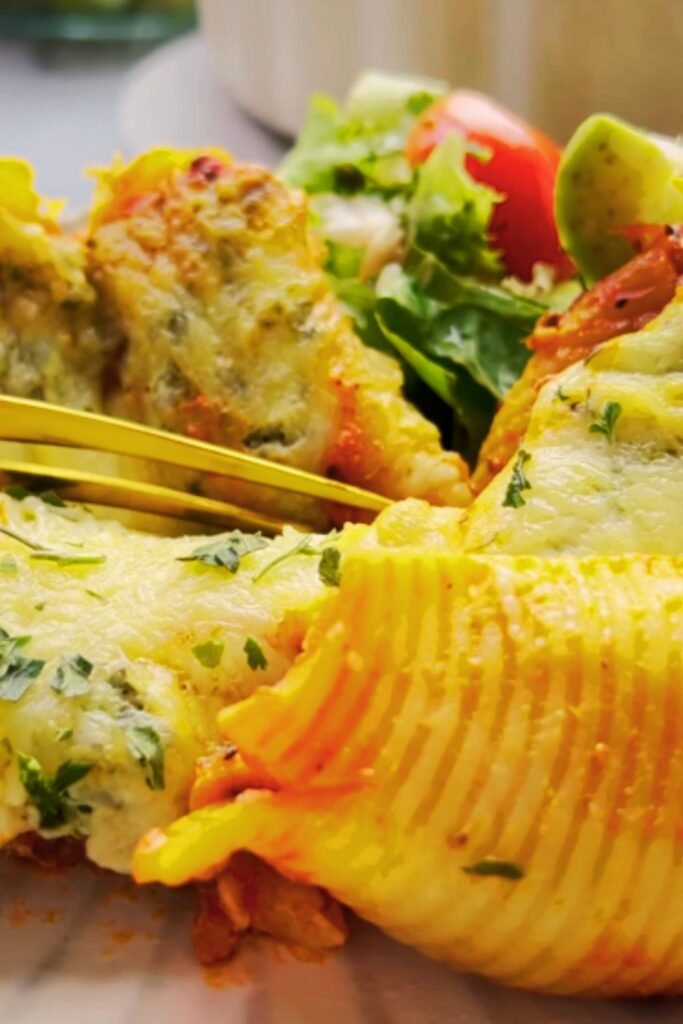
- Garnish and serve: Sprinkle with fresh chopped basil just before bringing to the table.
Nutritional Information
Here’s a breakdown of the approximate nutritional content per serving (based on 6 servings):
| Nutrient | Amount per Serving |
|---|---|
| Calories | 520 |
| Protein | 28g |
| Carbohydrates | 42g |
| Dietary Fiber | 5g |
| Sugars | 8g |
| Fat | 28g |
| Saturated Fat | 14g |
| Cholesterol | 120mg |
| Sodium | 970mg |
| Calcium | 560mg |
| Iron | 3mg |
| Vitamin A | 6500IU |
| Vitamin C | 14mg |
Tips for Perfect Cheesy Spinach Shells
Common Mistakes to Avoid
- Overcooking the pasta: Remember that the shells will continue to cook in the oven. Start with very al dente pasta to prevent mushiness.
- Wet filling: Not removing enough moisture from the spinach leads to a watery filling that won’t hold its shape.
- Bland flavor: Seasoning is key! Don’t skimp on the salt, pepper, and herbs in the filling.
- Burning the cheese: If your cheese starts to brown too quickly, loosely cover with foil for the remainder of the baking time.
Pro Tips
- Shell selection: Choose pasta shells that are about the same size for even cooking.
- Make-ahead magic: You can assemble this dish up to 24 hours in advance and refrigerate until ready to bake. Add an extra 10-15 minutes to the covered baking time if cooking from cold.
- Filling technique: A piping bag (or ziplock bag with corner snipped) makes filling the shells much easier and cleaner.
- Texture balance: For a perfect texture, ensure your filling is moist but not wet, and your sauce is thick enough to cling to the pasta.
- Cheese tip: Reserve some of the freshly grated Parmesan to sprinkle on individual servings at the table.
Variations to Try
The beauty of this recipe is its adaptability. Here are some of my favorite variations:
Alternative Cheese Options
| Cheese Combination | Flavor Profile | Best Paired With |
|---|---|---|
| Ricotta + Fontina + Parmesan | Nutty, rich | Mushroom addition |
| Ricotta + Gruyère + Romano | Sharp, complex | Caramelized onion addition |
| Ricotta + Provolone + Asiago | Smoky, bold | Roasted red pepper addition |
| Goat cheese + Mozzarella + Parmesan | Tangy, creamy | Fresh herbs addition |
| Mascarpone + Mozzarella + Pecorino | Ultra-creamy, slightly tangy | Lemon zest addition |
Mix-In Ideas
- Protein boost: Add ½ pound cooked and crumbled Italian sausage or ground turkey to the filling
- Mushroom edition: Sauté 8 oz of finely chopped mushrooms with the onions
- Herb garden: Double the herbs and add 2 tablespoons of chopped fresh parsley
- Veggie power: Add ½ cup finely diced roasted red peppers to the filling
- Artichoke addition: Mix in ½ cup chopped artichoke hearts (drained well)
Sauce Alternatives
- Rosé sauce: Mix marinara with ½ cup heavy cream for a pink sauce
- Alfredo version: Replace marinara with homemade alfredo sauce for a white version
- Arrabiata kick: Use spicy arrabiata sauce for heat lovers
- Vodka sauce: Use vodka sauce for a creamy, tomato-based alternative
Serving Suggestions
These Cheesy Spinach Shells work beautifully as a main course, but they can also be part of a larger Italian feast. Here are some perfect pairings:
Side Dishes
- Garlic bread: Classic garlic bread or cheesy garlic bread makes a perfect companion
- Simple salad: A crisp green salad with a light vinaigrette cuts through the richness
- Roasted vegetables: Roasted Brussels sprouts, asparagus, or zucchini add nutritional balance
- Sautéed greens: Garlicky sautéed kale or broccoli rabe offers a pleasant bitter contrast
Beverage Pairings
- Sparkling water: A refreshing sparkling water with lemon or lime
- Iced tea: Unsweetened or lightly sweetened tea with lemon
- Italian soda: A fruity Italian soda offers a sweet contrast
- Mocktails: A virgin Sangria or alcohol-free spritzer works beautifully
Storage and Reheating Instructions
One of the advantages of this dish is that it reheats beautifully and can even be frozen for future meals.
Refrigerator Storage
- Cooked shells: Store leftovers in an airtight container in the refrigerator for up to 4 days.
- Assembled but unbaked: Cover tightly with plastic wrap and foil, refrigerate for up to 24 hours before baking.
Freezer Instructions
- Freezing unbaked shells: Assemble the dish but do not bake. Cover tightly with plastic wrap and then aluminum foil. Freeze for up to 3 months. Thaw overnight in the refrigerator before baking.
- Freezing baked shells: Cool completely, then portion into freezer-safe containers. Freeze for up to 2 months.
Reheating Methods
- From refrigerated: Reheat individual portions in the microwave for 2-3 minutes or until heated through. For the whole dish, cover with foil and reheat in a 350°F oven for 20-25 minutes.
- From frozen (already baked): Thaw overnight in the refrigerator if possible, then reheat covered in a 350°F oven for 25-30 minutes or until heated through.
- From frozen (unbaked): Thaw overnight in the refrigerator, then follow the original baking instructions, adding an extra 10-15 minutes of covered baking time.
Frequently Asked Questions
Can I make these Cheesy Spinach Shells ahead of time? Absolutely! You can assemble the entire dish up to 24 hours in advance and refrigerate until ready to bake. If baking directly from the refrigerator, add about 10 extra minutes to the covered baking time.
Can I freeze this dish? Yes! This dish freezes beautifully. You can freeze it either before or after baking. If freezing unbaked, thaw overnight in the refrigerator before baking. If freezing after baking, thaw and reheat covered in a 350°F oven until hot throughout.
What can I substitute for ricotta cheese? If you’re not a fan of ricotta, cottage cheese that’s been blended until smooth makes an excellent substitute. Mascarpone cheese is another great alternative for an even creamier filling.
How do I know when the shells are done baking? The shells are done when the cheese on top is melted and beginning to brown in spots, and the filling is hot throughout. If you insert a knife into the center of a shell, it should come out hot to the touch.
Can I use a different pasta shape? While jumbo shells are traditional for this recipe, you can use other stuffable pasta shapes like manicotti tubes or even large conchiglioni (giant shell pasta). The cooking time may vary slightly depending on the pasta shape.
What if my shells tear while cooking? This happens to everyone! That’s why I recommend cooking a few extra shells. You can also layer torn shells in the bottom of the baking dish and spread some filling over them before arranging the intact filled shells on top.
How can I make this recipe vegetarian/vegan? This recipe is already vegetarian. For a vegan version, use plant-based ricotta and mozzarella alternatives, and replace the eggs with a flax egg (1 tablespoon ground flaxseed mixed with 3 tablespoons water per egg).
Can I add meat to this recipe? Certainly! For a meat version, add ½ pound of cooked and crumbled Italian sausage, ground beef, or ground turkey to the filling mixture.
How spicy is this dish? As written, this dish is very mild. The red pepper flakes are optional and add just a hint of warmth. If you prefer a spicier dish, double the red pepper flakes or use a spicy marinara sauce.
What’s the best way to tackle the leftovers? Leftovers can be reheated in the microwave, but I prefer reheating them in the oven at 350°F, covered with foil, for about 15-20 minutes. This helps maintain the texture of both the pasta and the filling.
Why This Recipe Works
I’ve made this recipe countless times, and it never fails to impress. Here’s why it works so well:
- The pre-cooking technique: Cooking the pasta al dente ensures it won’t become mushy during baking.
- Removing excess moisture: Taking the time to properly drain the spinach prevents a watery filling.
- Layered flavors: Sautéing the onions and garlic before adding them to the filling creates depth of flavor.
- Cheese blend: Using three different cheeses provides the perfect balance of creaminess, saltiness, and stretch.
- The resting period: Allowing the dish to rest after baking ensures the filling sets properly, making it easier to serve intact shells.
This Cheesy Spinach Shells recipe has become a staple in my cooking repertoire, and I hope it becomes one in yours too. The combination of tender pasta, creamy cheese, and nutritious spinach makes for a satisfying meal that’s both comforting and special. Whether you’re cooking for family on a weeknight or hosting friends for dinner, this dish is sure to please.
Remember, cooking should be fun and adaptable. Don’t be afraid to make this recipe your own by trying some of the variations I’ve suggested or creating your own unique twist. Happy cooking!