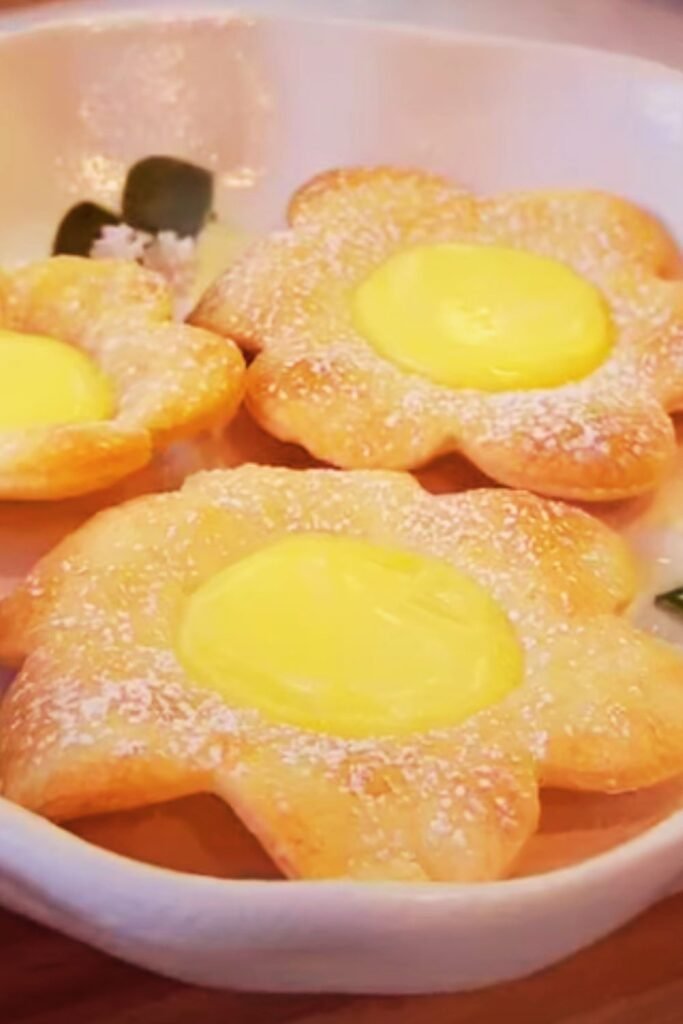
When I first stumbled upon the concept of Big Blue Monster Stuffed Cookies, I knew I had discovered something magical. These aren’t just ordinary cookies – they’re an experience that combines the nostalgic charm of childhood monsters with the sophisticated technique of stuffed cookie making. The vibrant blue color, the surprise filling, and the delightfully chewy texture make these cookies a showstopper at any gathering.
What sets these cookies apart isn’t just their striking appearance, but the careful balance of flavors and textures I’ve perfected over countless batches. The outer cookie shell provides a satisfying chew while maintaining enough structure to hold the surprise filling inside. Whether you’re baking for a children’s party, a themed event, or simply want to add some whimsy to your dessert repertoire, these cookies deliver on both visual impact and taste.
Understanding the Big Blue Monster Cookie Concept
Monster Cookies: Large, colorful cookies typically featuring vibrant hues and mix-ins like chocolate chips, candies, or nuts that create a “monstrous” appearance.
Stuffed Cookies: A baking technique where cookie dough is wrapped around a filling, creating a surprise element when bitten into.
Blue Food Coloring: Gel-based colorants that provide intense color without affecting dough consistency, unlike liquid alternatives.
Cookie Dough Structure: The specific ratio of wet to dry ingredients that allows the dough to be malleable enough for stuffing while maintaining shape during baking.
The beauty of Big Blue Monster Stuffed Cookies lies in their versatility. I’ve experimented with dozens of filling combinations, from classic chocolate ganache to cream cheese mixtures, and each variation brings its own personality to the final product. The blue coloring isn’t just for show – it creates an immediate emotional response that makes people smile before they even take their first bite.
Essential Ingredients and Their Roles
Creating the perfect Big Blue Monster Stuffed Cookie requires understanding how each ingredient contributes to the final result. I’ve learned through trial and error that substitutions can dramatically alter the outcome, so I always emphasize using quality ingredients in the right proportions.
| Ingredient | Purpose | Quality Tips | Substitution Notes |
|---|---|---|---|
| All-purpose flour | Structure and stability | Use unbleached for better flavor | Can substitute up to 25% with cake flour for tenderness |
| Butter | Flavor and texture | Use European-style for richness | Margarine works but reduces flavor complexity |
| Brown sugar | Moisture and chewiness | Use fresh, not hardened | Light brown preferred over dark |
| White sugar | Texture and spread | Fine granulated works best | Avoid powdered sugar substitution |
| Eggs | Binding and richness | Room temperature essential | Cannot substitute in stuffed cookies |
| Vanilla extract | Flavor enhancement | Pure extract only | Imitation lacks depth |
| Baking soda | Leavening agent | Check expiration date | Fresh baking powder can substitute |
| Salt | Flavor balance | Sea salt or kosher preferred | Essential for sweetness balance |
| Blue gel food coloring | Vibrant color | Gel type crucial | Avoid liquid coloring |
The filling possibilities are endless, but I’ve found certain combinations work exceptionally well with the blue monster theme. Cream cheese-based fillings provide tangy contrast, while chocolate variations offer rich indulgence. My personal favorite remains a white chocolate and vanilla bean filling that complements the cookie’s sweetness without overwhelming it.
Step-by-Step Cookie Creation Process
Preparing the Cookie Dough
My approach to creating the perfect Big Blue Monster cookie dough has evolved significantly since my early attempts. The key lies in achieving the right consistency – firm enough to handle stuffing but tender enough to create that perfect chewy texture.
I start by creaming the butter and sugars until they reach a light, fluffy consistency that takes about four minutes with a stand mixer. This step cannot be rushed because proper creaming incorporates air that contributes to the cookie’s final texture. The mixture should be noticeably lighter in color and increased in volume.
Adding eggs one at a time ensures proper emulsification. I always use room temperature eggs because cold eggs can cause the butter mixture to seize, creating a lumpy texture that affects the final product. The vanilla extract goes in with the final egg, distributing evenly throughout the mixture.
The blue food coloring comes next, and this is where many bakers make mistakes. I add gel coloring gradually, mixing thoroughly between additions until I achieve the desired vibrant blue. The amount varies depending on the brand, but I typically use about one teaspoon of gel coloring for a double batch.
Flour Integration Technique
Flour incorporation requires a gentle touch to avoid overdeveloping the gluten. I mix the flour, baking soda, and salt in a separate bowl first, then add it to the wet ingredients in three additions. The mixer stays on low speed, and I stop mixing as soon as the flour disappears into the dough.
The finished dough should feel slightly sticky but manageable. If it’s too wet, I add flour one tablespoon at a time. Too dry, and the cookies won’t hold their stuffing properly. I always chill the dough for at least thirty minutes before proceeding to the stuffing stage.
Creating the Perfect Filling
| Filling Type | Base Ingredients | Flavor Profile | Texture Notes |
|---|---|---|---|
| Classic Chocolate | Semi-sweet chocolate, heavy cream | Rich, balanced sweetness | Smooth, fudgy |
| White Chocolate Vanilla | White chocolate, vanilla bean, cream | Sweet, aromatic | Creamy, luxurious |
| Cream Cheese Dream | Cream cheese, powdered sugar, vanilla | Tangy, sweet | Light, fluffy |
| Peanut Butter Surprise | Peanut butter, powdered sugar, butter | Nutty, rich | Dense, satisfying |
| Marshmallow Fluff | Marshmallow fluff, vanilla | Super sweet, nostalgic | Gooey, stretchy |

For my signature white chocolate vanilla filling, I melt high-quality white chocolate with a small amount of heavy cream, then fold in vanilla bean paste once cooled. The mixture needs to be firm enough to hold its shape when wrapped in dough but soft enough to create that delightful surprise when bitten.
Assembly and Stuffing Technique
The stuffing process requires patience and practice. I portion the chilled dough into balls slightly larger than a golf ball, then flatten each piece in my palm. The filling goes in the center – about a teaspoon for each cookie – then I carefully wrap the dough around it, sealing the edges completely.
The sealing step is crucial. Any gaps will result in filling leakage during baking, which not only affects appearance but can cause cookies to spread unevenly. I gently roll the stuffed dough ball between my palms to ensure even distribution and a smooth surface.
Baking Techniques and Temperature Control
Oven temperature accuracy makes the difference between good cookies and exceptional ones. I always use an oven thermometer because most home ovens run either hot or cold. For Big Blue Monster Stuffed Cookies, I bake at 350°F (175°C), which provides enough heat to set the exterior while keeping the interior tender.
Baking time varies based on cookie size, but I typically start checking at the ten-minute mark. The cookies are done when the edges are set but the centers still look slightly underbaked. They’ll continue cooking on the hot pan after removal from the oven.
Pan selection affects the final result significantly. I prefer heavy-duty aluminum sheets lined with parchment paper. Dark pans can cause over-browning, while thin pans may result in uneven baking. Spacing is important too – these cookies spread moderately, so I leave about two inches between each one.
Troubleshooting Common Issues
Cookie Spreading Problems
Excessive Spreading: Usually caused by warm dough or insufficient flour. Always chill dough and measure flour accurately.
Uneven Spreading: Often results from inconsistent dough portioning or uneven oven temperature. Use a cookie scoop for uniformity.
Filling Leakage: Indicates inadequate sealing or overfilling. Practice the wrapping technique and reduce filling amounts.
Flat Cookies: Can result from old baking soda, warm ingredients, or over-creaming butter and sugar.
Color and Texture Issues
The blue coloring can sometimes appear uneven, particularly if using liquid food coloring instead of gel. I’ve found that mixing the coloring thoroughly into the creamed butter and sugar before adding other ingredients ensures the most even distribution.
Texture problems usually stem from ingredient temperature or mixing technique. Cold eggs can cause butter to seize, creating a lumpy dough that bakes unevenly. Over-mixing after flour addition develops too much gluten, resulting in tough cookies rather than the desired chewy texture.
Storage and Serving Suggestions
Proper storage maintains the cookies’ texture and flavor for days. I store completely cooled cookies in airtight containers at room temperature, separating layers with parchment paper to prevent sticking. They stay fresh for up to one week this way.
For longer storage, these cookies freeze beautifully. I wrap individual cookies in plastic wrap, then store in freezer bags for up to three months. Thawing at room temperature takes about thirty minutes, and they taste just as fresh as the day I baked them.
Creative Serving Ideas
Children’s Parties: Arrange on colorful plates with coordinating napkins and serve with cold milk in clear glasses to showcase the fun theme.
Monster-Themed Events: Create a dessert table with these cookies as the centerpiece, surrounded by other “monstrous” treats in complementary colors.
Casual Gatherings: Serve alongside hot coffee or tea for a delightful contrast between the playful cookies and sophisticated beverages.
Gift Giving: Package individual cookies in clear cellophane bags tied with colorful ribbons for charming homemade gifts.
Nutritional Information and Dietary Considerations
| Nutrient | Per Cookie | Daily Value % |
|---|---|---|
| Calories | 285 | 14% |
| Total Fat | 12g | 18% |
| Saturated Fat | 7g | 35% |
| Cholesterol | 45mg | 15% |
| Sodium | 180mg | 8% |
| Total Carbs | 42g | 14% |
| Sugars | 28g | – |
| Protein | 4g | 8% |
While these cookies are definitely an indulgent treat, they do provide some nutritional value through their egg and flour content. I’ve experimented with healthier modifications, including reducing sugar by up to 25% without significantly affecting texture, though the flavor becomes less intense.
For those with dietary restrictions, I’ve successfully created gluten-free versions using a quality all-purpose gluten-free flour blend. The texture is slightly different but still enjoyable. Dairy-free versions using vegan butter work well too, though the flavor profile changes somewhat.
Advanced Variations and Flavor Combinations
Once you’ve mastered the basic Big Blue Monster Stuffed Cookie, the possibilities for creative variations become endless. I’ve experimented with dozens of combinations over the years, and some have become signature treats in my repertoire.
Seasonal Adaptations
Halloween Version: Add orange food coloring swirls to create a blue-orange marbled effect, with candy-filled centers.
Winter Holiday: Incorporate peppermint extract and crush candy canes into the filling for a festive twist.
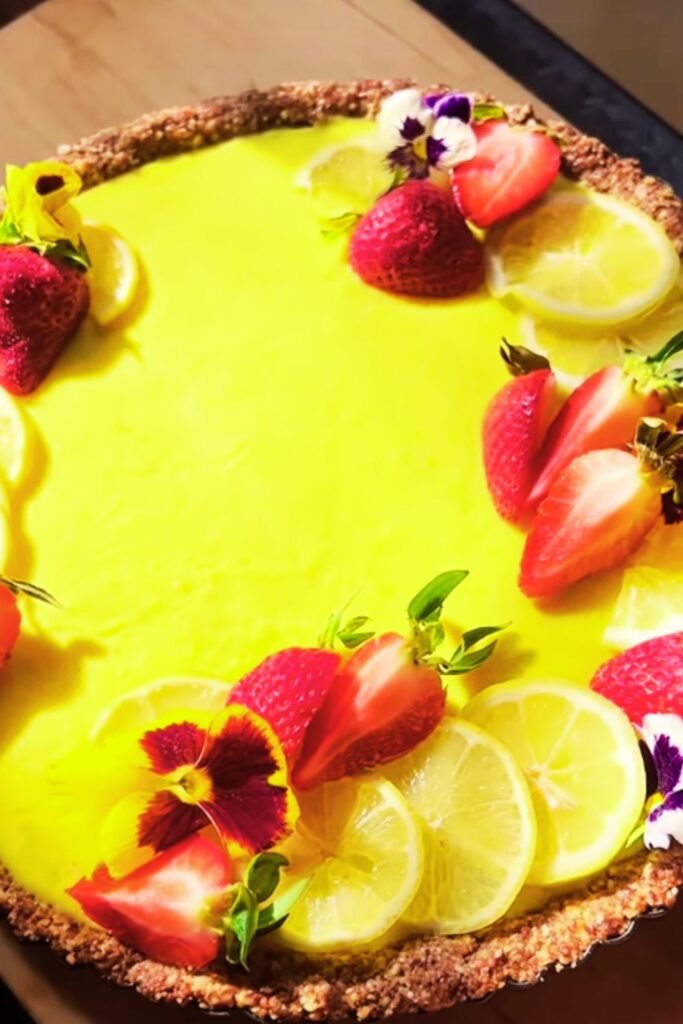
Summer Fun: Add lemon zest to the dough and use lemon curd filling for a bright, refreshing variation.
Birthday Celebration: Mix rainbow sprinkles into the dough and use funfetti-flavored filling for extra festivity.
International Flavor Inspirations
My travels have inspired several international variations that bring global flavors to this whimsical American-style cookie. The matcha version, inspired by Japanese desserts, uses green tea powder in both the dough and a white chocolate matcha filling. The result is sophisticated yet playful.
A Mediterranean-inspired version incorporates orange zest and uses a ricotta-honey filling that provides lovely contrast to the sweet cookie exterior. For those who enjoy Mexican flavors, I’ve created a version with cinnamon in the dough and a dulce de leche filling that’s absolutely divine.
Professional Tips for Consistent Results
Consistency in baking comes from attention to detail and understanding how small changes affect the final product. I measure ingredients by weight whenever possible because volume measurements can vary significantly depending on how ingredients are packed.
Temperature control extends beyond just the oven. I bring all refrigerated ingredients to room temperature before beginning, which typically takes about two hours. Cold ingredients don’t incorporate properly and can cause texture issues in the finished cookies.
Timing matters tremendously in cookie baking. I set multiple timers – one for mixing stages, one for chilling time, and several for baking intervals. This systematic approach prevents over-mixing, under-chilling, or over-baking that can ruin an otherwise perfect batch.
Equipment Recommendations
| Equipment | Purpose | Quality Level | Budget Alternative |
|---|---|---|---|
| Stand Mixer | Proper creaming | KitchenAid preferred | Hand mixer (longer mixing time) |
| Cookie Scoop | Uniform portioning | Medium 1.5-tablespoon size | Large spoon and measuring |
| Digital Scale | Accurate measuring | Required for consistency | Measuring cups (less accurate) |
| Oven Thermometer | Temperature accuracy | Essential for success | Built-in oven gauge (unreliable) |
| Heavy Baking Sheets | Even heat distribution | Commercial quality preferred | Standard sheets with adjustment |
The investment in quality equipment pays dividends in consistent results. I’ve used the same stand mixer for fifteen years, and it still performs flawlessly. Quality baking sheets prevent hot spots and ensure even browning, while a reliable oven thermometer eliminates guesswork about actual baking temperatures.
Questions and Answers
Q. Can I make the dough ahead of time and stuff the cookies later?
Absolutely! I actually prefer making the dough a day ahead because chilling improves both flavor and handling characteristics. The dough can be refrigerated for up to three days or frozen for up to three months. Just bring it to room temperature before stuffing if it’s been frozen.
Q. What’s the best way to achieve that perfect blue color without affecting taste?
Gel food coloring is essential for achieving vibrant blue without altering the dough’s consistency or flavor. I use Americolor or Wilton gel colors, starting with half a teaspoon and adding more gradually. Liquid coloring requires too much volume and can make the dough too wet.
Q. My cookies always spread too much during baking. How can I prevent this?
Cookie spreading usually indicates dough that’s too warm or butter that was over-creamed. Always chill your stuffed cookies for at least 15 minutes before baking, and make sure your butter is creamed just until light and fluffy, not beyond that point.
Q. Can I use different types of flour for varying textures?
Yes, but each flour type creates different results. All-purpose flour gives the best structure for stuffed cookies. Cake flour creates more tender cookies but may not hold fillings as well. Bread flour makes chewier cookies but can become tough if over-mixed.
Q. How do I prevent the filling from leaking out during baking?
Proper sealing is crucial. Make sure to pinch all edges of the dough together completely, with no visible seams. Don’t overfill – about a teaspoon of filling per cookie is perfect. Also, ensure your filling isn’t too liquid or warm when assembling.
Q. What’s the secret to getting that perfect chewy texture?
The combination of brown sugar (which adds moisture) and proper mixing technique creates chewiness. Don’t over-bake – the cookies should look slightly underdone in the center when you remove them. They’ll continue cooking on the hot pan.
Q. Can I freeze the assembled but unbaked cookies?
This is one of my favorite time-saving techniques! Assemble the stuffed cookies, place them on a baking sheet, and freeze until solid. Then transfer to freezer bags. You can bake them directly from frozen, adding just 1-2 extra minutes to the baking time.
Q. My blue color sometimes looks muddy or gray. What causes this?
Muddy blue usually results from using too much coloring or the wrong type. Start with less gel coloring than you think you need – it’s easier to add more than to fix an over-colored dough. Also, make sure you’re using food coloring specifically designed for baking.
Q. How can I make these cookies more nutritious without sacrificing taste?
I’ve had success reducing the sugar by up to 20% and substituting up to one-third of the all-purpose flour with whole wheat pastry flour. You can also add ground flaxseed or chia seeds to boost nutrition, though this will slightly change the texture.
Q. What’s the best way to transport these cookies for events or gifts?
Individual packaging works best for transport. I use clear cellophane bags or small boxes with tissue paper. For larger quantities, layer cookies between parchment paper in sturdy containers. The stuffed nature makes them more fragile than regular cookies, so handle gently.
These Big Blue Monster Stuffed Cookies represent more than just a recipe – they’re an opportunity to bring joy and whimsy into your kitchen and the lives of those who enjoy them. The combination of visual appeal, textural interest, and flavor surprise makes them memorable in a way that ordinary cookies simply cannot achieve. Whether you’re baking for a special occasion or just want to create something extraordinary for your family, these cookies deliver on every level.
The techniques I’ve shared come from years of experimentation and refinement. Each batch has taught me something new about the interplay between ingredients, temperature, and timing. My hope is that you’ll take these guidelines and make them your own, perhaps discovering new variations that become signature treats in your own baking repertoire.