I’ve been baking cookies for over fifteen years, and I can honestly say that these Big Blue Monster Stuffed Cookies are among the most requested treats in my kitchen. There’s something absolutely magical about biting into what looks like an ordinary cookie only to discover a delightful surprise hidden inside. These aren’t just cookies – they’re edible works of art that bring out the kid in everyone who tries them.
The beauty of these cookies lies not just in their stunning appearance, but in their incredible versatility. I’ve served them at children’s birthday parties where they were the absolute hit, brought them to office gatherings where grown adults squealed with delight, and even packaged them as gifts for neighbors during the holidays. Every single time, the reaction is the same: pure joy and amazement.
Understanding the Magic Behind Monster Cookies
Monster Cookies: Large, chewy cookies packed with multiple mix-ins like oats, chocolate chips, peanut butter, and candies, originally created to use up pantry staples.
Stuffed Cookies: A baking technique where one cookie dough is wrapped around a filling or another cookie to create a surprise center.
Blue Coloring: Food-grade coloring that transforms ordinary cookie dough into vibrant, eye-catching treats without affecting taste.
Cookie Sandwich Method: The technique of creating two cookie portions and sealing them together with filling inside.
The concept behind these cookies came to me during a particularly stressful week when I needed something fun and uplifting to bake. I had been experimenting with different cookie stuffing techniques, and the idea of creating something that looked like a friendly monster just clicked. The blue color isn’t just for show – it represents the playful, whimsical nature of these treats.
Essential Ingredients and Their Roles
Creating the perfect Big Blue Monster Stuffed Cookies requires understanding how each ingredient contributes to the final result. I’ve experimented with countless variations over the years, and this combination delivers the ideal texture, flavor, and appearance every single time.
| Ingredient | Quantity | Purpose | Substitution Options |
|---|---|---|---|
| All-purpose flour | 2½ cups | Structure and stability | Gluten-free flour blend (1:1 ratio) |
| Butter (softened) | 1 cup | Richness and texture | Vegan butter, coconut oil (¾ cup) |
| Brown sugar | ¾ cup | Moisture and chewiness | Coconut sugar, maple sugar |
| Granulated sugar | ½ cup | Sweetness and spread | Stevia blend (¼ cup) |
| Large eggs | 2 | Binding and structure | Flax eggs (2 tbsp ground flaxseed + 6 tbsp water) |
| Vanilla extract | 2 tsp | Flavor enhancement | Almond extract (1 tsp) |
| Baking soda | 1 tsp | Leavening agent | Baking powder (2 tsp) |
| Salt | ½ tsp | Flavor balance | Sea salt, kosher salt |
| Blue food coloring | 1-2 tsp | Visual appeal | Natural blue spirulina powder (1 tsp) |
| Mini chocolate chips | 1 cup | Texture and flavor | White chips, butterscotch chips |
| Rolled oats | ½ cup | Chewiness | Quick oats, chopped nuts |
The quality of your ingredients makes a tremendous difference in the final product. I always use European-style butter when possible because it has a higher fat content, which creates a richer, more tender cookie. The brown sugar should be packed firmly when measuring – this ensures the proper moisture content that gives these cookies their signature chewy texture.
Step-by-Step Baking Process
My method for creating these showstopper cookies has been refined through countless batches, and I’m excited to share every detail with you. The key to success lies in proper timing and temperature control throughout the process.
Preparation Phase
Begin by preheating your oven to 350°F (175°C). This temperature ensures even baking without overcooking the edges before the centers set properly. Line your baking sheets with parchment paper – I prefer parchment over silicone mats for these cookies because it provides better heat distribution.
In a large mixing bowl, cream together the softened butter with both sugars until the mixture becomes light and fluffy. This process typically takes about 4-5 minutes with an electric mixer on medium speed. The mixture should nearly double in volume and take on a pale, airy appearance.
Add the eggs one at a time, beating well after each addition. Pour in the vanilla extract and mix until fully incorporated. The mixture might look slightly curdled at this point, which is completely normal.
Creating the Blue Monster Base
Here’s where the magic begins. Add your blue food coloring gradually, starting with just a few drops. I prefer gel food coloring over liquid because it provides more vibrant color without thinning the dough. Mix thoroughly and assess the color – you want a bright, cheerful blue that screams “monster cookie!”
In a separate bowl, whisk together the flour, baking soda, and salt. Gradually add this dry mixture to the wet ingredients, mixing on low speed until just combined. Overmixing at this stage can result in tough cookies, so stop as soon as no flour streaks remain visible.
Fold in the mini chocolate chips and rolled oats using a wooden spoon or rubber spatula. The dough should be thick and slightly sticky – perfect for holding its shape while baking.
Stuffing and Shaping Technique
The stuffing process is where these cookies transform from ordinary to extraordinary. I use a variety of fillings depending on the occasion and audience preferences. Here are my most successful combinations:
Classic Surprise Centers:
- Peanut butter cups (chopped into quarters)
- Caramel squares
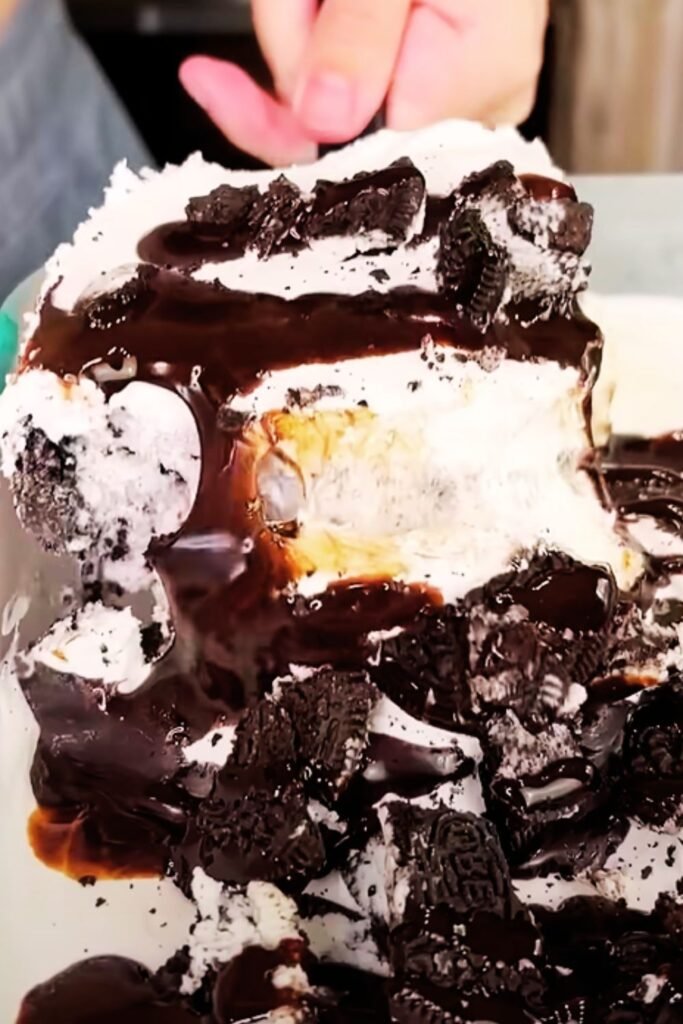
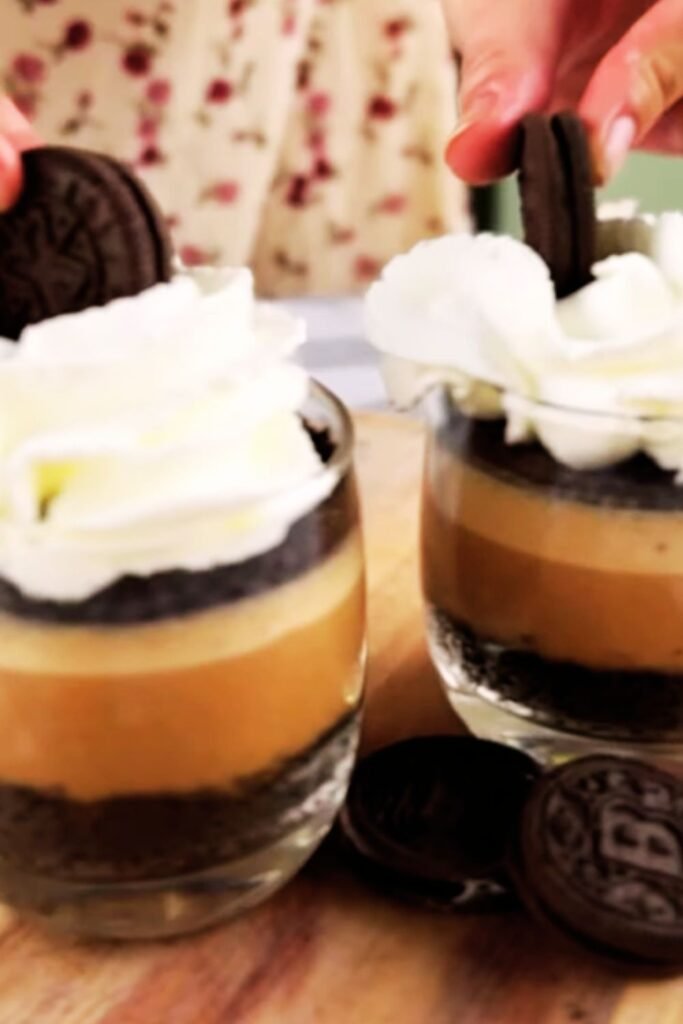
- Mini cookies (like Oreos or Nutter Butters)
- Nutella and mini marshmallows
- Cream cheese mixed with powdered sugar
For each cookie, scoop about 2 tablespoons of dough and flatten it in your palm. Place your chosen filling in the center, then top with another tablespoon of dough. Gently seal the edges, ensuring no filling peeks through. The sealed seam should face down on the baking sheet.
Space the cookies at least 2 inches apart – these beauties spread considerably during baking. I typically fit 6-8 cookies per standard baking sheet.
Baking to Perfection
Bake for 12-14 minutes, rotating the pan halfway through for even browning. The edges should be set and lightly golden, while the centers may still appear slightly underbaked. This is exactly what you want – the cookies will continue cooking on the hot pan after removal from the oven.
Allow cookies to cool on the baking sheet for 5 minutes before transferring to a wire rack. This resting period prevents breaking and allows the centers to finish setting properly.
Decoration and Finishing Touches
The decoration phase is where your creativity can truly shine. I’ve developed several techniques over the years that transform these cookies from delicious treats into conversation starters.
Royal Icing Details
For the classic monster face, I prepare a simple royal icing using powdered sugar, meringue powder, and water. The consistency should hold its shape when piped but still flow smoothly. Using different colored icings, I create:
- Googly eyes with white icing dots and mini chocolate chip centers
- Jagged teeth using white icing piped in triangular shapes
- Colorful spots or stripes for added monster personality
- Simple facial expressions that range from friendly to mischievous
Alternative Decoration Methods
Not everyone has time for detailed icing work, and that’s perfectly fine. Some of my favorite quick decoration methods include:
- Pressing candy eyes into the warm cookies immediately after baking
- Using mini marshmallows for teeth
- Sprinkling colored sugar or sprinkles while the cookies are still warm
- Creating simple faces with melted chocolate chips
Nutritional Information and Dietary Considerations
Understanding the nutritional content helps you make informed decisions about serving sizes and modifications. Here’s the breakdown per cookie (recipe yields approximately 18 large cookies):
| Nutrient | Amount per Cookie | Daily Value % |
|---|---|---|
| Calories | 285 | 14% |
| Total Fat | 12g | 15% |
| Saturated Fat | 7g | 35% |
| Cholesterol | 35mg | 12% |
| Sodium | 180mg | 8% |
| Total Carbohydrates | 42g | 15% |
| Dietary Fiber | 2g | 7% |
| Sugars | 28g | – |
| Protein | 4g | 8% |
| Iron | 1.2mg | 7% |
| Calcium | 25mg | 2% |
Dietary Modifications I’ve Successfully Tested
Gluten-Free Version: Replace all-purpose flour with a 1:1 gluten-free baking blend. I recommend adding an extra ¼ teaspoon of xanthan gum if your blend doesn’t include it. The texture remains remarkably similar to the original.
Dairy-Free Adaptation: Substitute butter with vegan butter or refined coconut oil. Ensure your chocolate chips are dairy-free as well. The cookies maintain their chewy texture beautifully.
Reduced Sugar Option: Replace half the granulated sugar with stevia-based sugar substitute. The cookies will be slightly less chewy but still delicious.
Egg-Free Alternative: Use commercial egg replacer or flax eggs. The binding won’t be quite as strong, so handle the dough gently.
Storage and Shelf Life
Proper storage ensures your cookies maintain their optimal texture and flavor for maximum enjoyment. I’ve experimented with various storage methods and can share what works best.
| Storage Method | Duration | Quality Maintenance | Best For |
|---|---|---|---|
| Room temperature (airtight container) | 5-7 days | Excellent | Immediate consumption |
| Refrigerated (sealed container) | 2 weeks | Very good | Extended freshness |
| Frozen (individual wrap + container) | 3 months | Excellent when thawed | Batch preparation |
| Cookie dough (frozen balls) | 6 months | Perfect when baked fresh | Make-ahead convenience |
For room temperature storage, I place parchment paper between layers to prevent sticking. The cookies actually improve slightly after a day as the flavors meld together.
When freezing baked cookies, I wrap each one individually in plastic wrap before placing them in freezer bags. This prevents freezer burn and makes it easy to grab just one or two when needed.
Troubleshooting Common Issues
Even experienced bakers encounter challenges, and I’ve certainly had my share of learning experiences with these cookies. Here are the most common issues and my proven solutions:
Cookies Spread Too Much: This usually indicates butter that’s too warm or insufficient flour. Chill the dough for 30 minutes before baking, and ensure you’re measuring flour correctly by spooning it into the measuring cup rather than scooping.
Filling Leaks Out: The dough wasn’t sealed properly around the edges. Make sure to pinch the seams thoroughly and place the sealed side down on the baking sheet.
Uneven Blue Color: Food coloring wasn’t fully incorporated. Mix the coloring into the butter-sugar mixture before adding dry ingredients for the most even distribution.
Centers Too Soft: Underbaking is the culprit. While slightly underbaked centers are desirable, they shouldn’t be raw. Increase baking time by 1-2 minutes and ensure your oven temperature is accurate.
Cookies Too Hard: Overbaking or too much flour. These cookies should remain chewy even when completely cool. Reduce baking time and check your flour measurement technique.
Creative Variations and Seasonal Adaptations
The basic Big Blue Monster concept adapts beautifully to different themes and seasons. I love creating variations that keep the core technique while offering fresh visual and flavor experiences.
Holiday Transformations
Halloween Orange Monsters: Replace blue coloring with orange, stuff with mini Reese’s cups, and decorate with spooky faces.
Christmas Green Monsters: Use green coloring, peppermint extract instead of vanilla, and stuff with crushed candy canes mixed with cream cheese.
Valentine’s Pink Monsters: Pink coloring with strawberry extract, stuffed with chocolate hearts and decorated with sweet expressions.
Flavor Profile Variations
Chocolate Monster Base: Add 2 tablespoons of cocoa powder to the dry ingredients for chocolate lovers.
Peanut Butter Monster: Replace ½ cup butter with peanut butter for a nutty twist.
Coconut Monster: Add ½ cup shredded coconut and use coconut extract instead of vanilla.
Q&A Section
Q: Can I make these cookies without food coloring? I absolutely understand concerns about artificial coloring. You can definitely make these cookies without any coloring – they’ll taste identical and still have that wonderful stuffed surprise. If you want natural color, try using a small amount of spirulina powder for blue or beet powder for pink. The flavor impact is minimal, and you get a lovely natural hue.
Q: How do I prevent the filling from making the cookies soggy? This is such a great question because soggy cookies are disappointing. The key is using fillings that won’t release moisture during baking. Avoid fresh fruits or very wet fillings. If using something like Nutella, let it firm up in the refrigerator first. Also, make sure your cookie dough completely encases the filling with no gaps.
Q: Can I double or triple this recipe for large events? I’ve successfully made quadruple batches for school events! The recipe scales beautifully. Just make sure you have enough mixing bowl capacity and baking sheets. I recommend mixing in two separate batches rather than one enormous batch to ensure even ingredient distribution. Also, prepare your fillings in advance – stuffing 100+ cookies takes time!
Q: What’s the best way to transport these cookies without damaging them? Transportation can be tricky because of their size and decorations. I use containers with high sides and place parchment paper between layers. For decorated cookies, I sometimes use cupcake boxes because each cookie fits perfectly in a cupcake slot. If traveling far, I pack them in a cooler to prevent melting decorations.
Q: My kids want to help make these – what parts are kid-friendly? These cookies are perfect for family baking! Kids can help measure ingredients, add food coloring (they love watching the dough turn blue!), and especially with the stuffing and decorating phases. I give them their own small bowls of dough and let them create their own monster faces. It’s messy but so much fun.
Q: Can I use this recipe to make smaller cookies? Absolutely! For smaller versions, use about 1 tablespoon of dough per cookie and reduce baking time to 8-10 minutes. They’re perfect for parties where people want to try multiple flavors. I sometimes make mini versions alongside the large ones for variety.
Q: What’s the most popular stuffing combination you’ve tried? Hands down, the combination of a mini peanut butter cup with a few mini marshmallows creates the most excitement. The peanut butter cup provides rich flavor while the marshmallows add a fun, gooey texture. Close second is cream cheese mixed with powdered sugar and mini chocolate chips – it’s like having cheesecake inside a cookie!
Q: How do I know when the cookies are perfectly done? The edges should be set and lightly golden, while the centers might still look slightly shiny or underbaked. They’ll continue cooking on the hot pan after removal. If you gently press the center with your finger, it should give slightly but not leave an indent. This usually happens at the 12-13 minute mark in my oven.
These Big Blue Monster Stuffed Cookies represent everything I love about baking: creativity, surprise, and the joy of sharing something special with others. Every batch I make reminds me why I fell in love with baking in the first place. The combination of technical skill and artistic expression, plus the guaranteed smiles they produce, makes them one of my absolute favorite treats to create. Whether you’re baking for a special occasion or just because you want to brighten someone’s day, these cookies deliver magic in every bite.