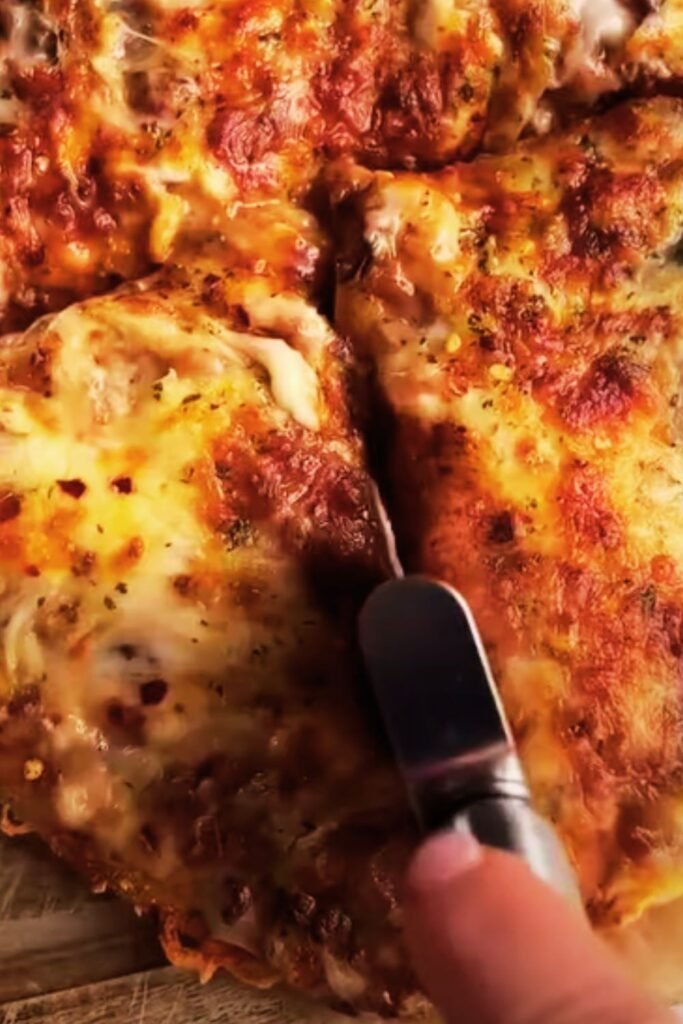
There’s something magical about the aroma of garlic bread wafting through my kitchen. As someone who’s spent countless hours perfecting recipes, I can confidently say that air fryer garlic bread has revolutionized how I prepare this beloved side dish. The combination of crispy exterior and perfectly tender interior, achieved in just minutes, makes this method my go-to choice for busy weeknights and special occasions alike.
When I first discovered air frying, I was skeptical about whether it could replicate the golden perfection of oven-baked garlic bread. After months of experimenting with different techniques, temperatures, and timing, I’ve developed a foolproof method that delivers restaurant-quality results every single time. The air fryer’s rapid circulation creates that coveted crispy crust while maintaining the soft, buttery center that makes garlic bread irresistible.
What Makes Air Fryer Garlic Bread Special
The beauty of air fryer garlic bread lies in its simplicity and efficiency. Unlike traditional oven methods that require preheating and longer cooking times, my air fryer technique delivers exceptional results in under 10 minutes. The intense heat circulation creates an even golden-brown surface while the compact cooking chamber ensures every piece receives consistent heat distribution.
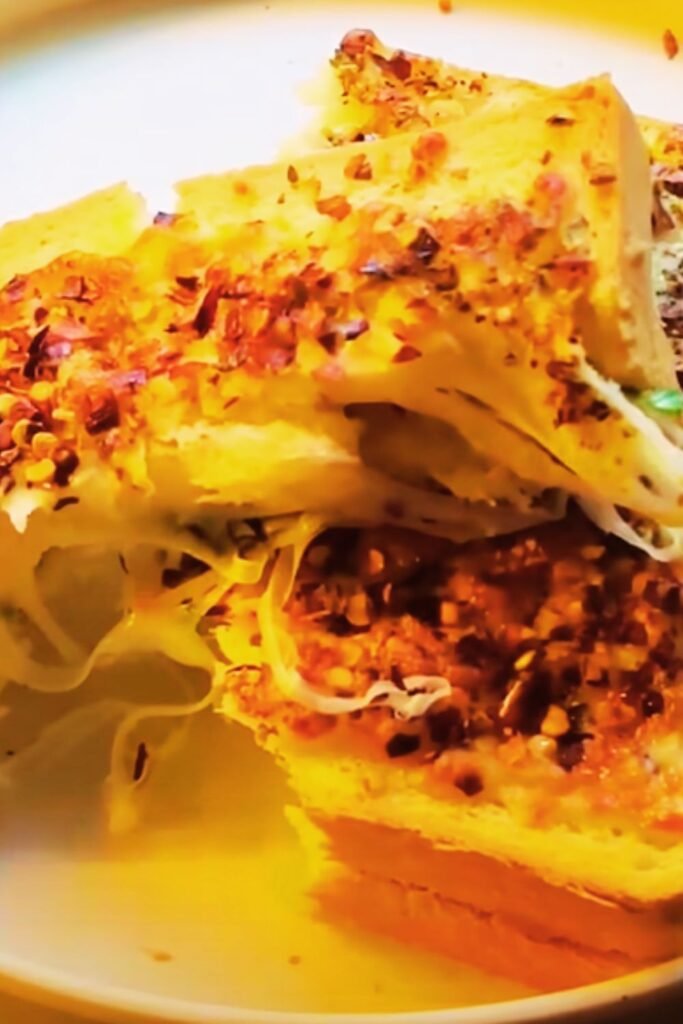
I’ve found that the air fryer method produces superior texture compared to conventional baking. The forced air circulation removes moisture from the bread’s surface more effectively, creating that signature crispy exterior while preserving the soft interior. This process also intensifies the garlic flavor, as the quick cooking method locks in the aromatic compounds rather than allowing them to dissipate during longer cooking times.
Essential Ingredients for Perfect Air Fryer Garlic Bread
Creating exceptional air fryer garlic bread starts with selecting quality ingredients. Through my extensive testing, I’ve identified the key components that make the difference between ordinary and extraordinary results.
Bread Selection:
- French baguette (my personal favorite)
- Italian bread
- Sourdough loaf
- Ciabatta rolls
- Texas toast
Garlic Preparation:
- Fresh garlic cloves (4-6 cloves for medium intensity)
- Garlic powder (1 teaspoon as backup)
- Roasted garlic (for deeper flavor)
Fat Base:
- Unsalted butter (½ cup, softened)
- Olive oil (2 tablespoons)
- Margarine (alternative option)
Flavor Enhancers:
- Fresh parsley (2 tablespoons, chopped)
- Dried Italian seasoning (1 teaspoon)
- Grated Parmesan cheese (¼ cup)
- Salt and black pepper to taste
Step-by-Step Air Fryer Garlic Bread Recipe
My perfected technique ensures consistent results every time. I’ve broken down the process into manageable steps that even novice cooks can follow successfully.
Preparation Phase
- Bread Preparation: I slice my chosen bread into 1-inch thick pieces, ensuring uniform thickness for even cooking. If using a whole loaf, I cut it in half lengthwise before slicing.
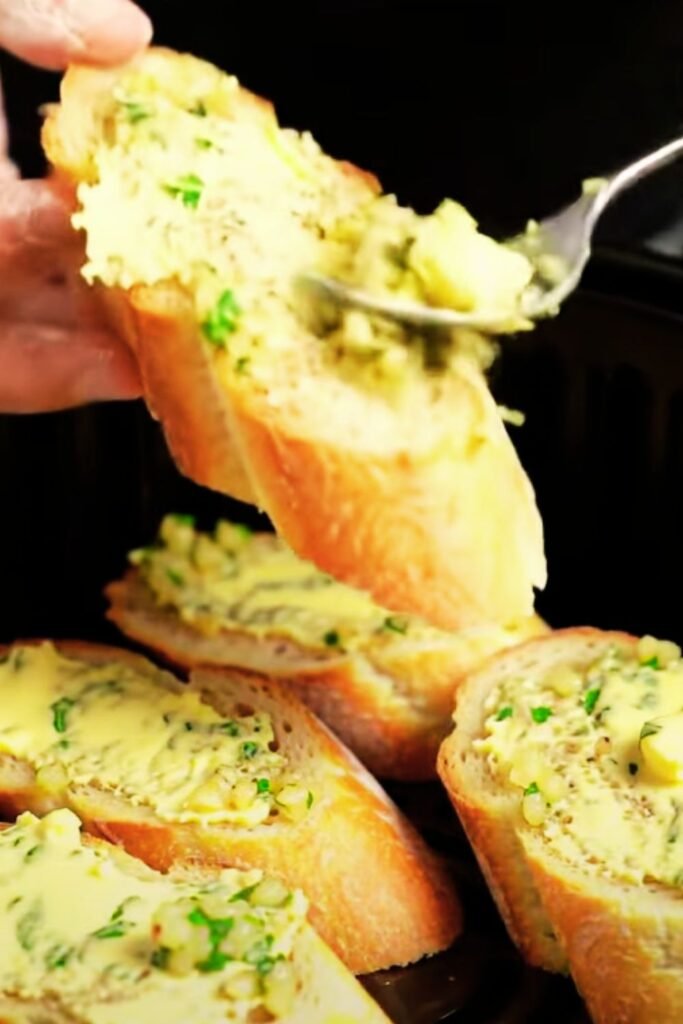
- Garlic Butter Creation: I mince fresh garlic cloves finely and combine them with softened butter in a mixing bowl. The key is achieving the perfect balance – I add olive oil to create a spreadable consistency and incorporate fresh parsley for color and freshness.
- Seasoning Integration: I fold in Italian seasoning, a pinch of salt, and freshly ground black pepper. For extra richness, I add grated Parmesan cheese at this stage.
Cooking Process
- Air Fryer Preheating: I preheat my air fryer to 350°F (175°C) for 3 minutes. This ensures immediate heat contact when the bread goes in.
- Butter Application: I generously spread the garlic butter mixture on each bread slice, ensuring coverage to the edges. I’ve learned that even distribution prevents burning while maximizing flavor.
- Arrangement: I place the buttered bread slices in a single layer in the air fryer basket, leaving space between pieces for air circulation.
- Initial Cooking: I cook for 3-4 minutes, then check for doneness. The bread should be golden brown and crispy on the surface.
- Final Touch: For extra crispiness, I add an additional 1-2 minutes, monitoring closely to prevent burning.
Timing and Temperature Guide
Through extensive testing, I’ve developed precise timing guidelines that account for different bread types and desired crispiness levels.
| Bread Type | Temperature | Time (Minutes) | Notes |
|---|---|---|---|
| French Baguette | 350°F (175°C) | 3-4 | Crispy exterior, soft interior |
| Italian Bread | 340°F (170°C) | 4-5 | Slightly longer for thicker slices |
| Sourdough | 360°F (180°C) | 3-4 | Higher heat for denser texture |
| Ciabatta | 350°F (175°C) | 4-6 | Varies with thickness |
| Texas Toast | 340°F (170°C) | 5-6 | Thicker slices need more time |
Variations and Flavor Combinations
My experimentation has led to numerous delicious variations that cater to different taste preferences and dietary needs.
Herb Variations:
- Rosemary and thyme combination
- Fresh basil and oregano
- Sage and garlic blend
Cheese Additions:
- Mozzarella for melty goodness
- Romano for sharp flavor
- Asiago for nutty richness
Specialty Combinations:
- Mediterranean style with sun-dried tomatoes
- Spicy version with red pepper flakes
- Sweet and savory with honey drizzle
Troubleshooting Common Issues
Despite the simplicity of air fryer garlic bread, I’ve encountered various challenges that I’ve learned to overcome through practice and adjustment.
Burning Problems: When bread burns too quickly, I reduce the temperature by 20°F and extend cooking time. I’ve found that different air fryer models have varying heat intensities, so adjustment is often necessary.
Uneven Browning: If pieces brown unevenly, I flip them halfway through cooking or rearrange their positions in the basket. Overcrowding is usually the culprit, so I cook in batches when necessary.
Soggy Results: Soggy garlic bread typically results from too much butter or oil. I’ve learned to use a moderate amount and ensure proper preheating for optimal moisture removal.
Insufficient Flavor: When garlic flavor seems weak, I increase the garlic quantity or add a touch of garlic powder to intensify the taste without overwhelming the butter base.
Storage and Reheating Tips
Proper storage extends the life of leftover garlic bread while maintaining quality for future enjoyment.
Storage Methods:
- Room temperature: 2-3 days in airtight container
- Refrigerator: 5-7 days wrapped in foil
- Freezer: 2-3 months in freezer bags
Reheating Techniques:
- Air fryer: 300°F for 2-3 minutes
- Oven: 350°F for 5-7 minutes
- Toaster: Light setting for 1-2 cycles
I’ve found that air fryer reheating restores crispiness better than microwave methods, which tend to create soggy results.
Nutritional Information and Health Considerations
Understanding the nutritional profile helps make informed decisions about incorporating air fryer garlic bread into meal planning.
| Nutrient | Per Slice (Approx.) | Daily Value % |
|---|---|---|
| Calories | 180-220 | 9-11% |
| Total Fat | 8-12g | 12-18% |
| Saturated Fat | 4-6g | 20-30% |
| Carbohydrates | 24-28g | 8-9% |
| Protein | 5-7g | 10-14% |
| Sodium | 300-400mg | 13-17% |
| Fiber | 1-2g | 4-8% |
Health Modifications:
- Use olive oil instead of butter for heart-healthy fats
- Choose whole grain bread for increased fiber
- Reduce salt content for low-sodium diets
- Add nutritional yeast for B-vitamin boost
Serving Suggestions and Pairings
My experience has taught me that garlic bread complements numerous dishes while also standing alone as a satisfying snack.
Italian Dishes:
- Spaghetti with marinara sauce
- Lasagna and baked ziti
- Chicken Parmesan
- Minestrone soup
Comfort Foods:
- Hearty stews and chili
- Grilled cheese sandwiches
- Tomato soup
- Mac and cheese
Appetizer Presentations:
- Bruschetta topping base
- Dipping accompaniment for olive oil
- Side for cheese and charcuterie boards
Advanced Techniques and Professional Tips
After mastering the basics, I’ve developed advanced techniques that elevate air fryer garlic bread to restaurant quality.
Compound Butter Enhancement: I prepare compound butter in advance by mixing softened butter with minced garlic, herbs, and seasonings. This mixture can be refrigerated for up to one week or frozen for three months, providing convenient flavor enhancement for future use.
Texture Layering: For complex texture, I brush bread lightly with olive oil before applying garlic butter. This creates multiple layers of flavor and prevents the bread from becoming too saturated.
Timing Precision: I’ve learned to adjust cooking times based on bread moisture content. Fresh bread requires slightly longer cooking, while day-old bread cooks faster due to reduced moisture.
Equipment Recommendations and Maintenance
Success with air fryer garlic bread depends on proper equipment selection and maintenance practices.
Air Fryer Features:
- Temperature control accuracy
- Even heat distribution
- Adequate basket size
- Easy cleaning design
Maintenance Practices:
- Regular basket cleaning prevents flavor transfer
- Periodic deep cleaning maintains performance
- Proper ventilation ensures consistent results
Accessory Recommendations:
- Silicone brush for butter application
- Tongs for safe handling
- Parchment paper for easy cleanup
Seasonal Adaptations and Special Occasions
I’ve adapted my air fryer garlic bread recipe for various seasons and special occasions, creating memorable variations that celebrate different times of year.
Holiday Versions:
- Thanksgiving: Sage and rosemary blend
- Christmas: Cranberry and herb combination
- Easter: Lemon zest and parsley
Seasonal Ingredients:
- Summer: Fresh basil and tomatoes
- Fall: Roasted garlic and thyme
- Winter: Hearty herbs and cheese
- Spring: Light herbs and lemon
Cost Analysis and Budget-Friendly Tips
Creating delicious air fryer garlic bread doesn’t require expensive ingredients or equipment. My cost-conscious approach delivers maximum flavor while maintaining budget considerations.
Cost Breakdown:
- Bread: $2-4 per loaf
- Butter: $0.50 per batch
- Garlic: $0.25 per batch
- Herbs: $0.30 per batch
- Total per batch: $3-5 (serves 6-8)
Budget Tips:
- Buy bread on sale and freeze extras
- Use seasonal herbs for best prices
- Purchase garlic in bulk for savings
- Make compound butter in large batches
Common Mistakes and How to Avoid Them
Through my extensive experience, I’ve identified frequent mistakes that can derail otherwise perfect air fryer garlic bread.
Overcrowding the Basket: I always leave space between bread pieces for proper air circulation. Overcrowding leads to uneven cooking and soggy results.
Insufficient Preheating: Skipping preheating results in longer cooking times and less crispy results. I always preheat for at least 3 minutes.
Butter Temperature Issues: Using cold butter creates uneven distribution, while overly soft butter makes bread soggy. I aim for room temperature butter that spreads easily without melting.
Timing Neglect: Air fryers cook quickly, and timing is crucial. I always stay nearby during cooking and check frequently, especially during the final minutes.
Q&A Section
Q: Can I use frozen bread for air fryer garlic bread? I don’t recommend using frozen bread directly, as it doesn’t achieve the same crispy texture. Instead, I thaw the bread completely and let it come to room temperature before applying garlic butter and air frying.
Q: How do I prevent garlic from burning in the air fryer? I mix minced garlic into the butter rather than sprinkling it on top. This protects the garlic from direct heat while still infusing the bread with flavor. If you prefer visible garlic pieces, I recommend adding them during the last minute of cooking.
Q: What’s the best way to reheat leftover air fryer garlic bread? I reheat leftover garlic bread in the air fryer at 300°F for 2-3 minutes. This method restores crispiness better than microwave reheating, which tends to make bread soggy.
Q: Can I make garlic bread without butter? Absolutely! I often substitute olive oil or avocado oil for butter. The texture will be slightly different, but the flavor remains delicious. I use about 3 tablespoons of oil mixed with minced garlic and herbs.
Q: How do I know when my garlic bread is perfectly done? I look for a golden-brown color on the surface and listen for a slight sizzling sound. The bread should feel crispy when gently pressed with tongs. If it seems too soft, I add another minute of cooking time.
Q: Can I prepare garlic butter in advance? Yes! I often make compound garlic butter ahead of time and store it in the refrigerator for up to one week. I let it come to room temperature before spreading on bread, or I can microwave it for 10-15 seconds to soften.
Q: What should I do if my air fryer garlic bread is too salty? If the result is too salty, I reduce the salt in the garlic butter mixture next time. I also check if the bread itself contains high sodium content, as this can contribute to overall saltiness.
Q: Can I use garlic powder instead of fresh garlic? While I prefer fresh garlic for its superior flavor, garlic powder works as a substitute. I use about 1 teaspoon of garlic powder for every 3-4 fresh cloves, adjusting to taste preferences.
Q: How do I prevent my garlic bread from becoming soggy? I ensure proper preheating, avoid oversaturating the bread with butter, and don’t overcrowd the air fryer basket. Using day-old bread can also help, as it has less moisture content than fresh bread.
Q: What’s the maximum amount of garlic bread I can cook at once? This depends on your air fryer size, but I generally don’t fill more than 75% of the basket capacity. I prefer cooking in batches rather than overcrowding, which leads to uneven results.
Air fryer garlic bread has become my signature side dish, and I’m confident that following these detailed instructions will help you achieve the same delicious results. The combination of crispy texture, rich garlic flavor, and quick preparation time makes this recipe a winner for any occasion. Whether you’re serving it alongside pasta, soup, or enjoying it as a snack, this air fryer method delivers consistent, restaurant-quality results that will impress family and friends alike.