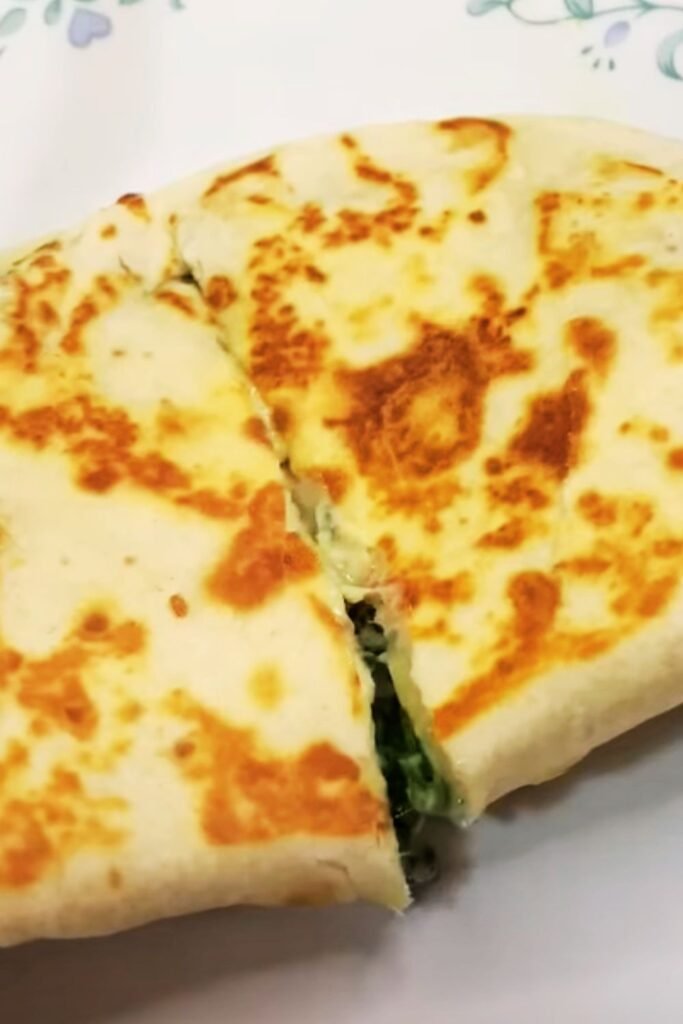
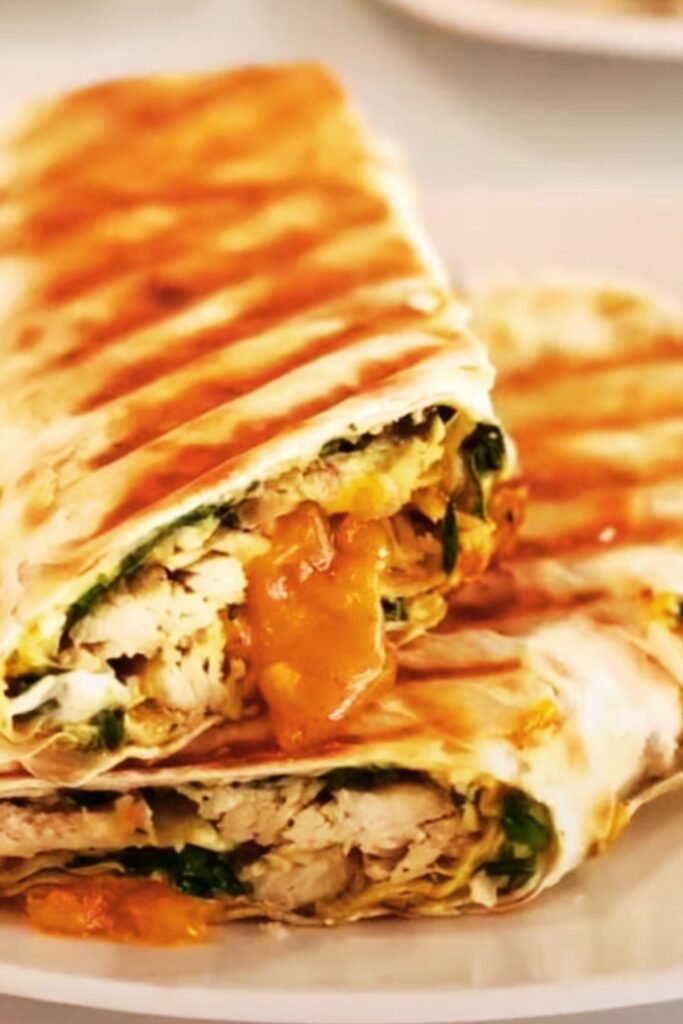
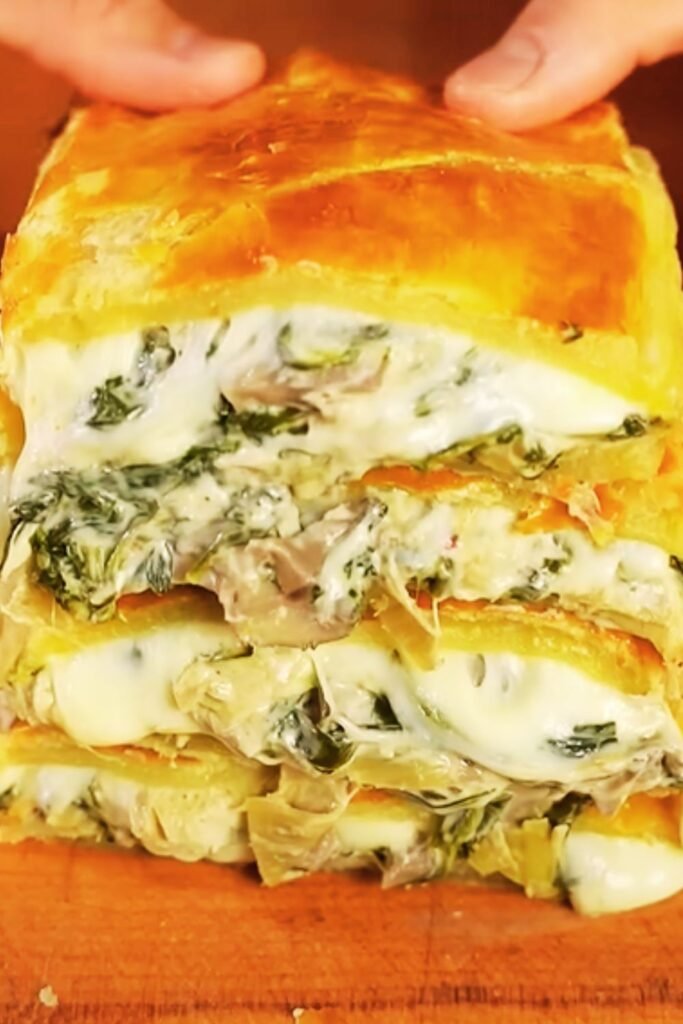
Have you ever found yourself standing in your kitchen at the end of a long day, desperately wanting something delicious but not having the energy for an elaborate cooking session? I’ve been there more times than I can count. That’s exactly why these Spinach and Artichoke Chicken Quesadillas have become my go-to dinner solution. They’re crispy, cheesy, packed with flavor, and bring together two beloved classics: spinach artichoke dip and quesadillas!
This recipe transforms ordinary quesadillas into a satisfying meal by combining tender chicken, creamy spinach-artichoke filling, and a perfectly crisp tortilla exterior. I’ve spent years perfecting this recipe, adjusting ingredients and techniques until I found the perfect balance. The result? A restaurant-quality dish you can easily make at home in about 30 minutes.
What makes these quesadillas special is the perfect harmony of textures and flavors. The outside gets wonderfully crispy while the inside remains creamy and flavorful. The slight tanginess from the artichokes balances beautifully with the richness of the cheese, and the spinach adds both nutrition and a lovely color contrast.
Let me walk you through exactly how to create this delicious meal that’s sure to become a regular in your dinner rotation.
Ingredients You’ll Need
For my spinach and artichoke chicken quesadillas, I’ve carefully selected ingredients that work together to create layers of flavor and texture. Here’s everything you’ll need to serve 4 people (makes 8 quesadilla wedges):
For the Filling:
- 2 cups cooked chicken, shredded (about 2 medium chicken breasts)
- 1 package (10 oz) frozen chopped spinach, thawed and squeezed dry
- 1 can (14 oz) artichoke hearts, drained and roughly chopped
- 8 oz cream cheese, softened
- ¼ cup sour cream
- ¼ cup mayonnaise
- 3 cloves garlic, minced
- 1 small onion, finely diced
- 1 cup mozzarella cheese, shredded
- ½ cup parmesan cheese, freshly grated
- 1 teaspoon Italian seasoning
- ½ teaspoon red pepper flakes (adjust to taste)
- Salt and black pepper to taste
- 2 tablespoons fresh lemon juice
- 2 tablespoons fresh parsley, chopped
For Assembly:
- 8 large flour tortillas (10-inch diameter)
- 2 cups Mexican cheese blend or Monterey Jack, shredded
- 3 tablespoons butter for cooking
- Olive oil spray or 2 tablespoons olive oil
For Serving:
- Fresh salsa
- Guacamole
- Sour cream
- Chopped fresh cilantro
- Lime wedges
Kitchen Equipment
Having the right tools on hand will make the preparation process much smoother:
- Large skillet (preferably cast iron or non-stick)
- Medium mixing bowl
- Cutting board and sharp knife
- Measuring cups and spoons
- Cheese grater
- Spatula for flipping
- Clean kitchen towel or paper towels (for squeezing spinach)
- Serving platter
Preparation Steps
I’ve broken down the process into clear steps to make this recipe approachable for any home cook:
Step 1: Prepare the Chicken
If you don’t already have cooked chicken on hand, here’s my favorite method:
- Season two chicken breasts with salt, pepper, and a pinch of garlic powder.
- Heat 1 tablespoon of olive oil in a skillet over medium heat.
- Cook chicken for 6-7 minutes per side until the internal temperature reaches 165°F (74°C).
- Let it rest for 5 minutes, then shred using two forks.
I often use rotisserie chicken as a time-saving alternative. It adds wonderful flavor and eliminates the need to cook the chicken from scratch.
Step 2: Create the Spinach-Artichoke Mixture
- Place the thawed spinach in a clean kitchen towel and squeeze out as much moisture as possible. This is crucial for preventing soggy quesadillas.
- Heat 1 tablespoon of olive oil in a large skillet over medium heat.
- Add the diced onion and cook until translucent, about 3-4 minutes.
- Add the minced garlic and cook for another 30 seconds until fragrant.
- Reduce heat to medium-low and add cream cheese, stirring until melted and smooth.
- Mix in sour cream, mayonnaise, dried Italian seasoning, and red pepper flakes.
- Fold in the drained spinach, chopped artichoke hearts, mozzarella, and parmesan cheese.
- Stir in the fresh lemon juice, parsley, and season with salt and pepper to taste.
- Gently fold in the shredded chicken until everything is well combined.
- Remove from heat and let the mixture cool slightly while you prepare for assembly.

Step 3: Assemble and Cook the Quesadillas
- Lay four tortillas on a clean work surface.
- Spread about ½ cup of the spinach-artichoke chicken mixture evenly over each tortilla, leaving a ½-inch border around the edges.
- Sprinkle about ¼ cup of the Mexican cheese blend or Monterey Jack over the filling.
- Top with the remaining four tortillas and press gently to seal.
- Heat a large skillet over medium heat and add about 1 tablespoon of butter.
- Once the butter has melted, carefully transfer one quesadilla to the skillet.
- Cook for 2-3 minutes until the bottom is golden brown and crispy.
- Using a wide spatula, carefully flip the quesadilla and cook for another 2-3 minutes until both sides are crispy and the cheese is melted.
- Transfer to a cutting board and repeat with the remaining quesadillas, adding more butter to the skillet as needed.
- Let each quesadilla rest for about 1 minute before cutting into quarters with a sharp knife or pizza cutter.
Serving Suggestions
The way you serve these quesadillas can elevate them from a simple dinner to an impressive meal. Here are my favorite serving ideas:
- Create a DIY toppings bar with fresh salsa, guacamole, sour cream, and chopped cilantro. This is perfect for family dinners or casual gatherings.
- Serve with a side of Mexican rice and black beans for a complete meal.
- Add a fresh side salad with a lime vinaigrette to balance the richness of the quesadillas.
- For a lighter option, serve with a crunchy jicama and cucumber salad.
- Consider making a simple avocado crema by blending ripe avocado with a bit of sour cream, lime juice, and salt.

Nutritional Information
For those watching their nutritional intake, here’s a breakdown of what you can expect from one quesadilla wedge (one-quarter of a whole quesadilla):
| Nutrient | Amount |
|---|---|
| Calories | 385 |
| Total Fat | 24g |
| Saturated Fat | 12g |
| Cholesterol | 75mg |
| Sodium | 650mg |
| Total Carbohydrates | 25g |
| Dietary Fiber | 3g |
| Sugars | 2g |
| Protein | 19g |
| Calcium | 250mg |
| Iron | 2mg |
| Vitamin A | 3500IU |
| Vitamin C | 8mg |
Recipe Variations
One of the things I love about this recipe is how versatile it is. Here are some variations I’ve tried and loved:
Vegetarian Version
Skip the chicken and double the amount of spinach and artichokes. You could also add some sautéed mushrooms or roasted red peppers for extra flavor and texture.
Spicy Kick
Add 1-2 diced jalapeños (seeds removed for less heat) to the filling mixture. You could also mix in a tablespoon of hot sauce or chipotle peppers in adobo sauce.
Mediterranean Twist
Substitute feta cheese for the parmesan, add some Kalamata olives, and use Greek seasoning instead of Italian. Serve with tzatziki sauce instead of sour cream.
Gluten-Free Option
Use gluten-free tortillas or large lettuce leaves as wraps. The filling is naturally gluten-free if you check that your seasonings don’t contain hidden gluten.
Lighter Version
Use low-fat cream cheese, Greek yogurt instead of sour cream, and reduce the amount of shredded cheese. You’ll still get a creamy, delicious result with fewer calories.
Tips for Perfect Quesadillas Every Time
After making these countless times, I’ve developed some tricks that make a big difference:
- Thoroughly drain the spinach: Excess moisture is the enemy of crispy quesadillas. Take the time to really squeeze out all the water from the thawed spinach.
- Don’t overstuff: It’s tempting to load up the tortillas with filling, but this makes them difficult to flip and can lead to filling spilling out during cooking.
- Moderate heat is key: If your skillet is too hot, the tortilla will burn before the cheese melts. If it’s not hot enough, you’ll end up with a soggy quesadilla. Medium heat is just right.
- Use butter and oil: A combination of butter (for flavor) and olive oil (for a higher smoke point) gives the best results for that perfect golden-brown exterior.
- Let them rest: Allowing the cooked quesadillas to rest for a minute before cutting helps the filling set slightly so it doesn’t all ooze out when you cut them.
- Pre-toast the tortillas: For extra crispy quesadillas, briefly toast each tortilla in a dry skillet for about 30 seconds per side before assembling.

Make-Ahead and Storage Instructions
These quesadillas work wonderfully for meal prep and leftovers:
Make-Ahead Options:
- The spinach-artichoke chicken filling can be made up to 2 days ahead and stored in an airtight container in the refrigerator.
- You can assemble the quesadillas a few hours before cooking. Keep them covered with plastic wrap in the refrigerator until you’re ready to cook.
- For a party, you can pre-cook the quesadillas, cut them into wedges, and then reheat them in a 350°F (175°C) oven for 5-7 minutes just before serving.
Storage and Reheating:
- Leftover cooked quesadillas will keep in the refrigerator for up to 3 days in an airtight container.
- To reheat, avoid the microwave (which will make them soggy). Instead, place them in a dry skillet over medium-low heat for 2-3 minutes per side until heated through and crispy again.
- You can also reheat them in a 350°F (175°C) oven for about 10 minutes.
- I don’t recommend freezing fully assembled quesadillas as the tortillas can become soggy when thawed, but you can freeze the filling for up to 3 months.
Perfect Pairing Ideas
While I enjoy these quesadillas as a complete meal on their own, here are some dishes that pair beautifully with them:
- Soups: A simple tomato soup or black bean soup makes a wonderful companion.
- Salads: A crisp Mexican street corn salad or a simple green salad with a cilantro-lime dressing adds freshness.
- Sides: Mexican-style roasted vegetables or cilantro-lime rice complements the rich flavors of the quesadillas.
- Dessert: Follow up with a light dessert like fresh mango slices with a squeeze of lime and a sprinkle of Tajin seasoning.
Common Mistakes to Avoid
Even experienced cooks can sometimes run into issues with quesadillas. Here are some common pitfalls to avoid:
- Skipping the draining step for spinach and artichokes: This is crucial for preventing soggy quesadillas.
- Using too much filling: This makes them difficult to flip and messy to eat.
- Cooking at too high a temperature: This results in a burnt exterior and cold interior.
- Not allowing the filling to cool slightly: Hot filling can make the tortillas soggy before they hit the pan.
- Using pre-shredded cheese: These contain anti-caking agents that affect how they melt. Freshly grated cheese yields a smoother, creamier result.
Questions and Answers
I’ve been making this recipe for years and have received many questions about it. Here are answers to the most common ones:
Q: Can I use fresh spinach instead of frozen?
Yes! You’ll need about 1 pound of fresh spinach. Sauté it first until wilted, then drain and chop it. Fresh spinach contains a lot of water, so be sure to squeeze out the excess moisture after cooking.
Q: What’s the best type of tortilla to use?
I prefer flour tortillas that are about 10 inches in diameter. They’re sturdy enough to hold the filling while still getting crispy. Whole wheat tortillas work well too. Corn tortillas tend to crack when folded, so they’re better for tacos than quesadillas.
Q: Can I make this recipe dairy-free?
It’s challenging to make this exact recipe dairy-free because the cheeses are central to the flavor profile. However, you could experiment with dairy-free cream cheese, vegan sour cream, and dairy-free shredded cheese alternatives. The result will be different but still tasty.
Q: How do I know when to flip the quesadilla?
The bottom tortilla should be golden brown and crispy to the touch. You can carefully lift one edge with a spatula to check. The quesadilla should also feel firm enough to flip without falling apart, which usually takes about 2-3 minutes on medium heat.
Q: My quesadillas are coming out soggy. What am I doing wrong?
This is usually due to one of three issues: not draining the spinach and artichokes thoroughly, having the heat too low, or overcrowding the pan. Make sure to squeeze all excess moisture from the vegetables, use medium heat, and cook only one quesadilla at a time.
Q: Can I use a panini press or quesadilla maker instead of a skillet?
Absolutely! These appliances work wonderfully for making quesadillas. Follow the manufacturer’s instructions, but generally, you’ll cook them for about 3-4 minutes until golden and crispy.
Why This Recipe Works
After years of tweaking and perfecting this recipe, I’ve discovered why certain elements are essential:
- The combination of three different cheeses provides layers of flavor and excellent melting properties.
- Adding both mayonnaise and sour cream to the filling creates a creamy texture that holds everything together.
- The brief cooking of garlic and onion before adding other ingredients develops a depth of flavor that makes all the difference.
- The fresh lemon juice cuts through the richness and brightens all the flavors.
- Using butter for cooking the quesadillas gives them a beautiful golden color and rich flavor that oil alone doesn’t provide.
This recipe perfectly balances rich and fresh flavors, creamy and crispy textures, and convenience with impressive results. It’s one of those rare dishes that’s easy enough for a weeknight dinner but special enough for entertaining guests.
Whether you’re looking for a quick family dinner, an impressive appetizer for guests, or just a satisfying meal for yourself, these Spinach and Artichoke Chicken Quesadillas deliver on all fronts. Give them a try, and I’m confident they’ll become a favorite in your recipe collection too!