Let me share something with you – I’ve been making cheesecakes for over fifteen years, and I can honestly say that finding the perfect balance between simplicity and incredible taste took me countless kitchen experiments. What I’m about to share with you is my foolproof recipe that has never failed me, whether I’m making it for a special occasion or just because my family is craving something divine.
When I first started making cheesecakes, I was intimidated by all the complex techniques and lengthy ingredient lists I found in cookbooks. But here’s what I discovered: the best cheesecakes are often the simplest ones. This recipe uses basic ingredients that you probably already have in your kitchen, and the technique is so straightforward that even complete beginners can master it on their first try.
Why This Recipe Works Every Time
My approach to cheesecake differs from many traditional recipes in several key ways. First, I use room temperature ingredients – this is absolutely crucial for achieving that smooth, lump-free texture we all crave. Second, I’ve perfected the baking technique using a water bath, which prevents those unsightly cracks that can ruin the appearance of your dessert.
The secret to my success lies in understanding the science behind cheesecake. Unlike regular cakes that rely on chemical leaveners, cheesecake is essentially a custard that sets through gentle heat. This means we need to treat it with the same care we’d give to making a perfect crème brûlée – low, slow, and steady.
Essential Ingredients and Their Roles
Let me walk you through each ingredient and explain why it’s important:
Cream Cheese: This is the star of our show. I always use full-fat cream cheese – never the reduced-fat versions. The fat content is what gives us that rich, creamy texture. Make sure it’s completely softened to room temperature before you begin.
Eggs: These act as our binding agent and help the cheesecake set properly. I use large eggs at room temperature for the best incorporation.
Sugar: Granulated sugar not only sweetens but also helps create the smooth texture we’re after. I’ve found that the exact amount I use provides the perfect balance without being overly sweet.
Sour Cream: This adds tanginess and helps create that signature cheesecake flavor profile. It also contributes to the creamy texture.
Vanilla Extract: Pure vanilla extract is non-negotiable for me. The artificial stuff just doesn’t provide the same depth of flavor.
Graham Crackers: For the crust, I use honey graham crackers, though regular ones work perfectly fine too.
Equipment You’ll Need
Having the right tools makes this process so much smoother. Here’s what I recommend:
- 9-inch springform pan (absolutely essential for easy removal)
- Electric mixer (stand mixer preferred, but hand mixer works)
- Food processor (for the crust, though you can crush crackers by hand)
- Large roasting pan (for the water bath)
- Aluminum foil
- Measuring cups and spoons
- Rubber spatula
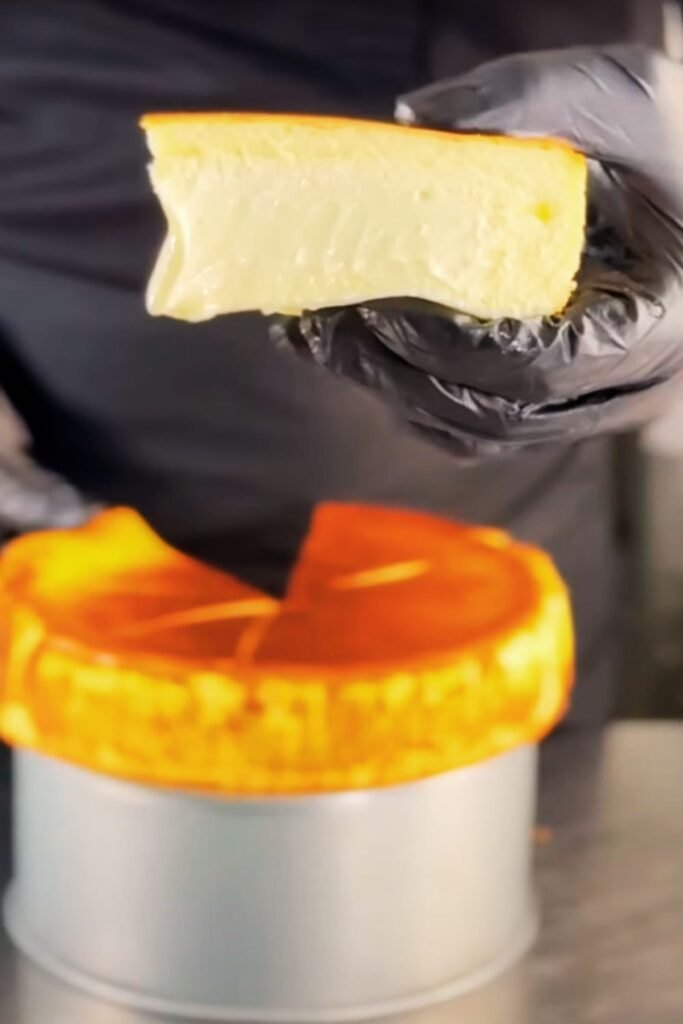
The Perfect Graham Cracker Crust
I start every cheesecake with a homemade crust because it’s so much better than store-bought versions. Here’s my method:
Crust Ingredients:
- 1½ cups graham cracker crumbs (about 12 crackers)
- ⅓ cup melted butter
- ¼ cup granulated sugar
- Pinch of salt
I crush my graham crackers in a food processor until they’re fine crumbs – no large pieces should remain. Then I mix in the melted butter, sugar, and salt until the mixture resembles wet sand and holds together when pressed.
Press this mixture firmly into the bottom of your springform pan. I use the bottom of a measuring cup to get it really compact and even. Pre-bake the crust at 350°F for 10 minutes, then let it cool while you prepare the filling.
My Foolproof Cheesecake Filling
Filling Ingredients:
- 32 oz (4 packages) cream cheese, room temperature
- 1 cup granulated sugar
- 4 large eggs, room temperature
- 1 cup sour cream, room temperature
- 2 teaspoons pure vanilla extract
- ¼ teaspoon salt
The technique here is crucial. I start by beating the cream cheese alone until it’s completely smooth – this usually takes about 3-4 minutes with my stand mixer. Any lumps at this stage will remain in your final cheesecake, so don’t rush this step.
Next, I gradually add the sugar, beating until well combined. Then I add eggs one at a time, beating just until incorporated after each addition. Overbeating at this stage can introduce too much air, which leads to cracks.
Finally, I mix in the sour cream, vanilla, and salt on low speed just until combined. The key word here is “just” – we want everything incorporated but we don’t want to overwork the batter.
The Water Bath Technique
This is where many home bakers get nervous, but I promise it’s easier than you think. The water bath (or bain-marie) serves two purposes: it provides gentle, even heat and adds moisture to the oven environment, both of which prevent cracking.
I wrap the bottom and sides of my springform pan with heavy-duty aluminum foil – this prevents any water from seeping in. Then I place the pan in a large roasting pan and pour hot water halfway up the sides of the springform pan.
Baking Instructions
Preheat your oven to 325°F. Pour the filling over the pre-baked crust and gently tap the pan to release any air bubbles. Place in the water bath and bake for 55-65 minutes.
Here’s how I know it’s done: the center should still have a slight jiggle when you gently shake the pan, but the edges should be set. The internal temperature should reach 150°F if you have a thermometer.
Cooling and Setting Process
This is perhaps the most important part that many people rush. I turn off the oven and crack the door open, letting the cheesecake cool in the oven for one hour. This gradual cooling prevents thermal shock, which causes cracks.
After an hour, I remove it from the oven and water bath, then let it cool completely at room temperature for another hour. Only then do I refrigerate it, and it needs at least 4 hours in the fridge, though overnight is even better.
Nutritional Information and Serving Details
Here’s a comprehensive breakdown of what you’re getting with this recipe:
| Nutritional Information | Per Slice (12 servings) |
|---|---|
| Calories | 445 |
| Total Fat | 32g |
| Saturated Fat | 19g |
| Cholesterol | 145mg |
| Sodium | 285mg |
| Total Carbohydrates | 35g |
| Dietary Fiber | 1g |
| Sugars | 32g |
| Protein | 8g |
| Calcium | 125mg |
| Vitamin A | 15% DV |
| Recipe Details | Information |
|---|---|
| Prep Time | 25 minutes |
| Bake Time | 60 minutes |
| Cooling Time | 5 hours |
| Total Time | 6 hours 25 minutes |
| Servings | 12 generous slices |
| Difficulty Level | Easy |
| Storage | 5 days refrigerated |
Troubleshooting Common Issues
Over the years, I’ve encountered just about every cheesecake problem you can imagine. Here are the most common issues and my solutions:
Cracks on Top: This usually happens from temperature shock or overbaking. Make sure you’re using the water bath and cooling gradually.
Lumpy Texture: This comes from cold ingredients or overbeaten filling. Always use room temperature ingredients and mix gently.
Soggy Crust: Pre-baking the crust and ensuring your springform pan doesn’t leak are key preventive measures.
Sunken Center: This typically results from overbeating the eggs or baking at too high a temperature.
Flavor Variations I Love
Once you’ve mastered this basic recipe, the world of cheesecake flavors opens up to you. Here are some of my favorite variations:
Chocolate Cheesecake: Add ¼ cup cocoa powder and reduce flour by 2 tablespoons. Melt 4 oz of dark chocolate and fold it into the batter.
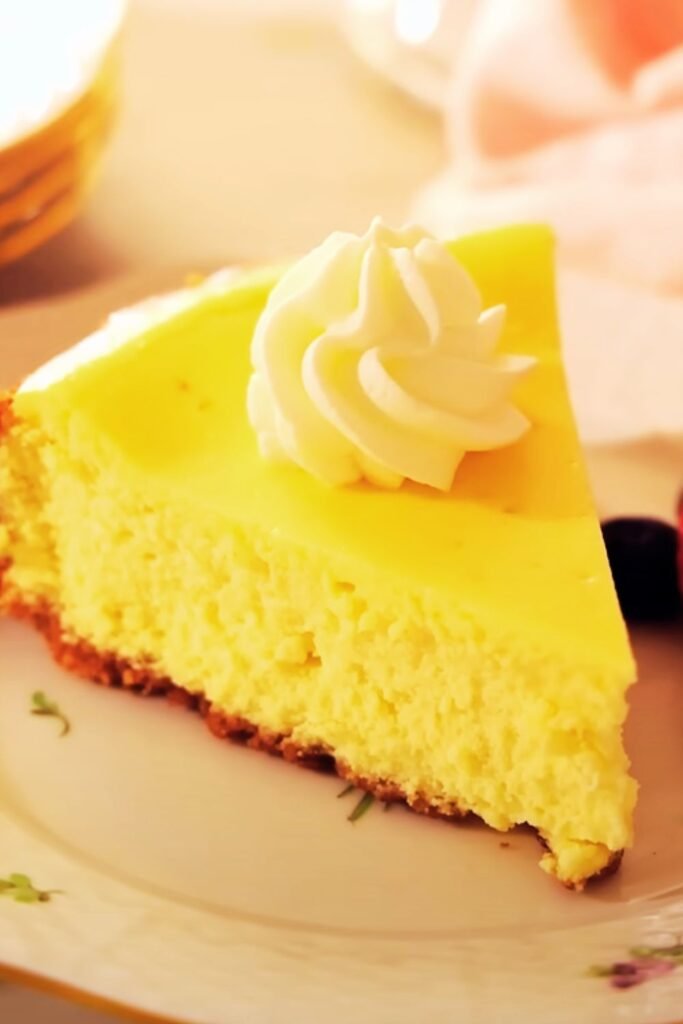
Lemon Cheesecake: Add the zest of 2 lemons and 3 tablespoons of fresh lemon juice to the filling.
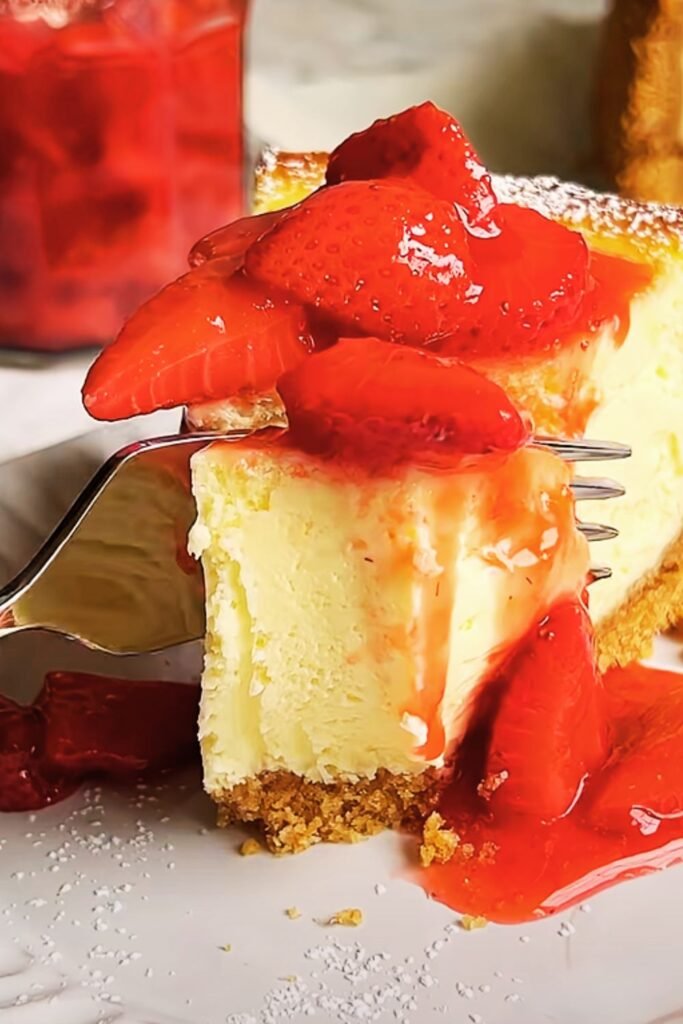
Strawberry Swirl: Puree 1 cup fresh strawberries with 2 tablespoons sugar, then swirl into the batter before baking.
Oreo Cheesecake: Replace graham crackers with crushed Oreos for the crust and fold crushed cookies into the filling.
Storage and Serving Tips
I store my cheesecakes in the refrigerator, loosely covered with plastic wrap. They stay fresh for up to five days, though they rarely last that long in my house! For serving, I always use a sharp knife dipped in warm water and wiped clean between cuts – this gives you those perfect, clean slices.
If you want to freeze your cheesecake, wrap individual slices in plastic wrap and then in aluminum foil. They’ll keep for up to three months. Thaw overnight in the refrigerator before serving.
Serving Suggestions
While this cheesecake is absolutely perfect on its own, I love pairing it with fresh berries. Strawberries, blueberries, and raspberries all complement the creamy richness beautifully. A drizzle of berry coulis or chocolate sauce can elevate it even further.
For holidays, I sometimes add a dollop of whipped cream and a sprinkle of cinnamon. In summer, fresh peach slices are divine with this cheesecake.
The Science Behind Perfect Cheesecake
Understanding why certain techniques work helps you become a better baker. The water bath creates steam, which keeps the top of the cheesecake from drying out and cracking. The low temperature ensures even cooking throughout – cheesecake is essentially a custard, and custards curdle if cooked too quickly.
Room temperature ingredients are crucial because they blend more easily, creating a smoother texture. Cold cream cheese will never fully incorporate, leaving you with lumps no matter how long you beat it.
Seasonal Adaptations
I love adapting this recipe throughout the year. In fall, I might add pumpkin puree and warm spices. Winter calls for peppermint or eggnog flavors. Spring brings fresh citrus variations, and summer is perfect for berry combinations.
Each adaptation follows the same basic technique – it’s just a matter of adjusting flavors and add-ins while maintaining the fundamental ratios that make this recipe work.
Cost Analysis
Making cheesecake at home is significantly more economical than purchasing from a bakery or restaurant. Here’s a rough cost breakdown:
| Ingredient | Approximate Cost |
|---|---|
| Cream Cheese (32 oz) | $6.00 |
| Eggs (4 large) | $1.00 |
| Sour Cream (1 cup) | $1.50 |
| Graham Crackers | $2.00 |
| Sugar | $0.50 |
| Butter | $0.75 |
| Vanilla Extract | $0.25 |
| Total Recipe Cost | $12.00 |
| Cost per Slice | $1.00 |
Compare this to bakery cheesecakes that often cost $4-6 per slice, and you can see the significant savings!
Questions and Answers
Q: Can I make this cheesecake without a springform pan? I really don’t recommend it. The springform pan makes removal so much easier and cleaner. If you absolutely must use a regular cake pan, line it heavily with parchment paper, leaving overhang for easy lifting.
Q: Why did my cheesecake crack even though I followed the recipe exactly? Cracks usually result from temperature changes or overbaking. Make sure you’re using the water bath, cooling gradually, and not opening the oven door during baking. Also, check that your oven temperature is accurate with an oven thermometer.
Q: Can I substitute Greek yogurt for sour cream? Yes, but use plain, full-fat Greek yogurt. The texture will be slightly different but still delicious. I’ve done this substitution many times with great results.
Q: How do I know when my cheesecake is done baking? The edges should be set and lightly golden, while the center should still have a slight jiggle when you gently shake the pan. If you have an instant-read thermometer, the center should reach 150°F.
Q: Can I make mini cheesecakes with this recipe? Absolutely! Use a muffin tin lined with paper cups. Reduce the baking time to about 18-22 minutes. You’ll get approximately 24 mini cheesecakes.
Q: What’s the best way to prevent my crust from getting soggy? Pre-baking the crust is essential. Also, make sure your springform pan doesn’t leak by wrapping it well with foil. Some bakers brush the crust with beaten egg white before adding the filling as an extra barrier.
Q: Can I make this cheesecake dairy-free? I’ve successfully made this using dairy-free cream cheese alternatives, though the texture is slightly different. Make sure to use full-fat versions for the best results.
Q: How far in advance can I make this cheesecake? This cheesecake actually improves with time! I often make it 2-3 days ahead of serving. It stays fresh in the refrigerator for up to five days.
Q: Why do you recommend room temperature ingredients? Room temperature ingredients blend much more easily, creating a smoother batter. Cold cream cheese will never fully incorporate, no matter how long you mix it, resulting in a lumpy texture.
Q: Can I freeze the whole cheesecake? Yes, but I prefer to slice it first for easier thawing. Wrap tightly in plastic wrap and aluminum foil. It will keep for up to three months in the freezer.
This cheesecake recipe has been my go-to for years because it consistently delivers that perfect combination of creamy texture and rich flavor that makes cheesecake so beloved. The technique might seem involved at first, but once you’ve made it a few times, it becomes second nature. I hope this becomes your signature dessert too – there’s nothing quite like the satisfaction of creating something this delicious from scratch!