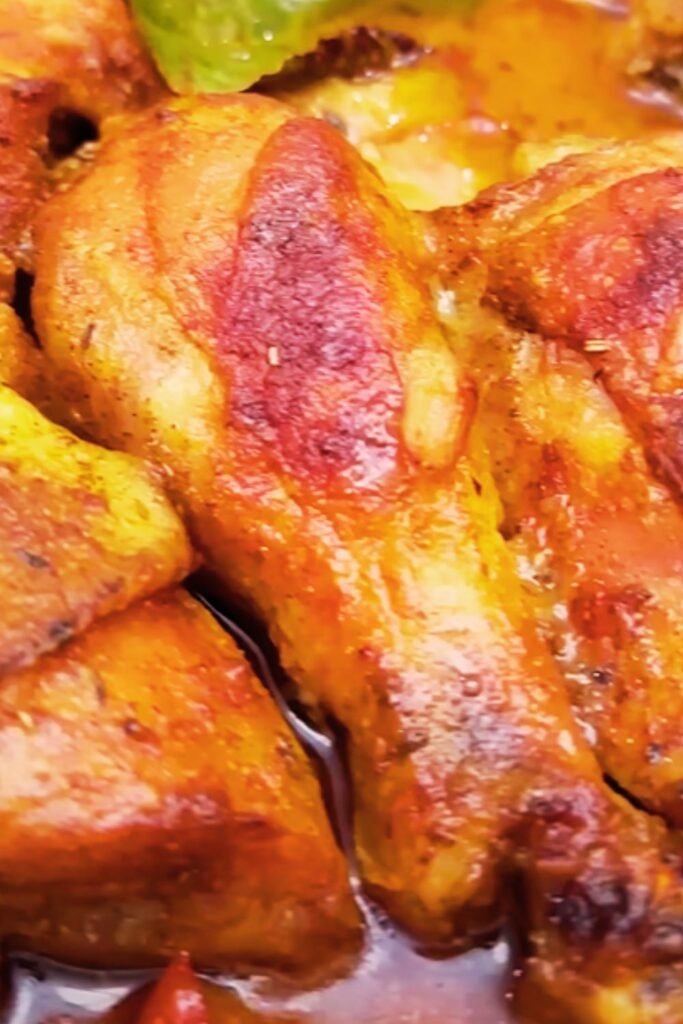
Let me share something with you – there’s nothing quite like the moment when crispy bacon meets tender, juicy chicken in perfect harmony. I’ve been perfecting this bacon-smothered chicken recipe for years, and I can honestly say it’s become my go-to dish when I want to impress guests or simply treat my family to something extraordinary.
The beauty of this dish lies in its simplicity. You don’t need fancy ingredients or complicated techniques. What you need is quality chicken, good bacon, and the patience to let flavors meld together into something truly magical. I’ve served this to skeptical teenagers who claimed they “don’t like chicken,” only to watch them go back for seconds and thirds.
What Makes Bacon-Smothered Chicken Special
When I first attempted this recipe, I’ll admit I was skeptical. Could something so straightforward really deliver restaurant-quality results? The answer is absolutely yes. The secret lies in the rendering process of the bacon fat, which creates a rich foundation that penetrates every fiber of the chicken.
The bacon doesn’t just sit on top as decoration – it becomes integral to the cooking process. As the bacon renders, its fat bastes the chicken continuously, creating layers of flavor that penetrate deep into the meat. Meanwhile, the chicken juices combine with the bacon drippings to create a sauce that’s pure liquid gold.
Understanding the Key Components
Bacon Selection: The backbone of this dish
- Thick-cut bacon works best as it holds its shape during cooking
- Choose bacon with good fat-to-meat ratio for optimal rendering
- Avoid pre-cooked bacon as it won’t render properly
Chicken Preparation: The foundation of success
- Bone-in, skin-on chicken pieces provide the best flavor and moisture
- Proper seasoning timing allows flavors to penetrate the meat
- Even thickness ensures uniform cooking
Cooking Method: The technique that brings it all together
- Low and slow cooking prevents the bacon from burning
- Proper temperature control ensures the chicken stays juicy
- Strategic layering maximizes flavor transfer
Essential Ingredients and Quantities
| Ingredient | Quantity | Purpose | Quality Notes |
|---|---|---|---|
| Chicken pieces (bone-in, skin-on) | 4-6 pieces | Main protein | Choose pieces of similar size |
| Thick-cut bacon | 8-10 strips | Flavor base and fat source | Look for minimal processing |
| Yellow onion | 1 large | Aromatic base | Sweet onions work well too |
| Garlic cloves | 4-5 cloves | Flavor enhancer | Fresh garlic only |
| Chicken broth | 1 cup | Moisture and flavor | Low-sodium preferred |
| Heavy cream | 1/2 cup | Richness and sauce | Full-fat for best results |
| Fresh thyme | 2 tablespoons | Herb component | Dried works but use less |
| Paprika | 1 teaspoon | Color and mild spice | Smoked paprika adds depth |
| Salt | To taste | Seasoning | Kosher or sea salt preferred |
| Black pepper | To taste | Seasoning | Freshly ground works best |
| Olive oil | 2 tablespoons | Cooking medium | Extra virgin for flavor |
Step-by-Step Cooking Instructions
Preparation Phase
I always start by gathering all my ingredients and preparing my workspace. This dish moves quickly once you begin, so having everything ready prevents any mishaps.
Step 1: Prepare the Chicken Remove the chicken from the refrigerator 30 minutes before cooking to bring it to room temperature. Pat each piece completely dry with paper towels – this step is crucial for achieving crispy skin. Season generously with salt and pepper, making sure to get seasoning under the skin where possible.
Step 2: Prep the Aromatics Slice the onion into half-moons, keeping the pieces relatively thick so they don’t disappear during cooking. Mince the garlic finely, and strip the thyme leaves from their stems. Having these ready prevents the garlic from burning while you’re juggling other tasks.
Cooking Process
Step 3: Render the Bacon Heat a large, heavy-bottomed skillet or Dutch oven over medium heat. Add the bacon strips, laying them flat without overlapping. Cook slowly, turning occasionally, until the bacon is crispy and has rendered most of its fat. This usually takes 8-10 minutes. Remove the bacon and set aside on paper towels, but keep that precious fat in the pan.
Step 4: Sear the Chicken Increase heat to medium-high. Place the chicken pieces skin-side down in the bacon fat. Don’t move them for the first 5-6 minutes – let them develop a beautiful golden crust. The skin should release easily when it’s ready to flip. Brown all sides, about 3-4 minutes per side. Remove chicken and set aside.
Step 5: Build the Flavor Base Reduce heat to medium and add the sliced onions to the same pan. The residual heat and bacon fat will start caramelizing them immediately. Cook for 5-7 minutes until they’re golden and softened. Add the minced garlic and cook for another minute until fragrant.
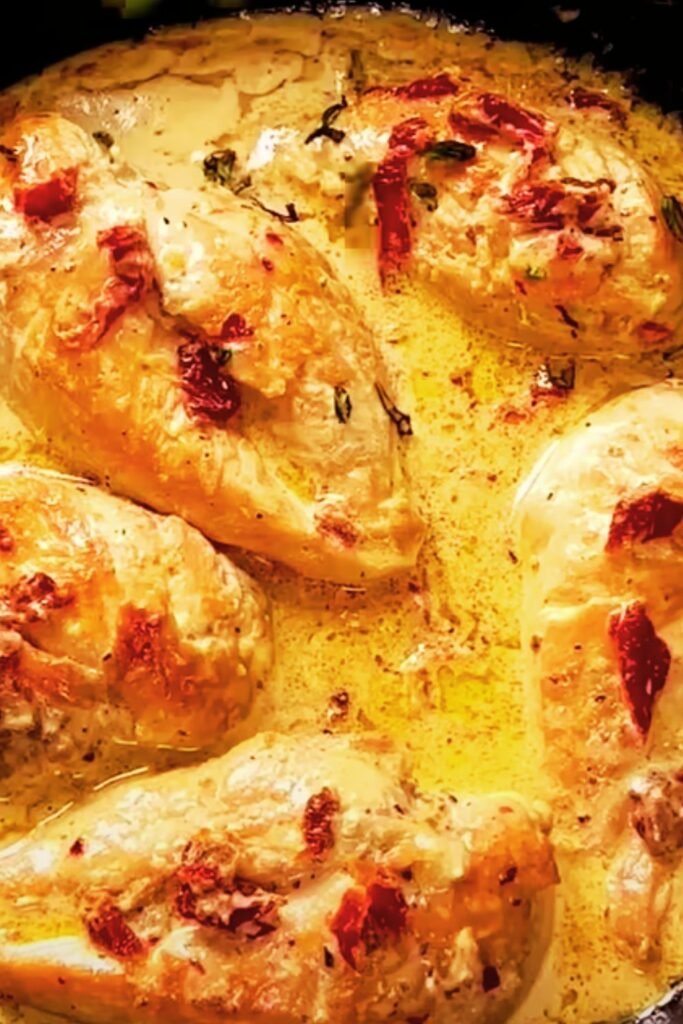
Step 6: Create the Sauce Pour in the chicken broth, scraping up any browned bits from the bottom of the pan. These bits are pure flavor gold. Add the heavy cream, thyme, and paprika. Stir to combine and bring to a gentle simmer.
Assembly and Final Cooking
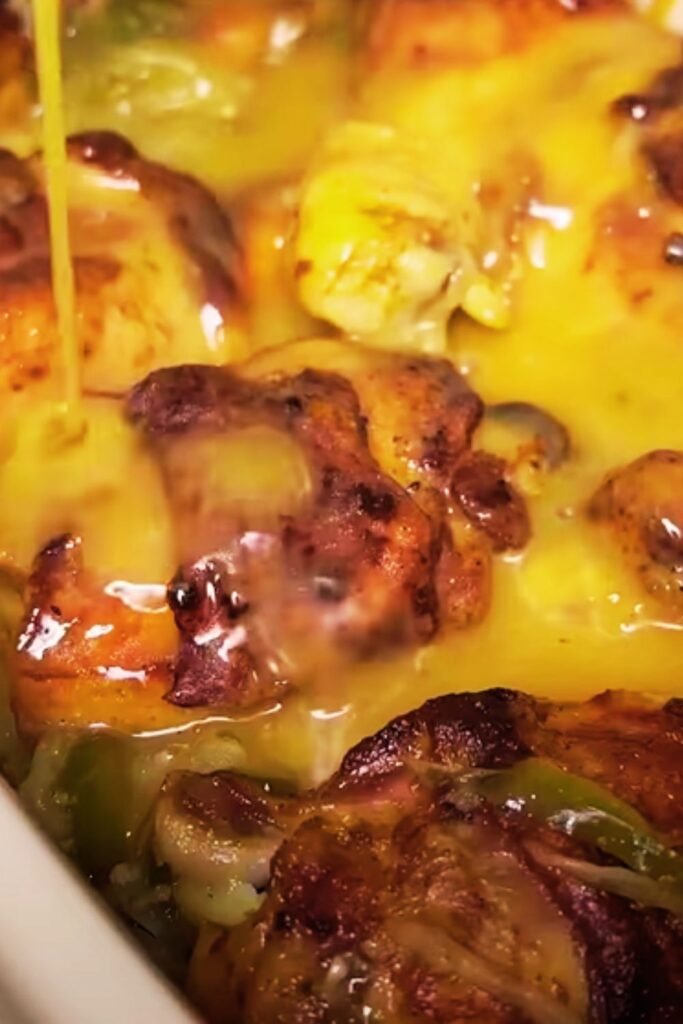
Step 7: Combine Everything Return the chicken to the pan, nestling it into the sauce. The liquid should come about halfway up the chicken pieces. Crumble the cooked bacon over the top, reserving some for garnish.
Step 8: Slow Cook to Perfection Cover the pan and reduce heat to low. Let everything simmer gently for 25-30 minutes, or until the chicken reaches an internal temperature of 165°F (74°C). The sauce will thicken slightly and the flavors will meld beautifully.
Cooking Times and Temperature Guide
| Cooking Stage | Temperature | Time | Visual Cues |
|---|---|---|---|
| Bacon rendering | Medium | 8-10 minutes | Crispy, golden brown |
| Chicken searing | Medium-high | 3-4 minutes per side | Golden crust, releases easily |
| Onion caramelization | Medium | 5-7 minutes | Golden and translucent |
| Sauce building | Medium | 2-3 minutes | Gentle simmer |
| Final braising | Low | 25-30 minutes | Internal temp 165°F |
Nutritional Information and Health Considerations
While this dish is undeniably indulgent, it does offer some nutritional benefits when enjoyed as part of a balanced diet. The chicken provides high-quality protein essential for muscle maintenance and growth. The bacon, while high in fat, contributes to the dish’s satiety factor, meaning you’ll feel satisfied with smaller portions.
| Nutrient | Per Serving | Daily Value % |
|---|---|---|
| Calories | 485 | 24% |
| Protein | 38g | 76% |
| Total Fat | 32g | 41% |
| Saturated Fat | 12g | 60% |
| Cholesterol | 145mg | 48% |
| Sodium | 890mg | 39% |
| Carbohydrates | 8g | 3% |
| Fiber | 1g | 4% |
Note: Nutritional values are approximate and based on standard ingredients
Serving Suggestions and Pairings
I’ve found that this rich, savory dish pairs beautifully with sides that can absorb some of that incredible sauce. Here are my favorite combinations:
Classic Comfort Pairings:
- Creamy mashed potatoes or buttery egg noodles
- Roasted root vegetables like carrots, parsnips, or Brussels sprouts
- Simple steamed green beans or asparagus
- Crusty bread for soaking up every drop of sauce
Lighter Options:
- Mixed greens salad with a light vinaigrette
- Roasted cauliflower or broccoli
- Wild rice pilaf
- Sautéed spinach with garlic
Variations and Creative Twists
Over the years, I’ve experimented with numerous variations of this basic recipe. Each brings something unique to the table:
Mushroom Lover’s Version: Add 8 ounces of sliced mushrooms (cremini or shiitake work wonderfully) when cooking the onions. The mushrooms absorb the bacon fat and add an earthy depth that’s absolutely divine.
Herb-Crusted Variation: Mix chopped fresh rosemary, sage, and parsley with breadcrumbs and parmesan cheese. Sprinkle this mixture over the chicken during the last 10 minutes of cooking for a crispy, flavorful crust.
Spicy Southwestern Style: Replace the thyme with cumin and chili powder, add diced jalapeños with the onions, and finish with fresh cilantro and a squeeze of lime.
European-Inspired: Use white wine instead of some of the chicken broth, add fresh tarragon, and serve over polenta or crusty bread.
Storage and Reheating Instructions
This dish actually improves with time as the flavors continue to meld. I often make it a day ahead for dinner parties.
Refrigerator Storage: Store covered in the refrigerator for up to 3 days. The sauce may thicken considerably, which is perfectly normal.
Freezer Storage: This dish freezes well for up to 2 months. I recommend freezing in individual portions for easy reheating.
Reheating Methods:
- Oven: 350°F for 15-20 minutes, covered with foil
- Stovetop: Low heat with a splash of chicken broth to thin the sauce
- Microwave: Medium power, stirring every 2 minutes
Common Mistakes and How to Avoid Them
Through years of making this dish, I’ve learned to avoid several pitfalls:
Mistake 1: Rushing the Bacon Cooking bacon too quickly results in burnt edges and undercooked centers. Take your time with medium heat.
Mistake 2: Overcrowding the Pan If your pan is too small, the chicken will steam rather than sear. Use a large enough pan or cook in batches.
Mistake 3: Skipping the Deglazing Those browned bits on the bottom of the pan are pure flavor. Don’t skip scraping them up when you add the liquid.
Mistake 4: Cooking at Too High Heat Once you’ve combined everything, keep the heat low. High heat will curdle the cream and make the chicken tough.
Questions and Answers
Q: Can I use boneless chicken for this recipe? A: While you can use boneless chicken, I strongly recommend bone-in pieces. The bones add flavor and help keep the meat moist during the longer cooking time. If you must use boneless, reduce the cooking time to 15-20 minutes.
Q: What if I don’t have heavy cream? A: You can substitute with half-and-half, though the sauce won’t be quite as rich. Avoid using milk as it’s likely to curdle during cooking.
Q: Can I make this dish dairy-free? A: Absolutely! Replace the heavy cream with full-fat coconut milk or cashew cream. The flavor will be slightly different but still delicious.
Q: How do I know when the chicken is done? A: The most reliable method is using a meat thermometer. The internal temperature should reach 165°F (74°C) in the thickest part of the meat. The juices should also run clear when pierced.
Q: Can I prepare this dish in advance? A: Yes! You can prepare everything up to the final braising step, then refrigerate overnight. When ready to serve, bring to room temperature and continue with the covered cooking step.
Q: What’s the best type of bacon to use? A: I prefer thick-cut bacon with a good balance of fat and meat. Avoid turkey bacon or pre-cooked bacon as they won’t render the fat needed for this recipe.
Q: My sauce seems too thin. How can I thicken it? A: Remove the chicken and simmer the sauce uncovered for a few minutes to reduce it. Alternatively, mix 1 tablespoon of cornstarch with 2 tablespoons of cold water and stir into the simmering sauce.
Q: Can I use different herbs? A: Absolutely! Rosemary, sage, or oregano all work well. Start with smaller amounts as some herbs are more potent than others.
This bacon-smothered chicken has become more than just a recipe in my kitchen – it’s a comfort food that brings people together. The combination of crispy bacon, tender chicken, and rich sauce creates something that’s both sophisticated enough for guests and comforting enough for family dinners. I hope you’ll give it a try and make it your own with whatever variations speak to you.