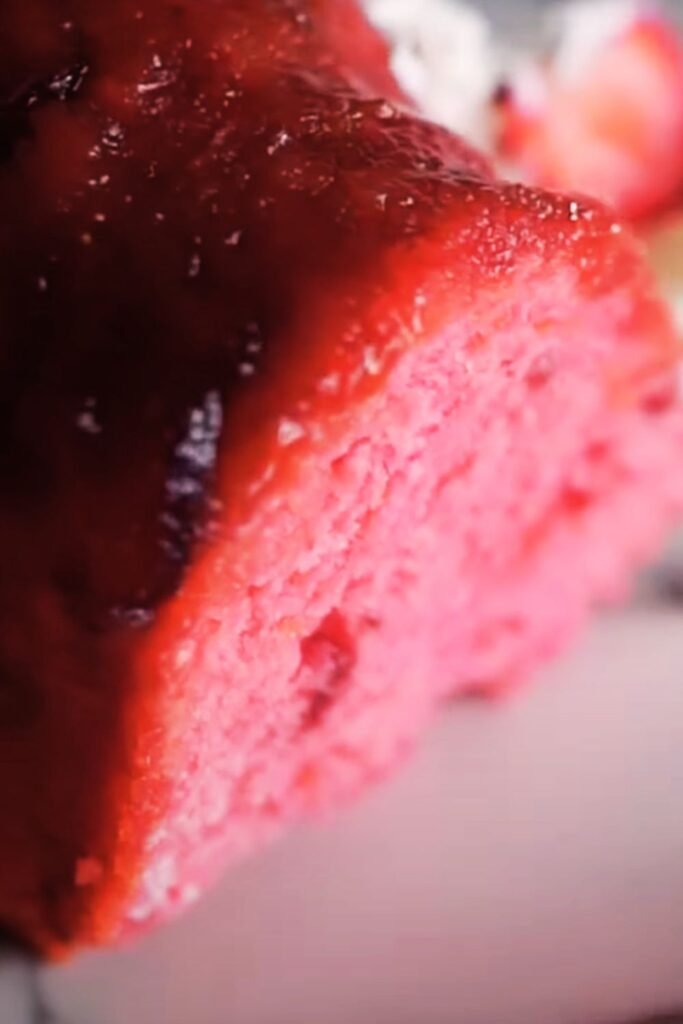
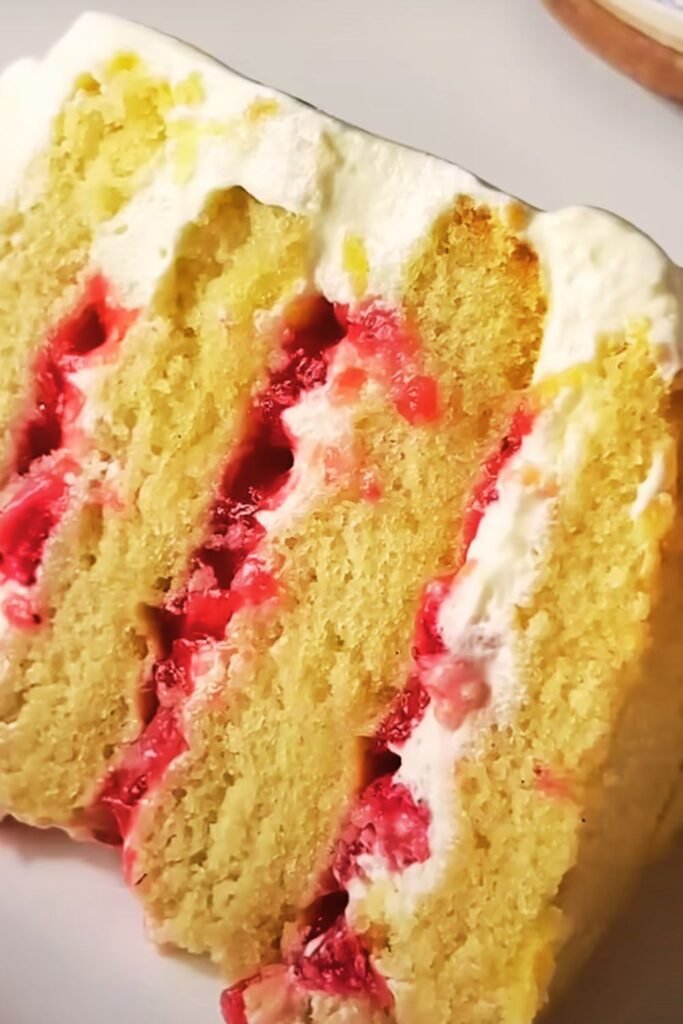
Nothing quite captures the essence of summer like the sweet, juicy burst of fresh strawberries combined with fluffy, tender cake. I’ve been perfecting this easy strawberry cake recipe for years, and I’m thrilled to share it with you today. Whether you’re a beginner baker or someone looking for a foolproof dessert that never fails to impress, this recipe will become your go-to for special occasions and everyday treats alike.
The beauty of this strawberry cake lies in its simplicity and the way it celebrates the natural sweetness of strawberries. I’ve designed this recipe to be accessible to bakers of all skill levels while delivering bakery-quality results every single time. What makes this cake truly special is how it incorporates strawberries in multiple ways – fresh berries folded into the batter, a luscious strawberry filling, and a beautiful strawberry buttercream frosting that ties everything together.
Understanding the Perfect Strawberry Cake
Strawberry Cake: A light, moist cake that incorporates fresh or processed strawberries into the batter, often featuring strawberry flavoring throughout multiple components including the cake layers, filling, and frosting.
Creaming Method: The traditional cake-making technique where butter and sugar are beaten together until light and fluffy, creating the foundation for a tender crumb structure.
Maceration: The process of combining fresh strawberries with sugar to draw out their natural juices, creating both intensified flavor and a syrupy liquid perfect for cake applications.
Buttercream Frosting: A smooth, pipeable frosting made from butter, powdered sugar, and flavorings that provides both decoration and flavor enhancement to cakes.
Essential Ingredients and Their Roles
The success of any great strawberry cake begins with understanding your ingredients and how they work together. I’ve carefully selected each component to ensure maximum flavor and perfect texture.
For the cake layers, you’ll need all-purpose flour, which provides the necessary structure without making the cake heavy. I always recommend measuring flour by weight when possible, as this ensures consistency every time you bake. The butter should be at room temperature – this is crucial for proper creaming and achieving that light, fluffy texture we’re after.
Fresh strawberries are the star of this recipe, and their quality will directly impact your final result. I look for berries that are bright red, fragrant, and give slightly to gentle pressure. Avoid strawberries with white or green areas, as these won’t contribute the sweet, intense flavor we want.

The eggs in this recipe serve multiple purposes – they provide structure, moisture, and richness. Room temperature eggs incorporate more easily into the batter, creating a smoother mixture that bakes more evenly. I recommend taking your eggs out of the refrigerator at least an hour before you plan to start baking.
Vanilla extract enhances the strawberry flavor rather than competing with it. I prefer pure vanilla extract over imitation, as it provides a more complex, nuanced flavor that complements the berries beautifully.
Detailed Ingredient Measurements and Substitutions
| Ingredient | Amount | Purpose | Possible Substitutions |
|---|---|---|---|
| All-purpose flour | 2½ cups (315g) | Structure and texture | Cake flour (use 2¾ cups) |
| Unsalted butter | 1 cup (226g), room temperature | Moisture and flavor | Vegetable oil (¾ cup) |
| Granulated sugar | 1¾ cups (350g) | Sweetness and texture | Caster sugar (same amount) |
| Large eggs | 4, room temperature | Structure and richness | 3 eggs + 2 egg whites |
| Fresh strawberries | 2 cups, hulled and chopped | Primary flavor | Frozen strawberries (thawed and drained) |
| Whole milk | 1 cup (240ml) | Moisture | Buttermilk or 2% milk |
| Baking powder | 2 teaspoons | Leavening | 1½ tsp baking powder + ¼ tsp baking soda |
| Salt | ½ teaspoon | Flavor enhancement | Sea salt (same amount) |
| Pure vanilla extract | 2 teaspoons | Flavor complement | Almond extract (1 teaspoon) |
| Strawberry jam | ¼ cup | Concentrated flavor | Strawberry preserves |
Step-by-Step Baking Process
Preparation Phase
I always start by preparing my workspace and ingredients before I begin mixing anything. This approach, called mise en place, ensures everything goes smoothly once you start the actual baking process.
Preheat your oven to 350°F (175°C) and position the racks in the center. Grease two 9-inch round cake pans with butter, then dust them lightly with flour, tapping out any excess. I like to line the bottoms with parchment paper for extra insurance against sticking.
Next, prepare your strawberries by hulling and chopping them into small, uniform pieces – about ¼-inch dice works perfectly. Toss the chopped strawberries with two tablespoons of flour. This coating helps prevent the berries from sinking to the bottom of the cake during baking.
Creating the Perfect Batter
In a large mixing bowl, cream the room temperature butter with an electric mixer on medium speed for about two minutes until it becomes light and fluffy. Gradually add the granulated sugar, continuing to beat for another three to four minutes. The mixture should be noticeably lighter in color and increased in volume.
Add the eggs one at a time, beating well after each addition. Don’t rush this step – proper incorporation of each egg is essential for achieving the right texture. After all eggs are incorporated, mix in the vanilla extract and strawberry jam.

In a separate bowl, whisk together the flour, baking powder, and salt. Beginning and ending with the flour mixture, alternate adding the dry ingredients and milk to the butter mixture. Mix on low speed just until combined – overmixing will result in a tough cake.
Gently fold in the flour-coated strawberries using a rubber spatula, being careful not to overmix. The berries should be evenly distributed throughout the batter.
Baking to Perfection
Divide the batter evenly between your prepared pans. I like to use a kitchen scale for accuracy, but you can also eyeball it if you don’t have one. Smooth the tops gently with an offset spatula.
Bake for 28-32 minutes, or until a toothpick inserted in the center comes out with just a few moist crumbs clinging to it. The cakes should spring back when lightly touched in the center, and the edges should just begin to pull away from the sides of the pans.
Cool the cakes in their pans for 10 minutes before running a knife around the edges and turning them out onto wire racks to cool completely. This cooling step is crucial – frosting a warm cake will result in melted, sliding frosting.
Strawberry Buttercream Frosting
While your cakes are cooling, you can prepare the stunning strawberry buttercream frosting that will crown your creation. This frosting strikes the perfect balance between sweet and tangy, with an intense strawberry flavor that complements the cake beautifully.
Frosting Ingredients and Measurements
| Ingredient | Amount | Purpose |
|---|---|---|
| Unsalted butter | 1 cup (226g), room temperature | Base and texture |
| Powdered sugar | 4 cups (480g), sifted | Sweetness and structure |
| Fresh strawberry puree | ½ cup | Flavor and color |
| Heavy cream | 2-3 tablespoons | Consistency adjustment |
| Vanilla extract | 1 teaspoon | Flavor enhancement |
| Salt | Pinch | Flavor balance |
To make the strawberry puree, blend 1 cup of fresh strawberries until completely smooth, then strain through a fine-mesh sieve to remove the seeds. This creates a silky puree that won’t add unwanted texture to your frosting.
Beat the room temperature butter with an electric mixer until light and fluffy, about 3-4 minutes. Gradually add the sifted powdered sugar, one cup at a time, beating well after each addition. Add the strawberry puree, vanilla extract, and salt, then beat until the frosting is smooth and pipeable. If the frosting seems too thick, add heavy cream one tablespoon at a time until you reach your desired consistency.
Assembly and Decoration Techniques
Once your cakes are completely cool, it’s time for the exciting part – assembly and decoration. I recommend placing your first cake layer on your serving plate or cake stand before you begin frosting, as moving a frosted cake can be tricky.
Place the first layer cut-side down on your serving plate. Using an offset spatula, spread about ¾ cup of frosting evenly across the top, leaving a small border around the edge. The weight of the second layer will spread the frosting to the edges naturally.
Carefully place the second layer on top, cut-side up. Apply a thin layer of frosting all over the cake – this is called a crumb coat, and it seals in any loose crumbs. Refrigerate the cake for 30 minutes to set this initial layer.
After chilling, apply the remaining frosting in a smooth, even layer. I like to use a bench scraper for perfectly smooth sides, but a offset spatula works well too. For a more rustic look, you can create swirls and peaks in the frosting using the back of a spoon.

Serving Suggestions and Presentation Ideas
This strawberry cake is beautiful on its own, but there are several ways to elevate its presentation for special occasions. Fresh strawberry slices arranged in a circular pattern on top create an elegant, professional look. You can also pipe additional frosting rosettes around the edge and top each with a small strawberry.
For a more casual presentation, I sometimes dust the finished cake with a light sprinkling of powdered sugar, which creates a lovely contrast against the pink frosting. Edible flowers like violas or rose petals add a sophisticated touch for formal events.
When serving, I recommend using a sharp, thin-bladed knife dipped in warm water and wiped clean between cuts. This ensures clean, professional-looking slices that showcase the beautiful layers and strawberry pieces throughout the cake.
Storage and Make-Ahead Tips
This strawberry cake keeps well when stored properly, making it an excellent choice for advance preparation. The unfrosted cake layers can be wrapped tightly in plastic wrap and stored at room temperature for up to two days, or frozen for up to three months.
The finished cake should be stored in the refrigerator due to the fresh strawberry components in both the cake and frosting. Cover it loosely with plastic wrap or store it in a cake keeper to prevent the frosting from picking up refrigerator odors. Properly stored, the cake will maintain its quality for up to five days.
Before serving a refrigerated cake, let it sit at room temperature for about 30 minutes. This allows the cake to soften slightly and the flavors to bloom, ensuring the best possible taste and texture.
Troubleshooting Common Issues
Even with a foolproof recipe, sometimes things don’t go exactly as planned. Here are solutions to the most common issues I’ve encountered over the years of making this cake.
If your cake layers come out dense or heavy, the most likely culprit is overmixing the batter once the flour is added. Remember to mix just until the ingredients are combined – a few small lumps are perfectly fine and will disappear during baking.
Sunken or uneven cake layers often result from opening the oven door too early in the baking process. Resist the temptation to check on your cake until at least 25 minutes have passed. The sudden temperature change can cause the cake to collapse.
If your strawberries all sink to the bottom, make sure you’re coating them thoroughly with flour before folding them into the batter. Also, ensure your batter isn’t too thin – it should be thick enough to suspend the fruit pieces throughout.
Frosting that’s too soft to pipe or spread properly usually means your butter was too warm when you started, or your kitchen is particularly hot. Try refrigerating the frosting for 15-20 minutes, then re-whip it before using.
Nutritional Information and Dietary Modifications
| Nutrient | Per Slice (1/12 of cake) | Daily Value % |
|---|---|---|
| Calories | 485 | 24% |
| Total Fat | 18g | 23% |
| Saturated Fat | 11g | 55% |
| Cholesterol | 95mg | 32% |
| Sodium | 280mg | 12% |
| Total Carbohydrates | 78g | 28% |
| Dietary Fiber | 2g | 7% |
| Sugars | 65g | – |
| Protein | 6g | 12% |
| Vitamin C | 35mg | 39% |
For those with dietary restrictions, this recipe can be modified in several ways. To make it gluten-free, substitute the all-purpose flour with a high-quality gluten-free flour blend that contains xanthan gum. The texture will be slightly different, but still delicious.
For a dairy-free version, replace the butter with vegan butter substitute and use non-dairy milk like almond or oat milk. The frosting can be made with dairy-free butter alternatives, though the texture may be slightly less stable.
To reduce the sugar content, you can decrease the granulated sugar by up to ¼ cup without significantly affecting the texture, though the cake will be less sweet and may not brown as deeply.
Seasonal Variations and Flavor Adaptations
While this recipe celebrates strawberries at their peak, you can adapt it throughout the year using different berry combinations. In summer, try mixing strawberries with fresh raspberries or blackberries for a more complex flavor profile.
During winter months, frozen strawberries work beautifully in this recipe. Thaw them completely and drain excess liquid before using. You might need to add an extra tablespoon or two of flour to compensate for the additional moisture.
For special occasions, consider adding complementary flavors like lemon zest to the cake batter, or a splash of balsamic vinegar to the strawberry puree for a sophisticated twist that enhances the berry flavor.
Professional Tips for Perfect Results
After years of perfecting this recipe, I’ve learned several professional techniques that consistently produce superior results. First, always measure your ingredients by weight when possible – baking is a science, and accuracy matters.
Room temperature ingredients mix more easily and create better texture, so plan ahead and take your butter, eggs, and milk out of the refrigerator at least an hour before baking. If you’re short on time, you can warm eggs in a bowl of warm water for 5-10 minutes.
Invest in an oven thermometer to ensure your oven temperature is accurate. Many home ovens run hot or cold, which can significantly affect your baking results. I’ve found that knowing your oven’s true temperature is one of the most important factors in consistent baking success.
Questions and Answers
Q: Can I make this cake without fresh strawberries? Yes, you can substitute frozen strawberries that have been thawed and drained, or even use strawberry jam or puree. If using frozen berries, pat them dry with paper towels and toss with flour before folding into the batter to prevent excess moisture from affecting the cake’s texture.
Q: How do I know when my cake is done baking? The cake is done when a toothpick inserted in the center comes out with just a few moist crumbs, the top springs back when lightly touched, and the edges begin to pull slightly away from the pan sides. The internal temperature should reach 200-205°F when measured with an instant-read thermometer.
Q: Why did my frosting turn out too runny? Runny frosting is usually caused by butter that’s too warm or by adding too much liquid. Try chilling the frosting for 15-20 minutes, then re-whip it. If it’s still too soft, gradually add more powdered sugar until you reach the desired consistency.
Q: Can I make this cake in advance? Absolutely! The cake layers can be baked up to two days ahead and stored covered at room temperature, or frozen for up to three months. The finished cake can be assembled and stored in the refrigerator for up to five days, making it perfect for party planning.
Q: What’s the best way to get clean, professional-looking cake slices? Use a sharp, thin knife dipped in warm water and wiped clean between each cut. This prevents the frosting from dragging and creates clean edges. A serrated knife can also work well for cutting through the tender cake layers.
Q: Can I double this recipe for a larger crowd? Yes, this recipe doubles beautifully. You can make a four-layer cake, or bake it in a larger sheet pan. If using a sheet pan, reduce the baking temperature to 325°F and increase the baking time to 35-40 minutes, checking for doneness with a toothpick.
Q: How should I store leftover cake? Store leftover cake covered in the refrigerator for up to five days. The fresh strawberries in both the cake and frosting require refrigeration. Allow the cake to come to room temperature for about 30 minutes before serving for the best flavor and texture.
Q: Can I freeze slices of this cake? Individual cake slices can be wrapped tightly in plastic wrap and frozen for up to three months. Thaw them in the refrigerator overnight before serving. The texture may be slightly different after freezing, but the flavor will still be delicious.
This easy strawberry cake recipe has become one of my most requested desserts, and I hope it brings as much joy to your kitchen as it has to mine. The combination of fresh strawberries, tender cake, and creamy frosting creates a dessert that’s both elegant enough for special occasions and simple enough for everyday enjoyment. With proper technique and quality ingredients, you’ll create a cake that rivals anything from a professional bakery, all from the comfort of your own kitchen.