I never imagined I’d be combining the beloved American cookie with traditional Chinese mooncakes until my gluten-intolerant friend challenged me to create something extraordinary for Mid-Autumn Festival. What started as a playful experiment has become my signature dessert that bridges cultures and dietary needs beautifully.
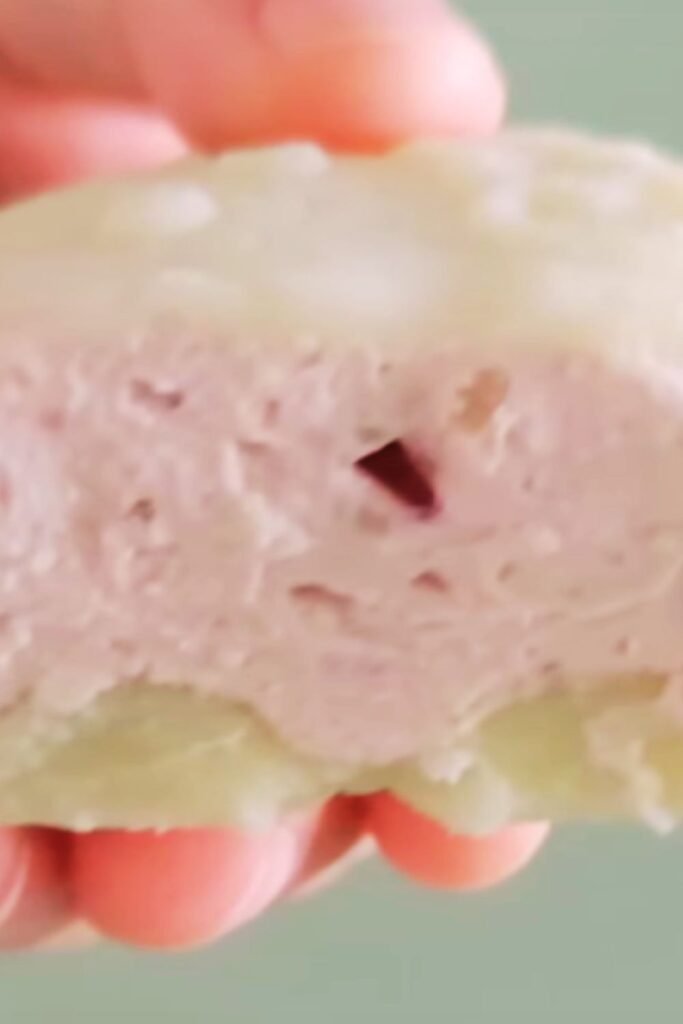
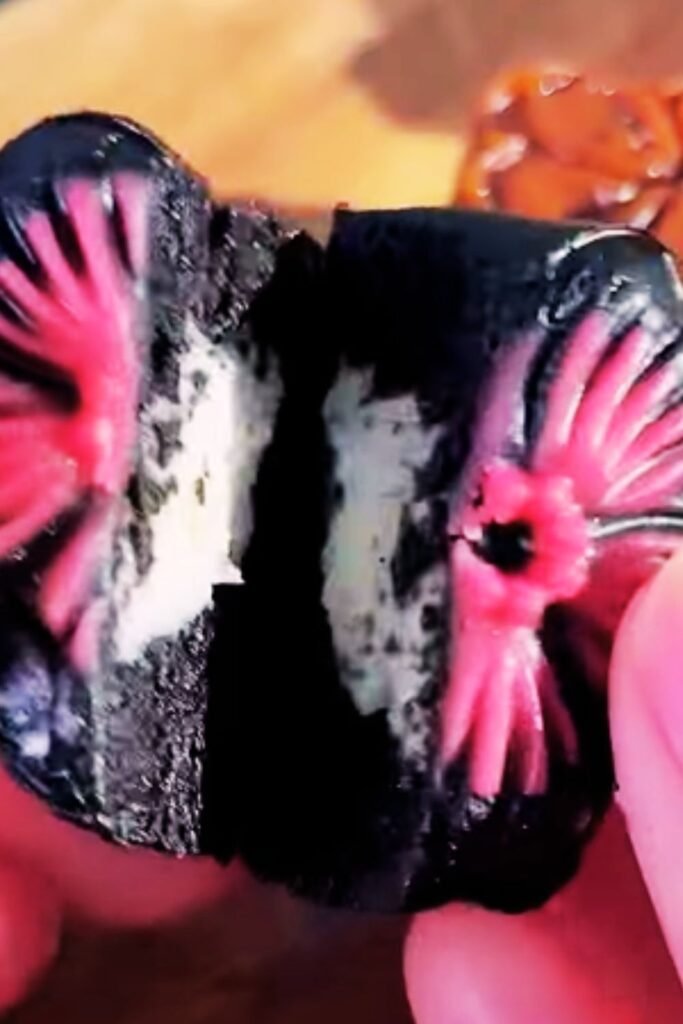
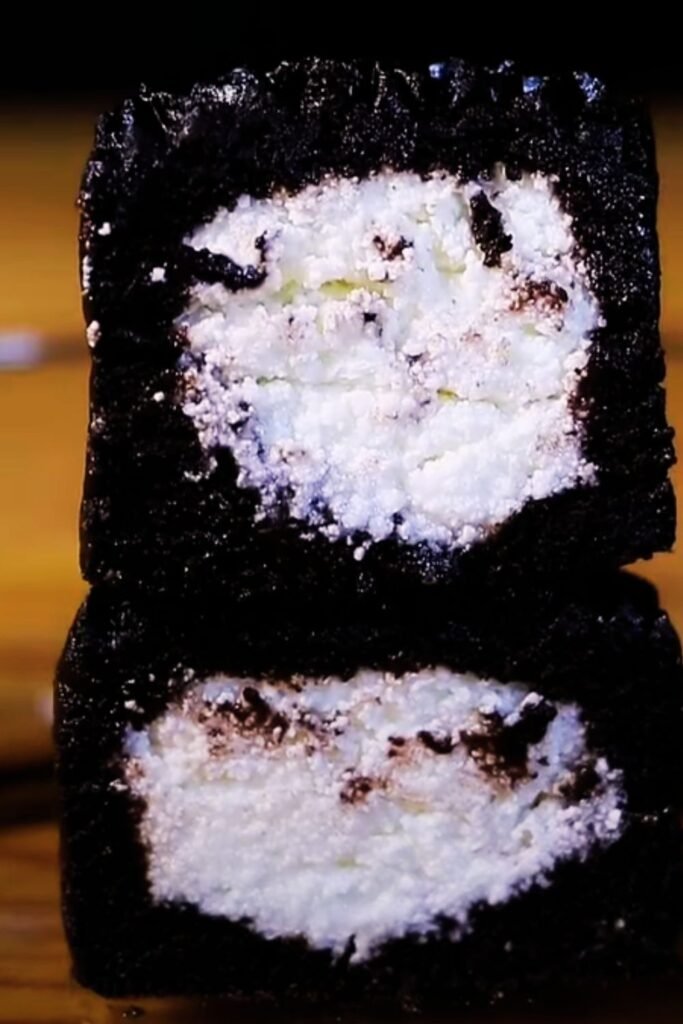
These gluten-free Oreo mooncakes represent more than just a fusion dessert – they’re a testament to how traditional recipes can evolve while maintaining their cultural significance. The rich, chocolatey exterior mimics the classic Oreo flavor profile, while the smooth cream cheese filling provides that luxurious texture we associate with premium mooncakes.
Understanding Gluten-Free Mooncake Making
Gluten-Free Flour Blend: A carefully balanced mixture of alternative flours that replicate wheat flour’s binding and texture properties without containing gluten proteins.
Xanthan Gum: A natural thickening agent that provides elasticity and structure to gluten-free baked goods, essential for achieving the proper mooncake texture.
Cream Cheese Filling: A Western-inspired alternative to traditional lotus seed paste, offering tangy richness that complements the chocolate exterior.
Mooncake Mold: Traditional wooden or plastic forms that create the characteristic patterns and shapes associated with authentic mooncakes.
The beauty of this recipe lies in its accessibility. I’ve spent countless hours perfecting the gluten-free flour ratio, ensuring that even those with celiac disease can enjoy these festive treats without compromising on taste or texture. My grandmother, who taught me traditional mooncake techniques, would be amazed at how these modern adaptations capture the essence of her original recipes.
Essential Ingredients and Their Roles
| Ingredient | Quantity | Purpose | Substitution Options |
|---|---|---|---|
| Rice Flour | 1½ cups | Primary structure | Brown rice flour |
| Potato Starch | ½ cup | Texture and binding | Tapioca starch |
| Cocoa Powder | ⅓ cup | Chocolate flavor | Dutch-processed cocoa |
| Xanthan Gum | 1 tsp | Gluten replacement | Guar gum (use less) |
| Cream Cheese | 8 oz | Filling base | Cashew cream cheese |
| Golden Syrup | ¼ cup | Sweetness and moisture | Maple syrup |
| Coconut Oil | 3 tbsp | Fat content | Butter (if not dairy-free) |
| Vanilla Extract | 1 tsp | Flavor enhancement | Almond extract |
| Powdered Sugar | ½ cup | Sweetness in filling | Coconut sugar (powdered) |
The ingredient selection process took me months to perfect. I discovered that the combination of rice flour and potato starch creates the ideal texture – not too crumbly, not too dense. The cocoa powder must be high-quality to achieve that authentic Oreo taste that makes these mooncakes so special.
Step-by-Step Preparation Process
Preparing the Gluten-Free Dough
I always start by creating my workspace setup, ensuring all ingredients are at room temperature. This makes an enormous difference in achieving smooth, workable dough.
- Sift together rice flour, potato starch, cocoa powder, and xanthan gum in a large mixing bowl
- Create a well in the center of the dry ingredients
- Warm the golden syrup slightly to make it more fluid
- Combine melted coconut oil, golden syrup, and vanilla extract in a separate bowl
- Gradually pour the wet ingredients into the flour well
- Mix using a wooden spoon until a shaggy dough forms
- Knead gently for 2-3 minutes until smooth
- Wrap in plastic wrap and refrigerate for 30 minutes
The kneading process differs significantly from traditional wheat-based doughs. I’ve learned to be gentle yet thorough, as over-kneading can make gluten-free dough tough and difficult to work with.
Creating the Perfect Cream Cheese Filling
My cream cheese filling recipe has evolved through numerous iterations. The key is achieving the right consistency – firm enough to hold its shape but creamy enough to provide that luxurious mouthfeel.
- Allow cream cheese to reach room temperature (this is crucial for smooth mixing)
- Beat cream cheese with an electric mixer until light and fluffy
- Gradually add powdered sugar, beating until fully incorporated
- Mix in vanilla extract and a pinch of salt
- Taste and adjust sweetness as needed
- Refrigerate filling for 15 minutes to firm up slightly
The temperature control throughout this process determines the final texture. I’ve found that room temperature cream cheese creates the smoothest filling, while slightly chilled filling is easier to portion and wrap.
Assembly Techniques
The assembly process requires patience and practice. I remember my first attempts resulted in uneven mooncakes with filling bursting through the dough. Now, I’ve developed a systematic approach that ensures consistent results.
- Divide chilled dough into 12 equal portions (about 35g each)
- Roll each portion into a smooth ball
- Divide cream cheese filling into 12 portions (about 20g each)
- Roll filling into balls and chill for 10 minutes
- Flatten each dough ball into a 4-inch circle
- Place filling ball in the center
- Gather dough edges around filling, pinching to seal
- Roll sealed ball gently to ensure even coverage
- Dust with cocoa powder to prevent sticking
Molding and Shaping Techniques
| Mold Type | Advantages | Disadvantages | Best For |
|---|---|---|---|
| Traditional Wooden | Authentic patterns, natural release | Requires seasoning, can stick | Experienced bakers |
| Plastic Molds | Easy release, dishwasher safe | Less traditional appearance | Beginners |
| Silicone Molds | Flexible, easy unmolding | May lack fine detail | Delicate designs |
| Metal Molds | Crisp edges, durable | Can stick without proper prep | Professional results |
I prefer using traditional wooden molds that I’ve seasoned with oil over multiple uses. The patterns they create are intricate and authentic, though they require more care and attention during the unmolding process.
Molding Process
The molding stage transforms simple dough balls into beautiful, patterned mooncakes. I’ve developed specific techniques to ensure clean, professional-looking results every time.
- Dust mold cavity lightly with cocoa powder
- Press dough ball firmly into mold, ensuring it reaches all corners
- Level the surface with a knife or offset spatula
- Tap mold gently on counter to release air bubbles
- Invert mold and press firmly to release mooncake
- Place molded mooncakes on parchment-lined baking sheet
- Brush lightly with oil to prevent surface cracking
Baking and Finishing
Optimal Baking Conditions
| Temperature Stage | Time | Purpose | Visual Cues |
|---|---|---|---|
| Initial Bake | 375°F, 5 minutes | Set shape | Edges firm, no color change |
| Egg Wash Application | N/A | Glossy finish | Even, thin coating |
| Final Bake | 350°F, 10-12 minutes | Complete cooking | Golden brown, firm surface |
| Cooling | 15 minutes | Texture development | Molds release easily |
The baking process requires careful temperature control. I’ve learned that starting at a higher temperature sets the shape, while finishing at a lower temperature ensures even cooking without burning the delicate cocoa exterior.
Creating the Perfect Finish
Since these are gluten-free Oreo-style mooncakes, I skip the traditional egg wash in favor of a light oil brush that enhances the chocolate appearance without adding unnecessary richness.
- Allow baked mooncakes to cool completely on baking sheet
- Brush lightly with neutral oil for subtle shine
- Dust with powdered cocoa for authentic Oreo appearance
- Store in airtight containers for 24 hours before serving
Storage and Serving Guidelines
Proper storage ensures these mooncakes maintain their texture and flavor for maximum enjoyment. I’ve experimented with various storage methods to determine the optimal approach for different timeframes.
Short-term Storage (1-3 days)
- Store at room temperature in airtight containers
- Separate layers with parchment paper
- Avoid refrigeration as it can dry out the texture
- Keep away from direct sunlight and heat sources
Extended Storage (up to 1 week)
- Wrap individually in food-safe plastic wrap
- Place in refrigerator in sealed containers
- Allow to come to room temperature before serving
- Monitor for any signs of moisture or mold
Freezing Instructions
- Wrap tightly in plastic wrap, then aluminum foil
- Label with date and contents
- Freeze for up to 3 months
- Thaw in refrigerator overnight before serving
Nutritional Information and Dietary Considerations
| Nutrient | Per Mooncake | Daily Value % |
|---|---|---|
| Calories | 185 | 9% |
| Total Fat | 8g | 12% |
| Saturated Fat | 5g | 25% |
| Carbohydrates | 28g | 9% |
| Fiber | 2g | 8% |
| Protein | 4g | 8% |
| Sodium | 95mg | 4% |
| Sugar | 18g | N/A |
These mooncakes accommodate multiple dietary restrictions while maintaining indulgent flavor. The gluten-free aspect makes them accessible to those with celiac disease or gluten sensitivity, while the cream cheese filling provides a protein boost compared to traditional sweet fillings.
Troubleshooting Common Issues
Through my extensive testing, I’ve encountered and solved numerous challenges that home bakers might face when making these specialized mooncakes.
Dough Problems and Solutions
Cracked Surfaces: Usually indicates insufficient moisture in the dough. I add an extra tablespoon of golden syrup and ensure proper resting time.
Sticky Dough: Common with gluten-free mixtures. Dust work surface and hands with cocoa powder, and chill dough longer if necessary.
Tough Texture: Often caused by over-mixing or incorrect flour ratios. Mix just until combined and measure ingredients precisely.
Filling Issues
Leaking Filling: Occurs when dough is rolled too thin or filling is too soft. Maintain consistent dough thickness and chill filling adequately.
Uneven Distribution: Results from improper sealing technique. Ensure dough edges overlap completely and pinch firmly.
Too Sweet/Too Tart: Adjust powdered sugar content in filling or add a pinch of salt to balance flavors.
Creative Variations and Flavor Combinations
My experimentation with different flavors has led to exciting variations that maintain the core concept while offering unique taste experiences.
Alternative Filling Options
- Chocolate Ganache: Rich and decadent, perfect for chocolate lovers
- Peanut Butter Cream: Adds nutty complexity to complement the Oreo flavor
- Matcha Cream Cheese: Introduces earthy, slightly bitter notes for sophisticated palates
- Berry Compote Swirl: Fresh fruit flavors that brighten the rich chocolate exterior
Coating Variations
- Crushed Oreo Cookies: Roll finished mooncakes in gluten-free cookie crumbs
- Coconut Flakes: Adds tropical flavor and interesting texture contrast
- Chopped Nuts: Almonds or hazelnuts provide crunch and visual appeal
- Edible Gold Dust: Creates elegant presentation for special occasions
Serving Suggestions and Presentation Ideas
The presentation of these mooncakes can elevate them from simple treats to stunning centerpieces for celebrations or gifts.
Traditional Serving Methods
- Arrange on decorative plates with tea service
- Cut into wedges to share, revealing the beautiful filling
- Serve alongside fresh fruit to balance richness
- Present in traditional mooncake boxes for authentic experience
Modern Presentation Approaches
- Individual portion plates with dollops of whipped cream
- Deconstructed style with filling and cake components separate
- Miniature versions served as petit fours
- Paired with coffee or espresso for contemporary appeal
Gift Packaging Ideas
- Wrap in clear cellophane with ribbon for visibility
- Present in wooden boxes lined with tissue paper
- Create custom labels indicating gluten-free status
- Include preparation story cards for personal touches
Questions and Answers
Q: Can I make these mooncakes dairy-free as well as gluten-free?
I absolutely recommend using dairy-free alternatives! Substitute the cream cheese with cashew-based cream cheese or a mixture of silken tofu and coconut cream. Replace the coconut oil with vegan butter if desired. The texture will be slightly different but equally delicious.
Q: How far in advance can I prepare these mooncakes?
These mooncakes actually improve in flavor when made 1-2 days ahead. The flavors meld beautifully, and the texture becomes more cohesive. I often make them on Wednesday for weekend celebrations. Just ensure proper storage in airtight containers.
Q: What’s the best way to achieve clean, detailed mold patterns?
The key is using the right amount of cocoa powder for dusting – enough to prevent sticking but not so much that it obscures the pattern. I also ensure my dough is at the perfect consistency: not too soft (which won’t hold detail) or too firm (which won’t press into crevices).
Q: Can I use regular all-purpose flour instead of the gluten-free blend?
While you can substitute regular flour, you’ll need to adjust the liquid ratios since wheat flour absorbs moisture differently. Use 1¼ cups all-purpose flour and reduce the liquid ingredients by about 2 tablespoons. The texture will be different from traditional mooncakes but still delicious.
Q: Why do my mooncakes crack during baking?
Cracking typically occurs due to temperature shock or insufficient moisture. Ensure your oven is properly preheated, and consider placing a small pan of water on the bottom rack to create steam. Also, check that your dough isn’t too dry – it should feel slightly tacky but not sticky.
Q: How do I know when the mooncakes are properly baked?
Look for edges that feel firm when gently pressed and a surface that has lost its raw appearance. The cocoa coating should appear set but not dried out. Over-baking will result in tough, dry mooncakes, so err on the side of slight under-baking.
Q: Can I freeze the dough or filling components separately?
Yes! The dough freezes beautifully for up to 2 months when wrapped tightly. The cream cheese filling can be frozen for up to 1 month. Thaw both components in the refrigerator overnight before using. This makes the recipe very convenient for advance preparation.
Q: What causes the filling to leak out during baking?
Filling leakage usually results from inadequate sealing or rolling the dough too thin. Ensure you pinch the seams firmly and that there’s enough dough to fully encase the filling. Also, avoid overfilling – it’s better to have slightly less filling than risk leakage.
Q: Are there any special considerations for high-altitude baking?
At high altitudes, you may need to increase the liquid slightly and decrease the baking temperature by 25°F. The lower air pressure can cause the mooncakes to rise too quickly and potentially crack. Consider adding an extra tablespoon of liquid and monitoring closely during baking.
Q: How can I make smaller or larger mooncakes?
The recipe is easily scalable! For mini mooncakes, use about 20g dough and 12g filling per piece. For larger ones, use 50g dough and 30g filling. Adjust baking time accordingly – smaller ones may need 2-3 minutes less, while larger ones might need 3-4 minutes more.
These gluten-free Oreo mooncakes represent the perfect fusion of traditional techniques with modern dietary needs. Through careful ingredient selection and refined techniques, I’ve created a recipe that honors both the cultural significance of mooncakes and the contemporary desire for inclusive, accessible treats. The combination of rich chocolate exterior and creamy filling creates an indulgent experience that rivals any traditional mooncake while opening doors for those with gluten sensitivities to participate in this beautiful culinary tradition.
The journey of perfecting this recipe has taught me that innovation in baking doesn’t mean abandoning tradition – rather, it means finding creative ways to preserve the essence while making it accessible to everyone. These mooncakes have become a bridge between cultures and dietary needs, proving that with patience and creativity, we can honor traditions while embracing modern requirements.