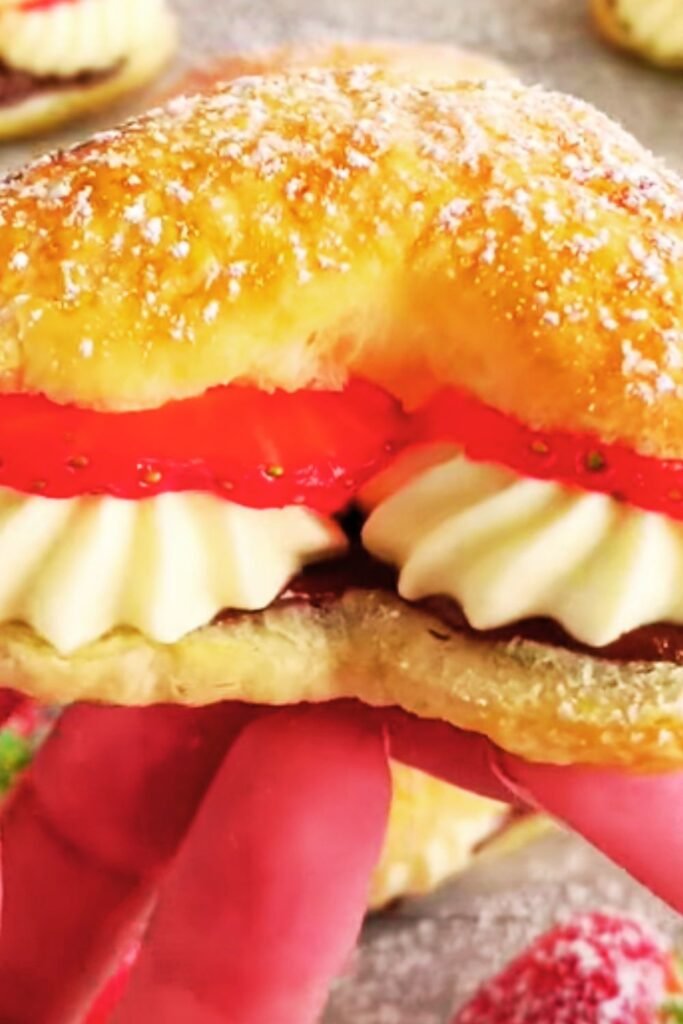
Nothing quite compares to the delicate balance of crispy choux pastry filled with luscious strawberry cream. I’ve spent countless hours perfecting this recipe, and I’m thrilled to share my secrets for creating these show-stopping desserts that never fail to impress. Whether you’re hosting a dinner party or simply craving something extraordinary, these strawberry cream puffs will transport your taste buds straight to a Parisian patisserie.
The beauty of cream puffs lies in their versatility and the magical transformation that occurs during baking. What starts as a simple mixture of butter, water, flour, and eggs becomes golden, airy shells ready to cradle the most delightful fillings. My strawberry variation adds a fresh, fruity twist that celebrates the natural sweetness of ripe berries while maintaining the classic elegance of traditional profiteroles.
Understanding the Foundation: Choux Pastry Mastery
Choux Pastry (Pâte à Choux) : A light pastry dough used to make cream puffs, éclairs, and profiteroles. The dough contains only butter, water, flour, and eggs, creating a hollow interior perfect for filling.
Gelatinization : The process where starch granules in flour swell and burst when heated with liquid, creating the structure that allows choux pastry to rise and form its characteristic hollow center.
Steam Leavening : The method by which choux pastry rises, relying on steam generated from the high water content rather than chemical leavening agents like baking powder.
The secret to perfect choux pastry begins with understanding the science behind it. When I first attempted cream puffs years ago, my results were inconsistent because I didn’t grasp the importance of proper moisture balance and temperature control. The key lies in creating enough steam to lift the pastry while ensuring the structure sets properly to prevent collapse.
Essential Ingredients and Their Roles
| Ingredient | Amount | Purpose | Quality Tips |
|---|---|---|---|
| Unsalted Butter | 1/2 cup (115g) | Provides richness and helps create steam | Use European-style butter for best flavor |
| Water | 1 cup (240ml) | Creates steam for leavening | Use filtered water for pure taste |
| All-Purpose Flour | 1 cup (125g) | Forms the structure | Measure by weight for consistency |
| Large Eggs | 4-5 eggs | Provides structure and moisture | Room temperature eggs incorporate better |
| Salt | 1/2 teaspoon | Enhances flavor | Use fine sea salt |
| Fresh Strawberries | 2 cups (300g) | Main flavor component | Choose firm, fragrant berries |
| Heavy Cream | 2 cups (480ml) | Base for filling | 35% fat content minimum |
| Powdered Sugar | 3/4 cup (90g) | Sweetens and stabilizes cream | Sift to prevent lumps |
The Perfect Strawberry Cream Filling
Before diving into the pastry itself, I always prepare my strawberry cream filling first. This allows the flavors to meld beautifully while I work on the choux pastry. My technique involves creating a strawberry compote that gets folded into stabilized whipped cream, resulting in a filling that’s both intensely flavored and structurally sound.
Strawberry Compote Preparation:
- Hull and dice 1 1/2 cups of fresh strawberries
- Combine with 1/4 cup granulated sugar and 1 tablespoon lemon juice
- Cook over medium heat for 8-10 minutes until slightly thickened
- Strain through fine mesh to remove seeds (optional for smoother texture)
- Cool completely before incorporating into cream
The remaining 1/2 cup of strawberries I reserve for fresh pieces in the filling, which provides delightful texture contrast. I’ve found that the combination of cooked and fresh strawberries creates the most dynamic flavor profile.
Step-by-Step Choux Pastry Technique
Initial Preparation Phase
I always start by preheating my oven to 425°F (220°C) and positioning the rack in the center. This high initial temperature is crucial for creating the steam needed for proper rise. I line my baking sheets with parchment paper and have a piping bag fitted with a large round tip ready.
The Cooking Process
Step 1: Creating the Base In a heavy-bottomed saucepan, I combine water, butter, and salt over medium-high heat. The key here is bringing the mixture to a full rolling boil while ensuring the butter melts completely. I watch carefully because once it boils, I need to act quickly.
Step 2: Flour Incorporation The moment the mixture reaches a vigorous boil, I remove it from heat and immediately dump in all the flour at once. Using a wooden spoon, I stir vigorously until the mixture forms a smooth ball and pulls away from the sides of the pan. This usually takes about 1-2 minutes of aggressive stirring.
Step 3: Cooking the Paste I return the pan to medium heat and continue stirring for another 1-2 minutes. This step, which many home bakers skip, is essential for cooking out the raw flour taste and creating the proper texture. The paste should form a thin film on the bottom of the pan.
Step 4: Cooling and Egg Addition After transferring the paste to a mixing bowl, I let it cool for about 5 minutes. This prevents the eggs from cooking when added. I then beat in eggs one at a time, ensuring each is fully incorporated before adding the next. The final consistency should be smooth and pipeable but not too loose.
Baking Techniques for Success
Temperature Management
| Phase | Temperature | Duration | Purpose |
|---|---|---|---|
| Initial Bake | 425°F (220°C) | 15 minutes | Creates steam and initial rise |
| Reduction | 375°F (190°C) | 20-25 minutes | Sets structure and browns exterior |
| Final Dry | 350°F (175°C) | 5-10 minutes | Ensures crispy shell |
The temperature reduction technique I use ensures that the cream puffs develop properly without burning. Many recipes call for a single temperature throughout, but I’ve found this three-stage approach produces more consistent results.
Piping and Shaping
I pipe the choux pastry into 2-inch mounds, spacing them about 2 inches apart on the baking sheet. The size is important – too small and they’ll dry out, too large and they won’t cook evenly. I use a gentle, steady pressure and finish each mound with a quick upward twist to prevent peaks that might burn.
Pro tip: I lightly brush each mound with beaten egg wash before baking. This creates a beautiful golden color and helps achieve that perfect shiny finish.
Mastering the Strawberry Cream
Whipped Cream Stabilization
To prevent my strawberry cream from deflating or weeping, I use a stabilization technique that involves gelatin. I sprinkle 1 teaspoon of unflavored gelatin over 2 tablespoons of cold water and let it bloom for 5 minutes. Then I gently heat it until dissolved and let it cool slightly before adding to my cream.
Whipping Technique:
- Start with cold cream and a chilled bowl
- Whip to soft peaks before adding powdered sugar
- Gradually add the cooled gelatin mixture while whipping
- Continue to medium-stiff peaks
- Fold in cooled strawberry compote and fresh strawberry pieces
Flavor Balance Considerations
| Component | Flavor Profile | Balance Factor |
|---|---|---|
| Fresh Strawberries | Bright, acidic | Provides freshness |
| Strawberry Compote | Sweet, concentrated | Adds depth |
| Heavy Cream | Rich, neutral | Carries flavors |
| Powdered Sugar | Pure sweetness | Balances acidity |
| Lemon Juice | Bright acid | Enhances strawberry flavor |
The interplay between these elements creates a filling that’s neither too sweet nor too tart, with layers of strawberry flavor that complement rather than compete with the delicate choux pastry.
Assembly and Presentation
Proper Filling Technique
Once my cream puffs have cooled completely, I create small holes in the bottom using a sharp knife tip. This allows me to fill them without splitting the delicate shells. I transfer my strawberry cream to a piping bag fitted with a small round tip and carefully fill each puff until I feel slight resistance.
Alternative Filling Methods:
- Slice horizontally and spoon filling between halves
- Use a pastry injector for mess-free filling
- Create a small opening in the side rather than bottom
Finishing Touches
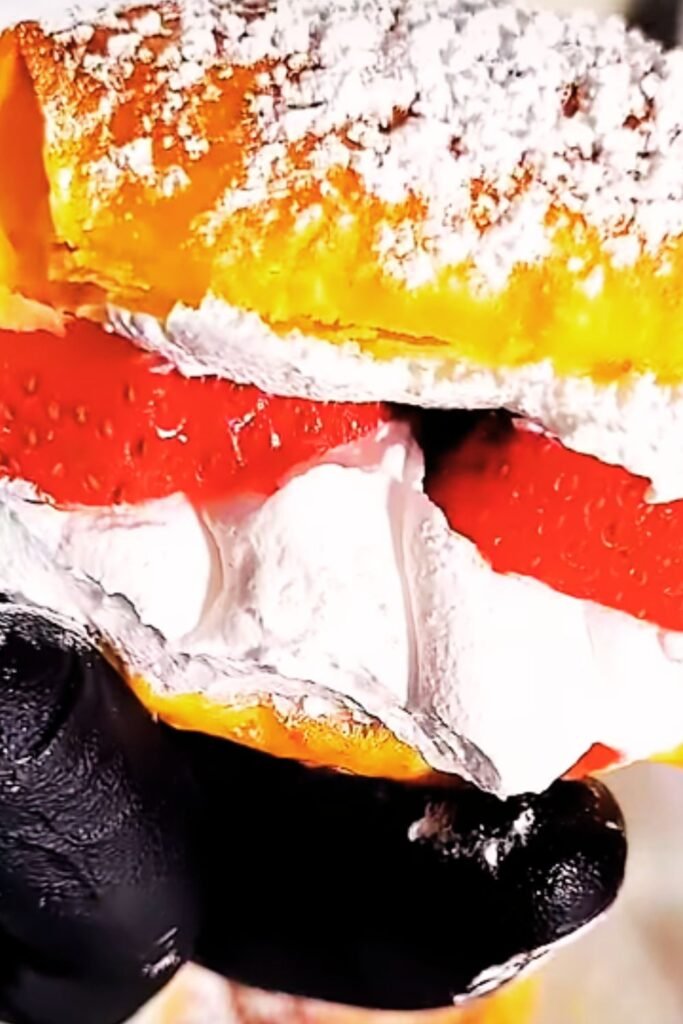
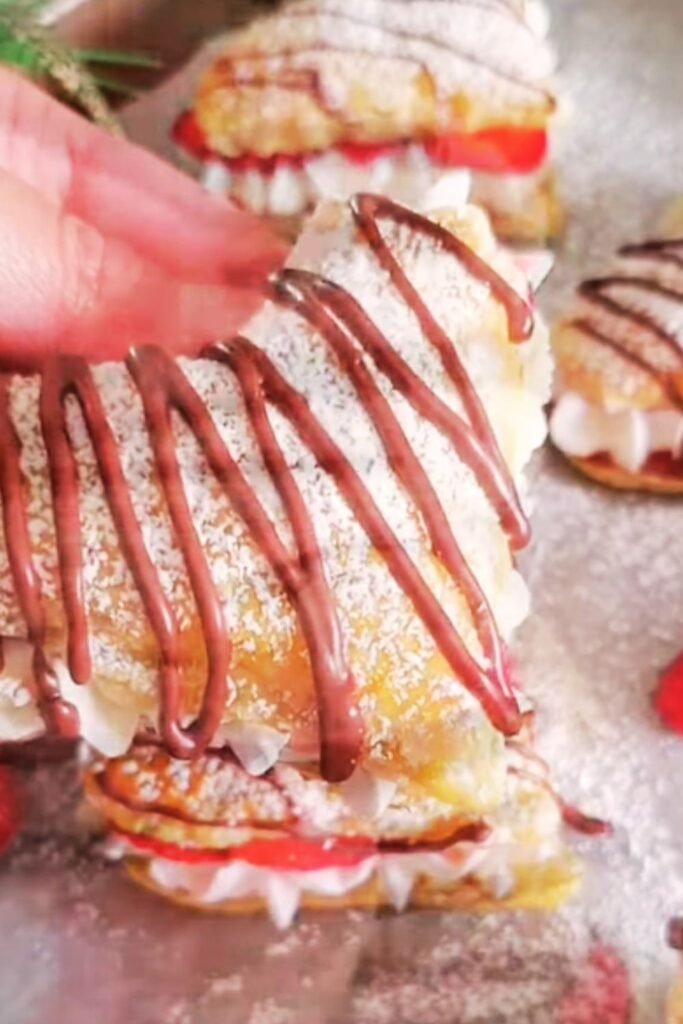
I dust my completed cream puffs with powdered sugar just before serving. For special occasions, I sometimes drizzle them with a simple glaze made from powdered sugar, milk, and a touch of vanilla extract. The key is not to overdo the decorations – the natural beauty of the golden pastry and vibrant strawberry filling should be the star.
Troubleshooting Common Issues
Problem: Flat, Dense Cream Puffs Solution: This usually indicates insufficient steam or too low initial temperature. Ensure your oven is fully preheated and the water-butter mixture reaches a vigorous boil.
Problem: Cream Puffs Collapse After Baking Solution: The interior wasn’t fully set. Extend baking time at the lower temperature and ensure proper cooling with the oven door slightly ajar.
Problem: Soggy Bottoms Solution: Pierce the bottoms immediately after baking to release steam, and ensure complete cooling before filling.
Storage and Make-Ahead Tips
Short-Term Storage
Unfilled cream puffs can be stored at room temperature for up to 2 days in an airtight container. If they lose their crispness, I refresh them in a 350°F oven for 3-5 minutes. The strawberry cream filling should be used within 24 hours for best quality and food safety.
Freezing Options
| Item | Freezing Method | Storage Duration | Thawing Instructions |
|---|---|---|---|
| Unfilled Shells | Airtight container | 3 months | Thaw at room temp, refresh in oven |
| Choux Pastry Dough | Piped on baking sheets | 2 months | Bake directly from frozen, add 5 minutes |
| Strawberry Compote | Small containers | 6 months | Thaw in refrigerator overnight |
Seasonal Variations and Adaptations
While strawberries are the star of this recipe, I’ve successfully adapted it throughout the year using different fruits. In summer, I substitute fresh peaches or mixed berries. During autumn, I create a spiced pear version, and winter calls for chocolate-dipped cream puffs filled with vanilla pastry cream.
The technique remains consistent – the key is adjusting the sweetness and texture of your chosen fruit to complement the neutral choux pastry base. I always maintain the same ratios for the pastry itself, as this ensures consistent results regardless of the filling variation.
Nutritional Considerations
Dietary Modifications
For those with dietary restrictions, I’ve experimented with several modifications:
Gluten-Free Version: Substitute the all-purpose flour with a 1:1 gluten-free baking flour blend. The texture will be slightly different but still delicious.
Dairy-Free Option: Replace butter with vegan butter and use coconut cream instead of heavy cream. The flavor profile changes but remains satisfying.
Reduced Sugar: Cut the sugar in the strawberry compote by half and use fresh strawberries at peak ripeness for natural sweetness.
Professional Tips for Perfect Results
After years of making cream puffs, I’ve learned that consistency comes from attention to detail. I always weigh my ingredients when possible, as volume measurements can vary significantly. The eggs are particularly important – I’ve found that using exactly 4 large eggs plus 2-3 tablespoons of beaten egg from a fifth egg gives me the perfect consistency every time.
Temperature control extends beyond just the oven. I ensure my ingredients are at the right temperature before beginning, and I never rush the cooling process. Patience in these small details makes the difference between good cream puffs and exceptional ones.
The most important lesson I’ve learned is that practice truly makes perfect. Each oven behaves differently, and understanding your specific equipment will help you achieve consistent results. Don’t be discouraged if your first batch isn’t perfect – even experienced bakers sometimes need to adjust their technique.
Frequently Asked Questions
Q: Why did my cream puffs not rise properly? The most common causes are insufficient steam (water didn’t reach a full boil), too low oven temperature initially, or opening the oven door too early during baking. Ensure you reach a vigorous boil and resist the urge to peek for the first 15 minutes.
Q: Can I make the pastry dough ahead of time? Yes, you can prepare the choux pastry dough up to 2 hours ahead and keep it covered at room temperature. However, it’s best to pipe and bake as soon as possible for optimal rise and texture.
Q: How do I know when the cream puffs are done baking? They should be golden brown and feel light when lifted. If they seem heavy or soft, continue baking at 350°F for a few more minutes. The shells should sound hollow when tapped gently.
Q: My strawberry cream filling is too runny. How can I fix this? Ensure your strawberry compote was cooled completely before folding into the whipped cream. You can also add a bit more powdered sugar or a small amount of cornstarch to help stabilize the mixture.
Q: Can I use frozen strawberries for this recipe? While fresh strawberries provide the best texture and flavor, you can use frozen strawberries for the compote portion. Thaw them completely and drain excess liquid before cooking. I still recommend using fresh strawberries for the pieces mixed into the cream.
Q: What’s the best way to serve these at a party? Fill the cream puffs no more than 2-3 hours before serving to maintain crispness. Arrange them on a serving platter and dust with powdered sugar just before guests arrive. They’re best served at room temperature or slightly chilled.
Q: How can I tell if my choux pastry dough has the right consistency? The dough should be smooth and pipeable but hold its shape when piped. When you lift the beater or wooden spoon, the dough should form a V-shape that slowly falls back into the bowl. If it’s too stiff, add another tablespoon of beaten egg.
These strawberry cream puffs represent the perfect marriage of technique and flavor, combining the classic French pastry tradition with the fresh, vibrant taste of summer strawberries. With practice and attention to detail, you’ll be creating these elegant desserts that rival any professional patisserie. The joy of watching them rise in the oven and the satisfaction of that first bite makes every step of the process worthwhile.