There’s something magical about the combination of fresh lemon, rich cream, and perfectly cooked pasta that instantly transforms a simple weeknight dinner into something special. I’ve been making this 20-minute creamy lemon pasta for years, and it never fails to impress my family and friends. The bright, zesty flavor of lemon paired with the luxurious creaminess creates a dish that’s both comforting and sophisticated.
What I love most about this recipe is how it comes together so quickly without sacrificing any flavor. When I’m rushing home from work or need to feed hungry kids, this pasta saves the day. The simple ingredients work together to create a restaurant-quality dish that you can make in your own kitchen with minimal effort and maximum impact.
Why This Recipe Works So Well
I’ve discovered that the secret to perfect creamy lemon pasta lies in the timing and technique. The key is creating a silky sauce that coats every strand of pasta without curdling or becoming too thick. Over the years, I’ve refined this recipe to ensure consistent results every time.
The magic happens when you combine hot pasta water with cream and lemon juice at just the right temperature. This creates an emulsion that’s both creamy and bright, with the starchy pasta water helping to bind everything together. I always save some pasta water before draining – it’s my secret weapon for achieving the perfect sauce consistency.
Essential Ingredients and Their Roles
Understanding what each ingredient brings to the dish helps you create the perfect balance of flavors. Here’s what you’ll need and why each component matters:
Primary Ingredients
- Pasta (12 oz): I prefer linguine or fettuccine for their ability to hold the creamy sauce
- Heavy cream (1 cup): Creates the rich, luxurious base of the sauce
- Fresh lemon juice (1/4 cup): Provides bright acidity that cuts through the richness
- Lemon zest (2 tablespoons): Adds intense citrus flavor and aromatic oils
- Butter (3 tablespoons): Enhances richness and helps create a silky texture
- Garlic (3 cloves): Adds aromatic depth without overpowering the lemon
- Parmesan cheese (1/2 cup): Contributes umami and helps thicken the sauce
Flavor Enhancers
- Fresh herbs (2 tablespoons): I use basil or parsley for freshness
- Black pepper (1/2 teaspoon): Adds gentle heat that complements the lemon
- Salt (to taste): Essential for balancing all the flavors
- Optional red pepper flakes (1/4 teaspoon): For those who enjoy a subtle kick
The Complete Recipe Method
Step 1: Prepare Your Mise en Place
Before I start cooking, I always prepare all my ingredients. This is crucial for a dish that comes together so quickly. I juice my lemons, zest them, mince the garlic, and measure out all the other ingredients. This preparation ensures smooth execution once I start cooking.
Step 2: Cook the Pasta
I bring a large pot of salted water to a rolling boil. The water should taste like the sea – this is where the pasta gets its primary seasoning. I add the pasta and cook it according to package directions, but I always taste it 1-2 minutes before the suggested time to ensure it’s al dente.
Just before draining, I reserve 1 cup of the starchy pasta water. This liquid gold will help create the perfect sauce consistency. I never skip this step, as it’s crucial for achieving professional results.
Step 3: Create the Sauce Base
While the pasta cooks, I start the sauce. In a large skillet or saucepan, I melt the butter over medium heat. Once it’s foaming, I add the minced garlic and cook for about 30 seconds until fragrant. I’m careful not to let it brown, as burnt garlic would ruin the delicate flavor balance.
Step 4: Add the Cream and Lemon
I pour in the heavy cream and bring it to a gentle simmer. This is where patience is key – I never let it boil vigorously, as this could cause the cream to curdle. Once it’s simmering, I add the lemon juice gradually while whisking constantly. The acid could cause the cream to separate if added too quickly or if the mixture is too hot.
Step 5: Combine and Finish
I add the drained pasta directly to the pan with the sauce. This is where the magic happens – I toss everything together with tongs, adding pasta water gradually until the sauce coats every strand beautifully. The starch from the pasta water helps create a silky emulsion that clings to the pasta.
Finally, I remove the pan from heat and stir in the Parmesan cheese, lemon zest, and fresh herbs. The residual heat will melt the cheese without making it stringy. I taste and adjust seasoning with salt and pepper as needed.
Perfecting the Technique
Temperature Control
One of the most important aspects of this recipe is temperature control. I’ve learned that keeping the heat at medium or medium-low prevents the cream from breaking. If the sauce ever looks like it’s about to curdle, I immediately remove it from heat and whisk in a bit of cold pasta water to bring the temperature down.
Pasta Water Strategy
The starchy pasta water is essential for achieving restaurant-quality results. I add it gradually, about 1/4 cup at a time, until the sauce reaches the perfect consistency. It should coat the pasta without being too thick or too thin. If the sauce becomes too thick, I add more pasta water. If it’s too thin, I let it simmer for a few more minutes.
Timing is Everything
I always have all my ingredients ready before I start cooking. This recipe moves fast, and there’s no time to stop and measure ingredients once you begin. The pasta should be drained and added to the sauce while both are still hot to ensure proper emulsification.
Ingredient Substitutions and Variations
Dairy-Free Options
For those avoiding dairy, I’ve successfully made this recipe using cashew cream or coconut cream. The texture is slightly different, but the flavor remains delicious. I recommend using full-fat coconut cream for the best results.
Gluten-Free Adaptation
Any gluten-free pasta works well with this recipe. I’ve had great success with rice-based and legume-based pastas. The key is to cook them according to package directions and save some of the cooking water for the sauce.
Protein Additions
This pasta is delicious on its own, but I often add protein to make it more substantial. Grilled chicken, shrimp, or even crispy pancetta work beautifully. I cook the protein separately and add it to the finished pasta.
Nutritional Benefits and Considerations
| Nutrient | Amount per Serving | % Daily Value |
|---|---|---|
| Calories | 445 | 22% |
| Total Fat | 18g | 23% |
| Saturated Fat | 11g | 55% |
| Cholesterol | 55mg | 18% |
| Sodium | 285mg | 12% |
| Total Carbohydrates | 58g | 21% |
| Dietary Fiber | 3g | 11% |
| Protein | 15g | 30% |
| Vitamin C | 15mg | 17% |
| Calcium | 180mg | 14% |
Based on 6 servings using standard ingredients
This pasta provides a good balance of macronutrients, with the cream and cheese contributing healthy fats and protein. The lemon adds vitamin C and citrus flavonoids, which have antioxidant properties. While it’s a rich dish, it can be part of a balanced diet when enjoyed in moderation.
Serving Suggestions and Pairings
Perfect Accompaniments
I love serving this pasta with a simple arugula salad dressed with olive oil and balsamic vinegar. The peppery greens provide a nice contrast to the rich, creamy pasta. Garlic bread or crusty Italian bread is perfect for soaking up any remaining sauce.
Vegetable Additions
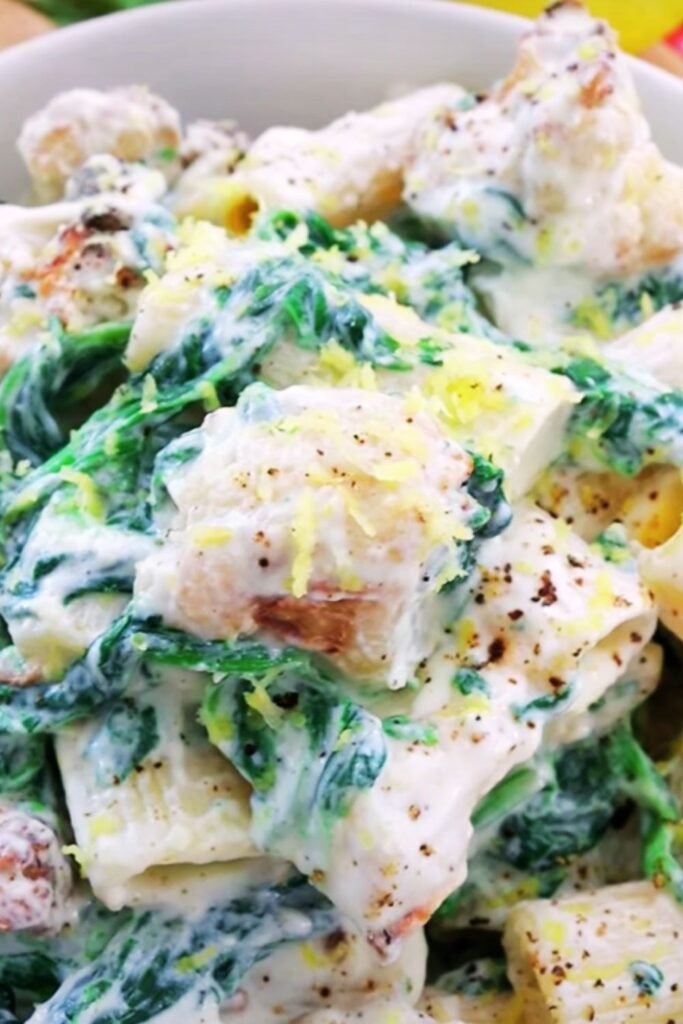
To make this dish more nutritious and colorful, I often add vegetables. Asparagus, peas, or spinach work beautifully. I blanch harder vegetables like asparagus briefly before adding them to the pasta. For spinach, I simply stir it in at the end and let it wilt from the heat of the pasta.
Wine Suggestions
A crisp white wine like Pinot Grigio or Sauvignon Blanc pairs beautifully with this dish. The acidity in the wine complements the lemon while cutting through the richness of the cream. For those who prefer non-alcoholic options, sparkling water with lemon or a crisp white grape juice works wonderfully.
Storage and Reheating Tips
Proper Storage
This pasta is best enjoyed fresh, but I often have leftovers that I need to store properly. I let the pasta cool completely before transferring it to an airtight container in the refrigerator. It will keep for up to 3 days when stored properly.
Reheating Method
Reheating cream-based pasta can be tricky because the sauce often separates. I’ve found the best method is to reheat it gently in a pan with a splash of milk or cream. I add the cold pasta to the pan with a bit of liquid and stir gently over low heat until warmed through. This method helps restore the creamy texture.
Troubleshooting Common Issues
Sauce Breaking or Curdling
If the sauce breaks or curdles, I immediately remove it from heat and whisk in a bit of cold pasta water or cream. Sometimes I can save it by blending it briefly with an immersion blender, but prevention is always better than trying to fix it.
Bland Flavor
If the dish tastes flat, it usually needs more salt or acid. I taste and adjust with kosher salt first, then add a bit more lemon juice if needed. Fresh herbs also brighten the flavors significantly.
Thick or Gluey Sauce
If the sauce becomes too thick, I thin it with warm pasta water or cream. If it’s gluey, it usually means the pasta was overcooked or the sauce was heated too aggressively. Prevention is key here – gentle heat and proper timing are essential.
Making It Kid-Friendly
As a parent, I’ve learned some tricks to make this dish more appealing to children. I use less lemon juice and more cream to create a milder flavor. I also skip the black pepper and use mild herbs like basil instead of more assertive ones. The creamy texture is usually a hit with kids, and they often don’t even notice the lemon if it’s not too strong.
Professional Tips for Success
Quality Ingredients Matter
I always use fresh lemons rather than bottled lemon juice. The flavor is incomparably better, and the natural oils in fresh zest add another layer of flavor. Similarly, freshly grated Parmesan tastes much better than pre-shredded cheese.
Pasta Shape Selection
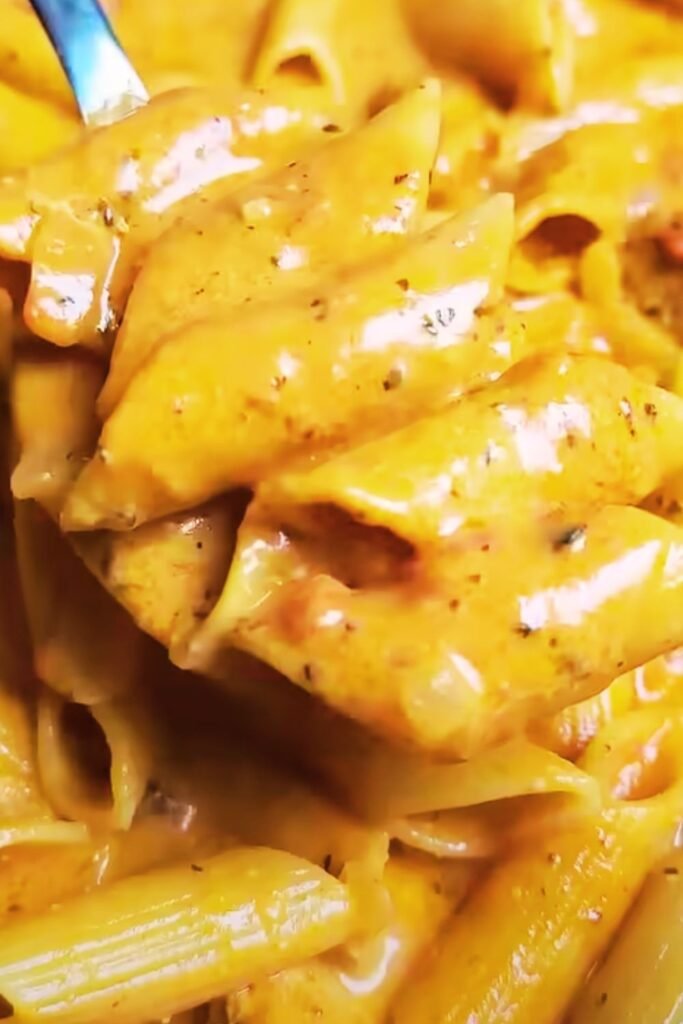
While I prefer long pasta shapes like linguine or fettuccine, this sauce works well with many shapes. Penne, rigatoni, or even simple spaghetti work beautifully. The key is to choose a shape that will hold the sauce well.
Timing the Finish
I always finish the pasta in the sauce rather than just ladling sauce over drained pasta. This technique, called “mantecatura” in Italian cooking, ensures the sauce and pasta are perfectly combined and the flavors meld together.
Seasonal Variations
Spring Version
In spring, I love adding fresh asparagus and peas to this pasta. I blanch the asparagus for 2-3 minutes and add it along with the pasta. Fresh peas can be added directly to the hot pasta – they’ll cook from the residual heat.
Summer Adaptation
During summer, I sometimes add fresh cherry tomatoes for color and a pop of acidity. I halve them and add them to the pan just before removing from heat, so they stay fresh and don’t break down completely.
Winter Comfort
In colder months, I might add some cooked bacon or pancetta for extra richness and warmth. The salty, smoky flavor pairs beautifully with the bright lemon and creates a more substantial, comforting dish.
The Science Behind the Perfect Sauce
Understanding the science behind this recipe helps ensure consistent results. The key is creating a stable emulsion between the cream, lemon juice, and pasta water. The starch from the pasta water acts as an emulsifier, helping the fat and acid combine smoothly.
The acid in the lemon juice can cause the cream to curdle if added too quickly or if the mixture is too hot. That’s why I always add it gradually and control the temperature carefully. The Parmesan cheese also contains proteins that can help stabilize the emulsion when added at the right temperature.
Q&A Section
Q: Can I use low-fat cream instead of heavy cream? I don’t recommend using low-fat cream for this recipe. The lower fat content means it’s more likely to curdle when combined with the lemon juice. If you want to reduce calories, I’d suggest using less cream and more pasta water to maintain the proper consistency.
Q: How can I make this recipe more budget-friendly? You can stretch this recipe by using less pasta per serving and adding more vegetables. Frozen peas or spinach are inexpensive and add nutrition. You can also use less Parmesan or substitute with a less expensive grated cheese.
Q: What if I don’t have fresh lemons? While fresh lemon juice is ideal, you can use bottled lemon juice in a pinch. Use about 2 tablespoons of bottled juice instead of 1/4 cup fresh. You’ll miss out on the zest, but the dish will still be delicious.
Q: Can I make this ahead of time? This pasta is best served immediately after making it. However, you can prep all your ingredients ahead of time and cook it when you’re ready to eat. The entire cooking process only takes about 10 minutes once everything is prepped.
Q: Why does my sauce sometimes separate? Sauce separation usually happens when the temperature is too high or the acid is added too quickly. Make sure to keep the heat at medium or lower and add the lemon juice gradually while whisking constantly.
Q: Can I freeze the leftovers? I don’t recommend freezing cream-based pasta dishes, as the texture changes significantly when thawed. The sauce often separates and becomes grainy. It’s best to store leftovers in the refrigerator and consume within 3 days.
Q: What’s the best way to reheat leftovers? Reheat gently in a pan with a splash of cream or milk. Add the cold pasta to the pan with a bit of liquid and stir gently over low heat until warmed through. This method helps restore the creamy texture.
Q: Can I make this recipe vegan? Yes! Use cashew cream instead of heavy cream, nutritional yeast instead of Parmesan, and vegan butter. The flavor will be slightly different but still delicious. Make sure to use a good quality plant-based cream for the best results.
This 20-minute creamy lemon pasta has become one of my go-to recipes for busy weeknights and special occasions alike. The combination of simple ingredients and perfect technique creates a dish that’s both comforting and elegant. With practice, you’ll be able to make this restaurant-quality pasta in your own kitchen with confidence and ease.